
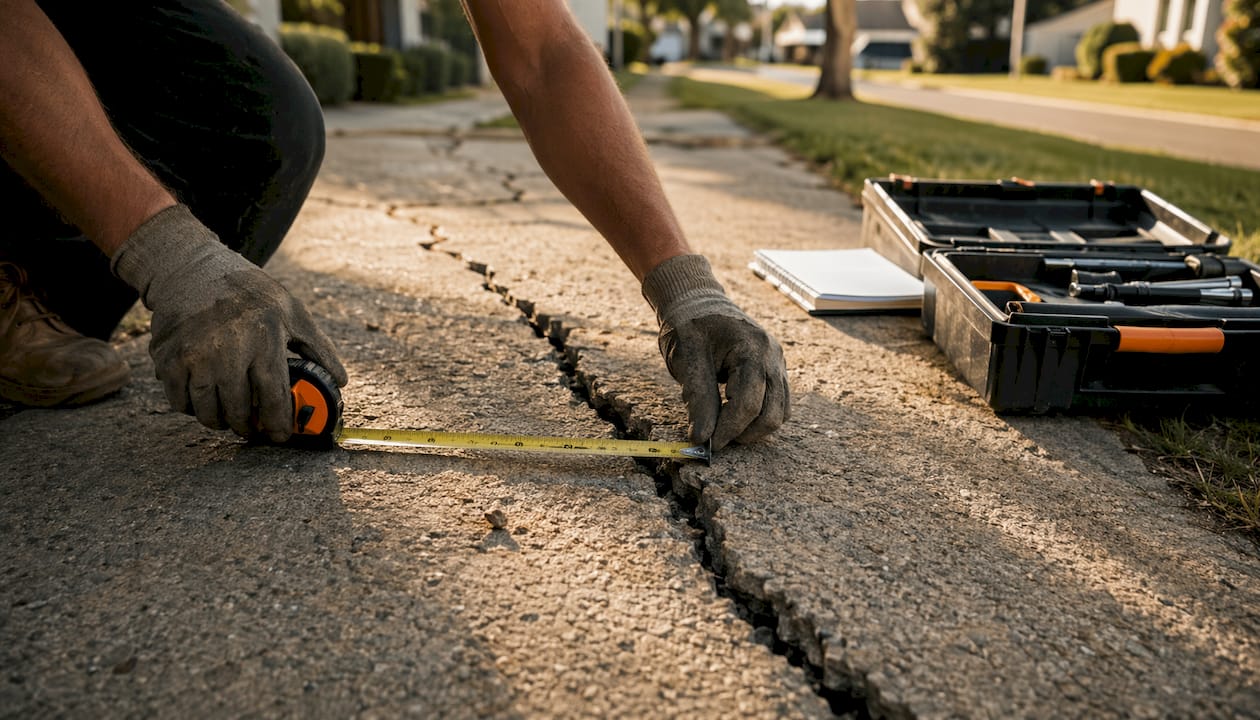
Why concrete footpaths crack: the core reasons
Concrete footpaths crack because the material naturally shrinks as it cures, and that shrinkage fights against the friction holding the slab to the ground beneath it. When tensile stress builds faster than the concrete can handle it, something gives. According to concrete research, the question is never whether a footpath will crack, but where, when, and how badly.
Multiple factors almost always combine to produce a crack. Rarely does a single cause act alone.
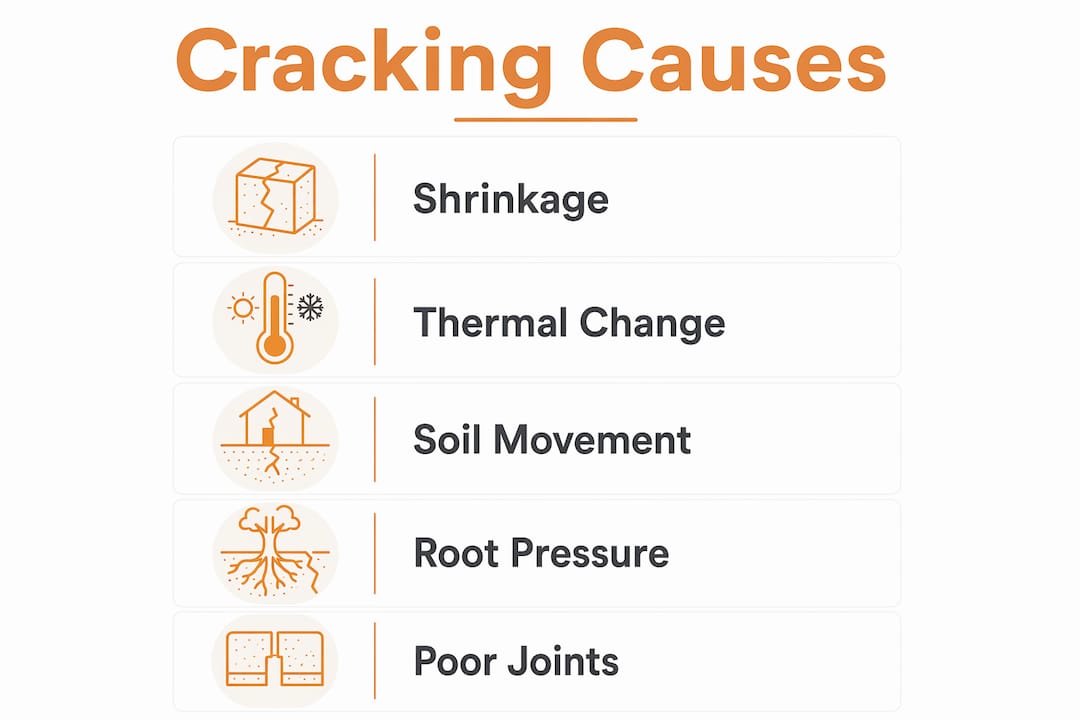
The main contributing factors include:
- Drying shrinkage: Concrete loses volume as mix water evaporates during and after curing, creating internal tension.
- Thermal movement: Slabs expand in heat and contract in cold, stressing the concrete repeatedly over time.
- Subgrade settlement: Poorly compacted or unstable soil shifts under the slab, removing support unevenly.
- Reactive soil movement: Clay soils swell when wet and shrink when dry, pushing and pulling the slab from below.
- Tree root pressure: Roots grow under the slab seeking moisture, then thicken and lift sections from below.
- Poor joint design or spacing: Without adequate control joints, cracks form randomly rather than at planned locations.
- Inadequate mix quality or curing: Weak concrete or rushed curing produces a slab with lower tensile strength and higher crack risk.
What actually causes the cracks you see on your footpath
Shrinkage: the unavoidable starting point
Every concrete slab shrinks as it dries. The Portland Cement Association notes that ordinary concrete loses a significant portion of its original volume to evaporation over the first year, with most of that movement happening early in the curing period. The slab cannot move freely because friction with the subgrade holds it in place, so tension builds until a crack relieves it. Shrinkage cracks tend to run parallel to control joints and are usually tight and shallow.
Thermal expansion and contraction
Concrete expands in summer heat and contracts on cold nights. A sudden drop in surface temperature can trigger cracking from excessive surface contraction, according to pavement research. This is especially common in arid climates and during spring and fall temperature swings. Over years of cycling, even well-poured slabs develop surface cracks from this repeated stress.
Subgrade settlement and reactive soils
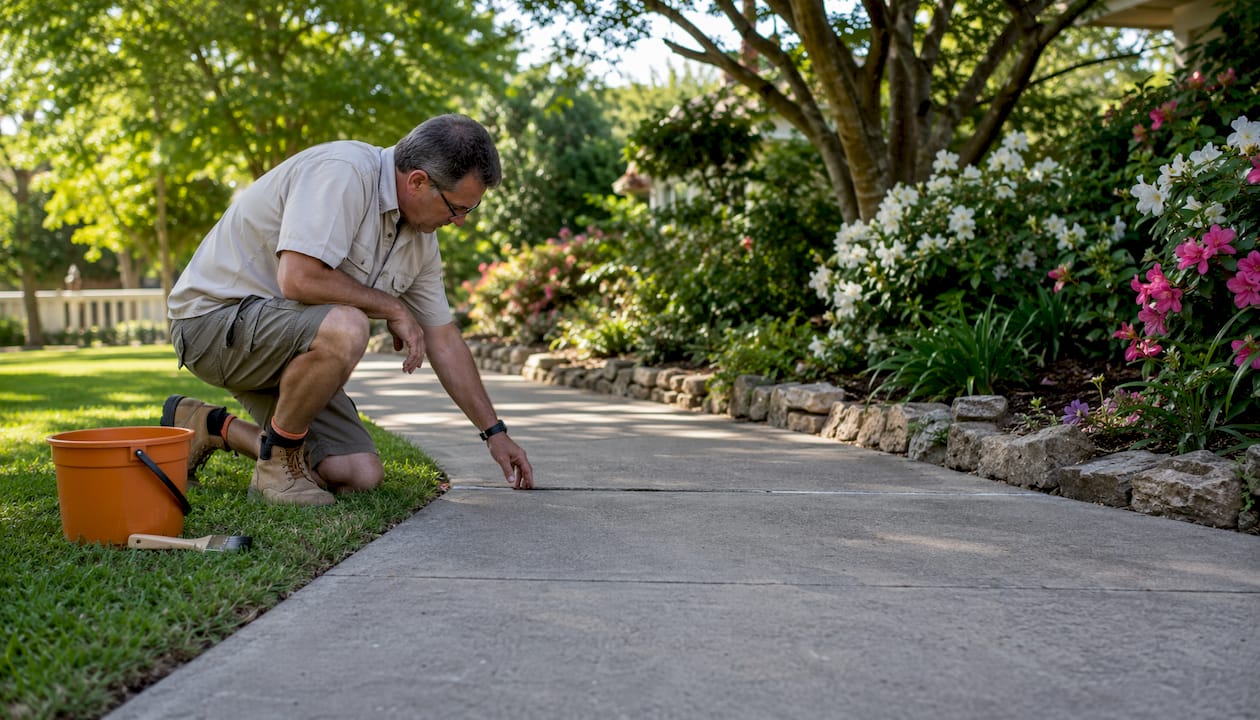
If the soil under a slab was not compacted properly before the pour, it settles unevenly under load and seasonal moisture changes. One section of the slab drops faster than another, and a diagonal crack opens to accommodate the shift. Clay soils make this worse. Expansive clay can move a subgrade significantly through wet-dry cycles, and a slab sitting directly on that clay rides every movement. Older properties with footpaths poured before subgrade preparation was standardized show this pattern clearly.
Tree root pressure
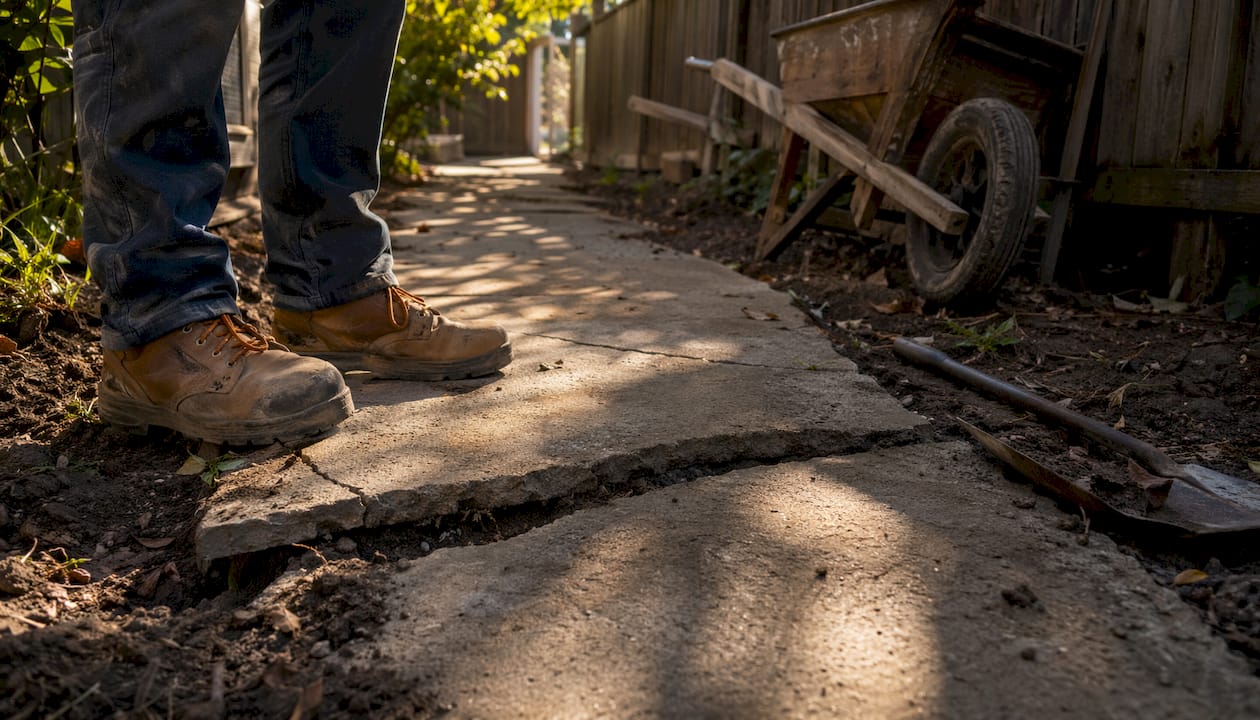
Tree roots push upward because they seek water beneath impermeable concrete surfaces. A mature root can lift a concrete slab by several inches over several years. The crack appears directly above the root, and the slab tilts to one side. Viewing trees as the enemy misses the point. The real issue is that conventional footpath design denies roots the moisture they need, so they push upward to find it.
Control joints and what happens without them
Control joints are planned cuts or formed planes that direct where concrete cracks, converting random fractures into predictable, manageable lines. Without them, or with joints spaced too far apart, cracks form wherever stress concentrates first. Modern jointing systems like TripStop use articulated hinge designs that also manage slab displacement when roots or soil movement push panels upward, forming a ramp rather than a sharp lip.
Common crack types and what they signal:
- Hairline cracks: Tight, shallow, usually from shrinkage. Cosmetic only.
- Diagonal corner cracks: Typically from subgrade settlement or differential movement.
- Cracks directly over tree roots: Slab lifted on one side, root visible or suspected below.
- Crazing or surface scaling: Weak surface layer from poor finishing or curing.
- Random pattern cracks: Often from missing or inadequate control joints.
Pro Tip: If you notice a crack running parallel to a control joint, it is almost certainly a shrinkage crack and poses no structural risk. A crack that radiates from a corner or runs diagonally across a panel deserves a closer look.
When a crack in your footpath is actually a problem
Most footpath cracks are cosmetic. Hairline cracks below a small threshold are normal drying shrinkage and do not weaken the slab. Cracks become structural when they exceed a certain width or produce noticeable vertical displacement. At that threshold, the slab has moved, not just shrunk, and the underlying cause needs attention.
Monitoring matters as much as measuring. A crack that stays the same width for six months is a different situation from one that visibly widens with seasonal changes. Progressive movement points to ongoing soil instability or root growth, neither of which patching alone will fix.
Warning signs that call for professional assessment:
- Crack width exceeds 1/4 inch (roughly the thickness of a pencil).
- One side of the crack sits higher than the other, creating a trip hazard.
- Multiple cracks radiate from a single point, suggesting a void or settlement below.
- Cracks appeared suddenly after heavy rain or a dry spell, pointing to reactive soil.
- The slab rocks or flexes when you step on it, indicating loss of subbase support.
- Cracking continues to worsen after a repair was already made.
How to repair cracks in your concrete footpath
Effective repair starts with understanding the cause. Patching a crack without addressing what opened it is a temporary fix at best.
- Assess the crack first. Measure width and check for vertical displacement. If the crack is wide or the slab has shifted, call a professional before attempting a DIY repair.
- Clean the crack thoroughly. Remove loose debris, dirt, and vegetation with a wire brush or compressed air. Any contamination prevents bonding.
- Undercut the edges. For cracks that warrant patching, undercutting into a V shape before applying filler improves mechanical bonding of the repair compound and extends its life significantly.
- Choose the right repair product. Narrow shrinkage cracks respond well to polyurethane or epoxy crack fillers. Wider structural cracks need a cementitious patching compound or, in severe cases, full section replacement.
- Fill and finish. Work the compound fully into the crack, screed flush with the surrounding surface, and allow adequate cure time before foot traffic resumes.
- Seal the surface. A penetrating concrete sealer applied after repair slows future water ingress and freeze-thaw damage.
- Address the underlying cause. If roots caused the crack, install a root barrier or redirect drainage to reduce root pressure. If settlement caused it, consult a contractor about subbase stabilization before repouring.
Pro Tip: Check your control joints after any repair. If a joint has filled with debris and can no longer compress, it cannot do its job. Clean it out and reseal it with a flexible backer rod and joint sealant so the slab can move without cracking.
For guidance on preventing driveway cracks and protecting your investment long term, the same principles apply to footpaths.
How long does a concrete footpath last, and how do you extend it?
Municipal footpaths typically last a couple of decades, with replacement usually driven by joint failure and surface heave rather than full concrete failure. A well-maintained residential footpath can reach or exceed that range. The difference almost always comes down to drainage, vegetation management, and timely minor repairs.
Drainage is the most overlooked factor. Water that pools against or beneath a slab weakens the subbase, promotes freeze-thaw damage, and feeds the root growth that causes heave. Keeping water moving away from the slab extends its life more than any surface treatment. For a deeper look at outdoor concrete drainage, the principles are straightforward but frequently skipped during installation.
Maintenance dos and don’ts:
- Do inspect your footpath each spring after freeze-thaw season and after any significant soil movement.
- Do seal cracks promptly before water infiltration widens them.
- Do manage tree canopy and root zones near footpaths, redirecting irrigation so roots have less reason to push upward.
- Don’t add water to concrete during finishing to make it easier to work. It weakens the slab and increases shrinkage.
- Don’t ignore joint deterioration. A failed joint transfers stress to the slab face.
- Don’t use deicing salts on concrete footpaths in winter. They accelerate surface scaling and spalling.
Pro Tip: Geofabric-covered agricultural drainage pipe installed beneath a footpath near trees can deliver moisture to root zones at depth, reducing the upward pressure that causes heave. It is a low-cost installation step that pays off over decades.
How concrete mix design affects cracking
The mix you pour determines how much stress the slab can handle before cracking. Adding extra water on site to improve workability is one of the most common and damaging mistakes. It decreases concrete strength and, more critically, increases long-term drying shrinkage and the risk of random cracking. Higher-strength concrete carries more tensile stress before cracking, which is why specifying the right mix from the start matters more than any repair product.
Reinforcement like steel mesh does not prevent cracking. Its job is to hold cracks tightly closed once they form, limiting width and maintaining slab integrity. Reinforcement controls crack width but is not a substitute for a well-designed mix, proper curing, and correctly spaced joints.
Why subbase preparation determines footpath durability
The subbase is what the slab sits on, and its quality sets the ceiling for how long the footpath lasts. According to the Federal Highway Administration, subgrade preparation is the most overlooked variable in long-term pavement performance. Soil that was not compacted to adequate density before the pour will settle unevenly, removing support from sections of the slab and opening diagonal cracks.
Stabilized subbases can actually increase cracking risk if they bond to the concrete slab. High friction between a bonded subbase and the slab restrains volume change, inducing higher stresses than a granular subbase would. The fix is ensuring the subbase is properly prepared and moistened before the pour, and that the interface does not bond to the concrete above it. For a full breakdown of subgrade preparation steps, the approach differs by soil type and site conditions.
Preventive measures that reduce cracking during installation
Getting the installation right is far cheaper than repairing a cracked footpath later. Applying current standards for mix design, curing, compaction, and joint spacing significantly reduces random cracking risk.
Key steps that make the biggest difference:
- Compact the subbase thoroughly before any concrete is placed. Loose fill or disturbed soil is the most common cause of early settlement cracking.
- Specify the correct mix strength for the application. Do not allow water to be added on site to improve workability.
- Cure the concrete properly. Keeping the slab moist during curing allows it to gain strength before drying begins, reducing shrinkage stress. Adequate curing is one of the most cost-effective crack prevention steps available.
- Install control joints at the right spacing. For residential footpaths, formed joints are preferred over saw-cut weakened planes because they provide full-depth separation and eliminate the risk of late sawing. Reinforcement must not extend through control joints, so joints remain free to move.
- Design for trees from the start. Where trees are present, consider articulated joint systems and subsurface drainage to reduce root pressure. Pavement maintenance strategies for durable outdoor surfaces follow the same logic: design for movement rather than against it.
- Avoid stabilized subbases that may bond to the slab unless friction is specifically managed.
Key Takeaways
Concrete footpaths crack when shrinkage, soil movement, root pressure, and poor installation combine to exceed the tensile strength the slab can carry.
| Point | Details |
|---|---|
| Shrinkage is universal | Concrete loses about 5% of its volume as it cures; every footpath experiences this stress. |
| Crack width signals severity | Hairline cracks under 1/16 inch are cosmetic; cracks wider than 1/4 inch with vertical displacement signal structural issues needing professional repair. |
| Footpath lifespan is 20–25 years | Joint failure and surface heave drive replacement, not full concrete failure. |
| Subbase prep is the biggest variable | Poorly compacted soil causes uneven settlement and diagonal cracking regardless of mix quality. |
| Prevention beats repair | Correct mix strength, proper curing, formed control joints, and drainage management reduce cracking risk from the start. |

VW Concreting has completed over 145 projects across Melbourne, with a team that understands how soil conditions, tree proximity, and mix quality interact to determine whether a footpath lasts 10 years or 25. Whether you need a new footpath designed to handle your site’s specific conditions or an existing one assessed and repaired, the team at VW Concreting brings the same attention to subbase preparation and joint design that separates a durable slab from one that cracks within a season. Explore driveway and slab work to see the standard of finish and construction detail applied across every project.
Leave A Comment