
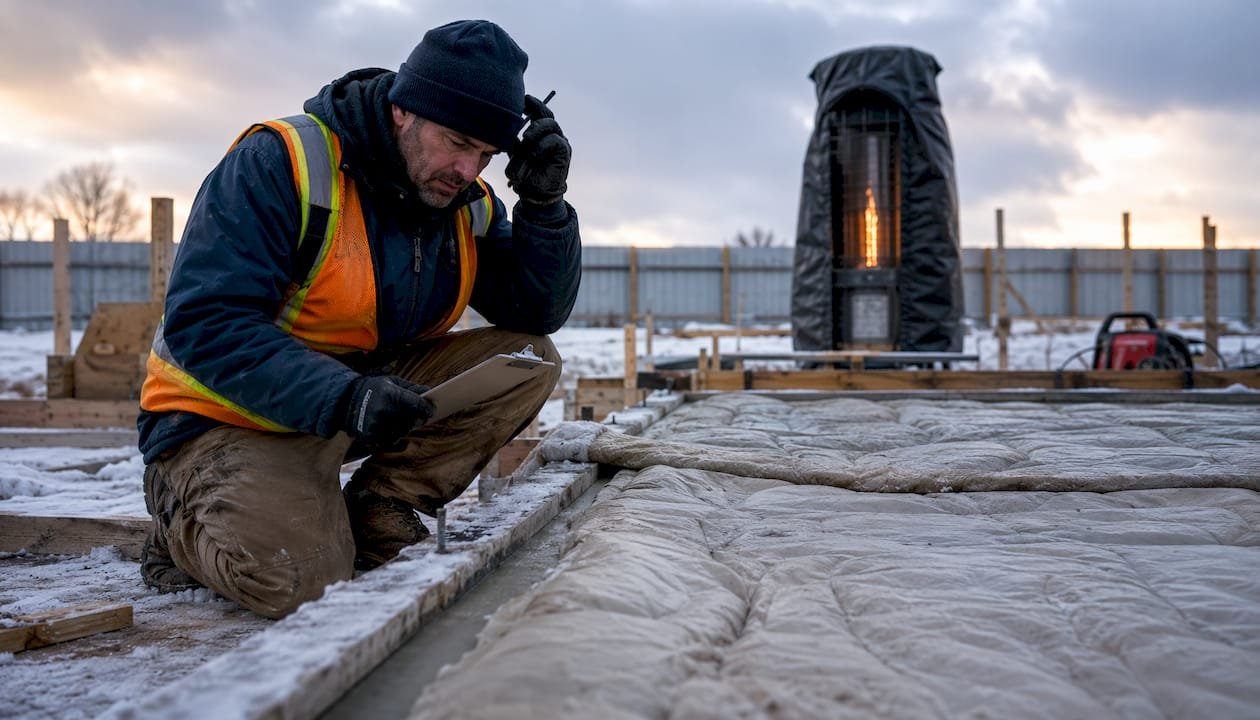
Follow strict temperature thresholds, protect the first 24–48 hours from freezing, and use approved accelerators and insulation rather than adding water to fix workability. Those three rules cover most common issues that occur on cold-weather pours. Concrete weather pouring best practices are not optional adjustments — they are the difference between a slab that reaches design strength and one that fails inspection.
The five rules that apply before every cold-weather pour:
- Check the 48-hour low forecast, not just the current air temperature.
- Measure subgrade temperature with a contact thermometer — a thawed air temp over frozen ground still kills the pour.
- Stage insulated blankets, heaters, and enclosures before the truck rolls in.
- Confirm admixture dosages and mix ticket specs with your ready-mix supplier in advance.
- Never add water on site to restore slump — it permanently lowers compressive strength.
Statistic: Concrete that freezes within the first 24–48 hours can lose a significant portion of its potential compressive strength. That loss is permanent.
ACI 306 governs cold-weather concreting in the U.S.; ACI 305 covers hot-weather conditions. Both documents treat temperature thresholds as contractual performance parameters, not suggestions.
Table of Contents
- 1. What “cold weather” actually means for concrete
- 2. Site preparation before the truck arrives
- 3. How to adjust your mix design for cold conditions
- 4. On-site handling, timing, and finishing when the window shrinks
- 5. How to protect and cure concrete in cold weather
- 6. How long to protect the slab and what strength to wait for
- 7. Hard limits: when you must delay the pour
- 8. Temperature monitoring, testing, and documentation
- 9. Quick rules for heat, rain, and wind
- 10. Cold-weather pour checklist you can print and use on site
- 11. Pouring concrete during snow, sleet, and freezing rain
- Key Takeaways
- The part of cold-weather concreting most contractors underestimate
- VW Concreting brings cold-weather expertise to every Melbourne project
1. What “cold weather” actually means for concrete
The temperature bands that matter for concrete placement break down as follows; you can also see industry examples of how builders approach these conditions in resilient home construction examples.
| Air Temperature | Condition | Key Risk |
|---|---|---|
| Below 40°F | High freeze risk | Hydration slows sharply; freeze damage likely |
| 40–50°F | Slow curing | Extended set times; early strength gain delayed |
| 50–60°F | Ideal range | Normal hydration; standard protection adequate |
| 60–70°F | Monitor | Minimal risk; standard procedures apply |
| 80–85°F | Challenging | Rapid set; evaporation control needed |
| Above 90°F | Special measures required | Plastic shrinkage, flash set risk |
ACI 306 defines cold weather as any period when the air temperature has fallen below 40°F or is expected to fall below 40°F within 24 hours of placement. That definition matters because contractors often make decisions based on the current reading, not the overnight low.
The most dangerous failure mode is early freezing. When fresh concrete freezes before it reaches approximately 500 psi compressive strength, the expanding ice crystals physically disrupt the cement paste matrix. That damage cannot be reversed by subsequent curing. Slow hydration is a secondary risk — below 50°F, strength gain slows dramatically, which extends the window during which the slab is vulnerable. Differential set between the surface and core is a third concern, particularly on thick slabs where the interior retains heat longer than the exposed top.
2. Site preparation before the truck arrives
Concrete must never be placed on frozen subgrade. Ground temperature matters as much as air temperature — a frozen base will sap heat from the bottom of the slab and cause uneven curing even if the air is above 40°F. Measure subgrade temperature at the planned pour depth with a contact thermometer or probe. If it reads below 40°F, thaw and insulate before ordering.
Pre-pour site checklist:
- Excavation at correct depth; compacted base confirmed.
- All ice and snow removed from subgrade, forms, and reinforcement.
- Subgrade temperature verified above 40°F at pour depth.
- Subgrade lightly dampened (not saturated) to prevent moisture draw from fresh concrete.
- Reinforcement on chairs; no bar resting directly on frozen ground.
- Forms braced and sealed; no gaps that allow cold air under the slab.
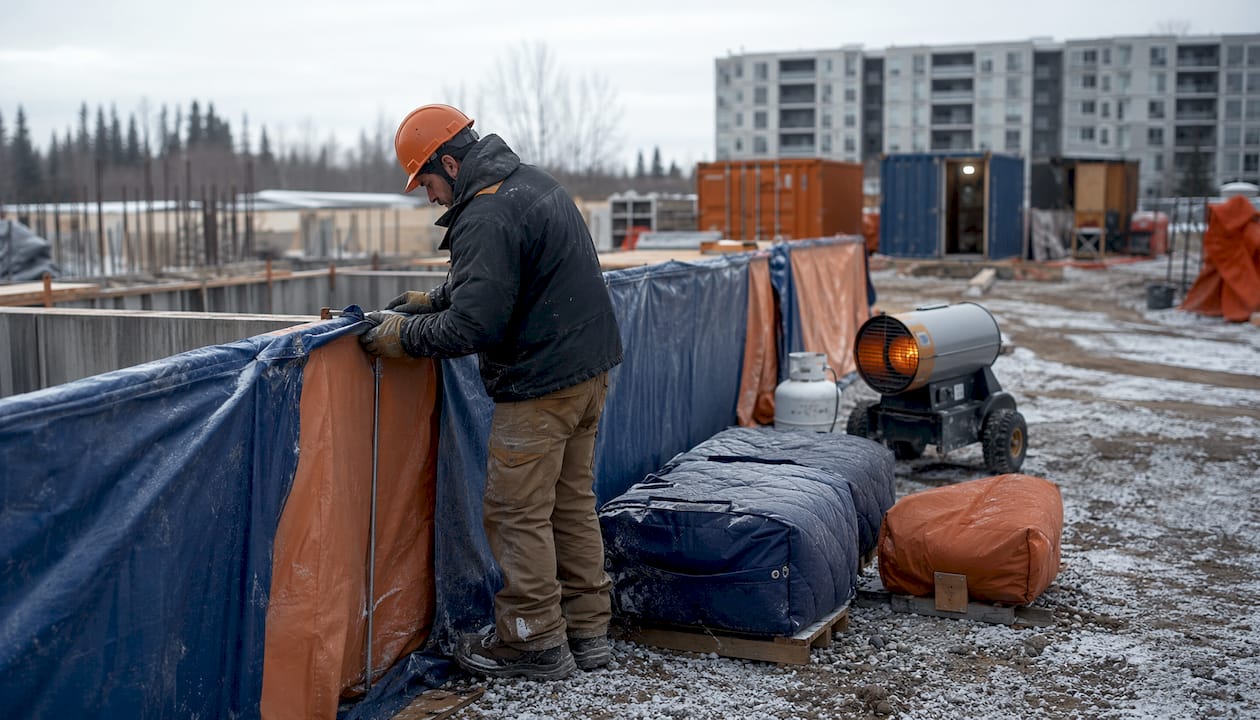
- Insulated blankets, propane or electric heaters, and temporary enclosure materials staged on site.
- Power supply confirmed for heaters and vibrators.
- Crew roles assigned and rehearsed before the truck arrives.
Pro Tip: Stage every piece of protection gear before you call for the truck. Once concrete is on site, you cannot pause the process — a crew scrambling to find blankets while the slab is setting is a crew that will produce a compromised pour.
For detailed subgrade preparation steps, including drainage and compaction requirements, review your site-specific plan before ordering.
3. How to adjust your mix design for cold conditions
The core principle: plan every mix adjustment with your ready-mix supplier before the pour day. Modifying the water-cement ratio on site to gain workability is one of the fastest ways to degrade performance — the supplier controls the levers that actually work.
What to specify with your supplier:
- Warm mixing water (up to 140°F is common) to raise fresh concrete temperature at discharge.
- Type III (high-early-strength) cement when accelerated strength gain is needed.
- Approved set accelerators (calcium chloride at no more than 2% by weight of cement for non-reinforced work; non-chloride accelerators for reinforced or prestressed elements).
- Air entrainment when the finished slab will be exposed to freeze-thaw cycling — typically 5–7% total air content for severe exposure per ACI 306.
- Maximum discharge temperature specified in the mix ticket.
Never add water on site to restore slump. Every gallon added dilutes the cement paste, raises the water-cement ratio, and reduces final compressive strength. If slump is low, call the supplier and discuss a superplasticizer or a revised mix — not a hose.
Record the manufacturer-recommended admixture dosage on the mix ticket. If an inspector or owner asks for documentation later, that ticket is your first line of defense. Admixture compatibility matters too — some accelerators interact with air-entraining agents; confirm with the manufacturer before specifying both.
4. On-site handling, timing, and finishing when the window shrinks
A concrete pour is a no-pause process, and working windows shrink significantly in extreme conditions. At 50–70°F, a standard mix gives you roughly 60–90 minutes of working time. In cold weather with a slow-setting mix, that window extends — but don’t mistake a longer set time for more forgiveness. Cold concrete is still vulnerable to freeze damage the entire time it remains plastic.
Crew role assignments for a standard cold-weather pour:
- Placer/vibrator operator — directs discharge, consolidates immediately, works in lifts.
- Screeder — strikes off to grade; must keep pace with placement to avoid cold joints.
- Bull-floater — closes the surface after screeding; timing depends on bleed water.
- Jointer — cuts control joints per the joint layout plan; do not delay jointing in cold weather.
- Finisher — final troweling after bleed water dissipates; never trowel bleed water into the surface.
- Curing compound operator — applies compound immediately after finishing; no gaps in coverage.
- Protection crew — deploys blankets and heaters as each section is finished; does not wait for the full slab to be complete.
Start the pour at the farthest point from the truck exit and work back. This prevents the truck from driving over fresh concrete and keeps the crew moving in one direction. Avoid cold joints by maintaining a continuous pour — if a delay exceeds 30 minutes in cold weather, treat the exposed edge as a cold joint and plan accordingly.
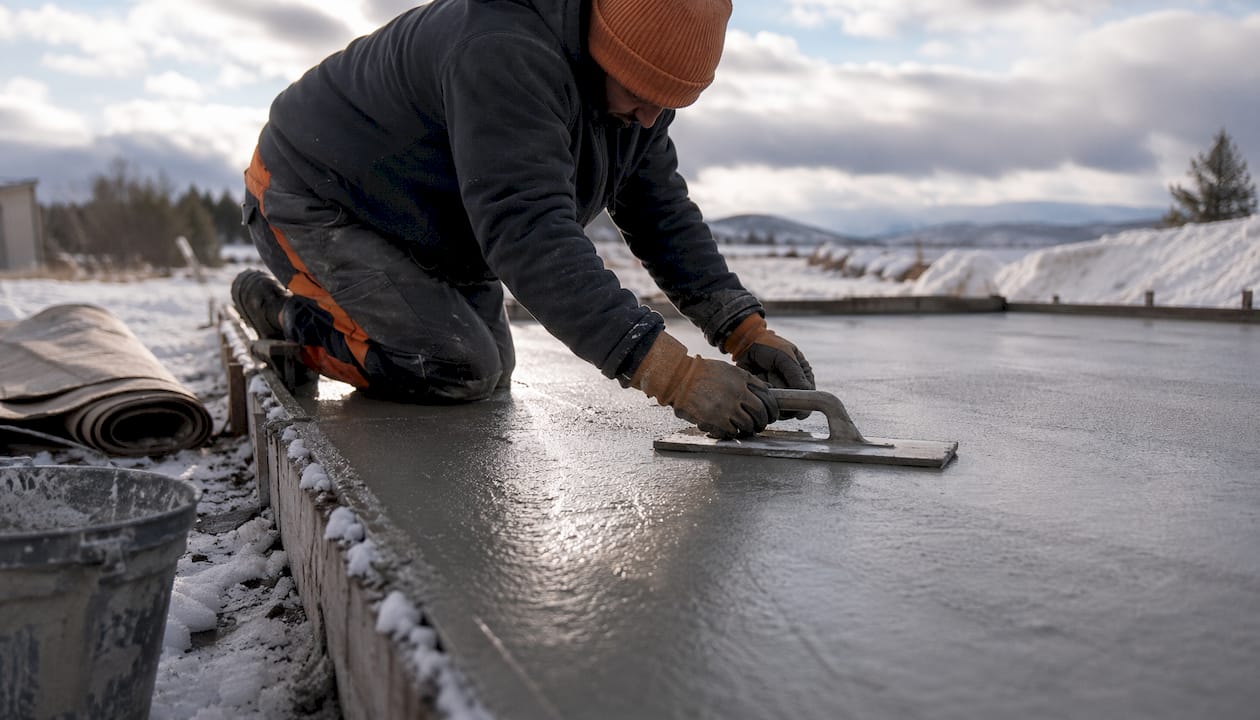
Wait for bleed water to fully dissipate before troweling. Premature finishing traps bleed water under the surface, which weakens the top layer and increases scaling risk. A brushed finish applied at the right time holds up far better than a troweled surface finished too early.
5. How to protect and cure concrete in cold weather
Maintaining slab temperature and moisture during the first several days is where most cold-weather pours succeed or fail.
Insulation and heating options:
| Method | Best Use | Notes |
|---|---|---|
| Insulated concrete blankets | Slabs, flatwork | Most common; R-value varies by product — check manufacturer specs |
| Rigid foam insulation | Under-slab, edges | Useful for ground insulation before and after pour |
| Heated enclosures (tenting) | Walls, columns, complex forms | Requires forced-air heaters; monitor CO levels |
| Straw/hay | Temporary, light frost only | Low R-value; not reliable below 20°F |
| Insulated forms | Vertical elements | Reduces heat loss from walls and columns |
- Maintain concrete temperature above 50°F for the full protection period. ACI 306 recommends a minimum of 50°F for the duration of the specified curing period.
- When using fuel-fired heaters inside enclosures, install CO monitors and ventilate adequately. Direct flame contact with concrete causes surface carbonation and dusting.
- Keep enclosure temperature uniform — hot spots near heaters and cold spots at edges create differential curing.
- Apply liquid curing compounds immediately after finishing when water curing is not feasible. A properly moisture-cured slab for 28 days can be approximately 50% stronger than one left to air-dry.
- Follow manufacturer instructions for blanket overlap, heater placement, and fuel consumption rates.
6. How long to protect the slab and what strength to wait for
The minimum threshold before exposing concrete to potential freezing is approximately 500 psi compressive strength. Always defer to the project specification or structural engineer if a higher threshold is specified — 500 psi is a floor, not a target.
| Protection Period | Condition | Minimum Duration |
|---|---|---|
| Standard cold weather (30–40°F lows) | Residential slab, standard mix | 7 days at 50°F minimum |
| Severe cold (below 20°F forecast) | Any flatwork | Extended per ACI 306; verify with engineer |
| High-early cement or accelerator used | Residential slab | Verify via field-cured cylinder breaks |
| Structural elements | Columns, walls, beams | Per structural engineer; typically 70% of design strength |
Testing options to determine when protection can be removed:
- Field-cured cylinders: Cast alongside the pour, cured in the same conditions as the slab. Break at 3, 7, and 28 days. The most defensible documentation method.
- Maturity meters: Correlate time-temperature history with strength gain using a pre-established maturity curve. Allows earlier, data-backed decisions on protection removal. Correlating maturity readings with early cylinder breaks avoids unnecessary extended heating costs while proving compliance.
- In-place tests (Windsor probe, pull-out): Useful for verification but require calibration for the specific mix.
Keep a temperature log for the first 48 hours minimum, recording readings at least every hour. Days 3–7, log at minimum every 4 hours while protection remains in place. Record cylinder break results, mix tickets, heater settings, and blanket configurations in your field report.
7. Hard limits: when you must delay the pour
Some conditions are non-negotiable. If any of the following apply, postpone.
- Frozen subgrade that cannot be fully thawed and verified before truck arrival.
- Forecasted lows below 20°F within 48 hours of placement and no heated enclosure available.
- Insufficient protection resources — not enough blankets, heaters, or fuel to maintain 50°F for the full required period.
- Active precipitation (snow, sleet, freezing rain) falling directly on the placement area with no cover in place.
- Crew capacity insufficient to complete placement, finishing, and protection deployment without gaps.
- Inability to maintain temperature logs or field-cured cylinders for the required duration.
The decision rule is simple: if you cannot guarantee the minimum temperature and moisture requirements for the specified early cure period, postpone. A delayed pour costs a day. A failed slab costs the project.
8. Temperature monitoring, testing, and documentation
Quality control in cold weather is not just about doing the work right — it is about proving you did.
| QC Item | Frequency | Tool/Method |
|---|---|---|
| Concrete temperature at discharge | Every load | Pocket thermometer or infrared |
| Slab surface temperature | Hourly, first 48 hours | Contact thermometer or thermocouple |
| Enclosure/ambient temperature | Hourly, first 48 hours | Data logger or thermocouple array |
| Field-cured cylinder breaks | 3-day, 7-day, 28-day | Compression testing lab |
| Maturity meter readings | Continuous or per schedule | Maturity meter per ASTM |
Use distributed thermocouples or data loggers for large pours — a single spot check misses cold zones at slab edges or near uninsulated forms. Record heater fuel levels and blanket setpoints in the daily field report. Sign and date every log. That paper trail protects the contractor if strength questions arise at 28 days.
9. Quick rules for heat, rain, and wind
Cold weather is the dominant risk in most U.S. markets, but heat, rain, and wind each demand specific responses.
Hot-weather essentials (ACI 305):
- ACI 305 limits fresh concrete temperature at placement to a maximum of 90°F; many commercial specs tighten that to 85°F.
- Schedule pours for early morning (6–9 AM) to take advantage of lower ambient temperatures.
- Request chilled water or ice in the mix from the supplier.
- Apply evaporation retarder when evaporation rate approaches 0.20 lb/ft²/hr — the ACI 305 threshold for mandatory evaporation control.
Rain and wind rules:
| Condition | Action |
|---|---|
| Light rain before pour | Cover subgrade; proceed if no standing water |
| Rain during plastic stage | Cover immediately with poly sheeting; do not finish until rain stops |
| Heavy rain on fresh concrete | Stop pour; protect placed concrete; assess dilution at surface |
| Wind above moderate speeds | Deploy windbreaks; monitor evaporation rate; consider retarder |
| Wind + low humidity | Treat as hot-weather condition regardless of air temp |
- Never let heavy rain hit plastic concrete before finishing. Rain dilutes the surface paste, raises the local water-cement ratio, and produces a weak, dusty surface layer.
- Use windbreaks (plywood panels, fabric screens) on exposed sites. Wind accelerates evaporation and can trigger plastic shrinkage cracking even at moderate temperatures.
For a full field protocol on wet-weather placement, the wet weather concreting guide covers site-specific defenses in detail.
10. Cold-weather pour checklist you can print and use on site
Pre-pour (complete before truck is called):
- 48-hour low forecast checked; no lows below 20°F without heated enclosure confirmed.
- Subgrade temperature verified above 40°F at pour depth.
- All ice, snow, and standing water removed from subgrade, forms, and rebar.
- Reinforcement on chairs; forms braced and sealed.
- Mix ticket reviewed: admixture type, dosage, warm water, air content, and max discharge temperature confirmed.
- Blankets, heaters, fuel, and enclosure materials staged and tested.
- Crew roles assigned; pour sequence rehearsed.
- Cylinder molds, labels, and field log forms on site.
Post-pour (complete within first hour and maintain through cure):
- Blankets deployed on finished sections immediately; no bare concrete exposed to cold air.
- Heater setpoints confirmed; CO monitor active if fuel heaters are in use.
- Temperature log started; first reading recorded at placement.
- Field-cured cylinders filled, labeled with location and pour time, and placed in a protected location matching slab conditions.
- Curing compound applied per manufacturer rate, or water-cure plan activated.
- Daily temperature checks scheduled for days 2–7.
- Protection removal date estimated based on cylinder break schedule or maturity target.
11. Pouring concrete during snow, sleet, and freezing rain
Precipitation during a cold-weather pour is a compounding risk, not just an inconvenience. Snow and sleet add free water directly to the surface of plastic concrete, raising the local water-cement ratio and producing a weak surface layer that will scale and dust under traffic. Freezing rain is worse — it chills the surface rapidly and can initiate freeze damage before the interior has gained any meaningful strength.
The first rule is coverage. Erect a temporary enclosure or tent over the entire pour area before the truck arrives if precipitation is forecast. Poly sheeting on a simple frame is adequate for light snow; a full heated tent is required for sustained freezing rain. Do not start a pour in active precipitation without that cover in place.
If precipitation starts unexpectedly during placement, stop finishing immediately and cover all plastic concrete with poly sheeting. Do not attempt to finish through the sheet. Once the rain or sleet stops, remove the sheeting carefully, assess the surface for dilution (look for a milky sheen or soft surface paste), and resume finishing only if the surface has not been compromised. A concrete placement plan that accounts for precipitation scenarios saves the crew from making these calls under pressure.
Snow accumulation on forms or subgrade before the pour is a hard stop. Even a thin layer of snow in contact with fresh concrete introduces enough free water and cold to disrupt the paste at the interface. Sweep and blow all snow from forms, rebar, and subgrade, then verify temperatures before ordering.
Key Takeaways
Cold-weather concrete success comes down to three non-negotiables: verify subgrade temperature, protect the slab for the full early-age period, and never add water on site to fix workability.
| Point | Details |
|---|---|
| Freeze risk window | Concrete frozen within 24–48 hours of placement can lose up to ~50% of potential compressive strength permanently. |
| Subgrade temperature | Always measure ground temp at pour depth; never place on frozen subgrade regardless of air temperature. |
| No on-site water additions | Adding water to restore slump lowers final compressive strength and increases shrinkage cracking risk. |
| Protection duration | Maintain minimum 50°F until the slab reaches at least 500 psi; verify with field-cured cylinders or maturity meters. |
| VW Concreting | VW Concreting applies ACI-aligned cold-weather protocols on every Melbourne pour, with full temperature logging and documented cylinder break schedules. |
The part of cold-weather concreting most contractors underestimate
The formal guidance — ACI 306 thresholds, admixture specs, cylinder break schedules — is well-documented. What gets crews into trouble is the gap between knowing the rules and executing them under time pressure on a cold morning when the truck is already rolling.
The single most common failure pattern is underestimating how much the working window compresses when temperature, wind, and humidity combine. A crew that rehearsed a pour in 65°F weather will be caught flat-footed at 38°F with a stiff mix and a 45-minute window. The fix is not more experience — it is a pre-pour rehearsal that accounts for the actual forecast conditions, not average conditions.
The second thing crews consistently miss is cylinder labeling. Field-cured cylinders that are not labeled with pour location and time are nearly useless for QC purposes. If a strength question arises at 28 days, you need to know exactly which section of the slab that cylinder represents. Write the location, pour time, and crew member’s initials on the mold before it is filled, not after.
Protection removal timing is where the maturity meter pays for itself. Contractors who rely solely on calendar days often over-protect (burning fuel and delaying follow-on trades) or under-protect (pulling blankets on a schedule that doesn’t account for actual temperature history). A maturity reading correlated with early cylinder breaks gives you a defensible, data-backed answer.
VW Concreting brings cold-weather expertise to every Melbourne project
Cold-weather pours done right require planning that starts days before the truck arrives, not hours. VW Concreting has completed numerous projects across Melbourne, applying documented temperature monitoring, ACI-aligned mix specifications, and full cylinder break schedules on every placement where conditions demand it.

Whether you need a residential driveway or slab placed to spec in challenging conditions or a commercial project that requires full QC documentation, the VW Concreting team handles the planning, protection, and paperwork from start to finish. For builders and contractors who need a crew that treats cold-weather protocols as standard practice rather than an afterthought, get in touch with VW Concreting to discuss your next project.
Leave A Comment