
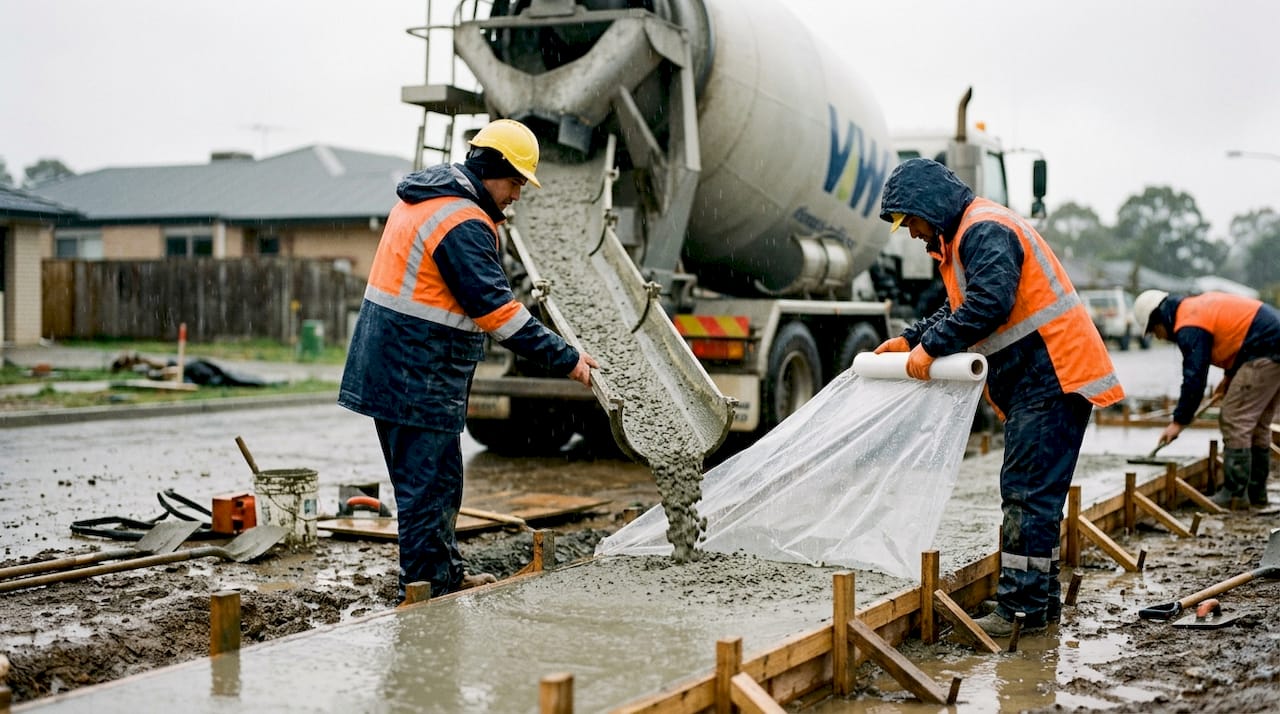
Wet weather concreting procedures are the set of site controls, mix adjustments, and protective measures that prevent rain from degrading fresh concrete before it reaches final set. Known formally in the industry as “adverse weather concreting,” these procedures are governed by standards including ACI 301-20 and BS EN 13670, both of which prohibit concrete placement during rain unless adequate shelter is in place. Rain falling on fresh concrete in the first 2–6 hours can reduce compressive strength by up to 55% in heavy rain events. That number alone explains why preparation before the first truck arrives is not optional. This guide covers every critical stage, from site setup to curing, so your pour holds up regardless of what Melbourne’s weather delivers.
What are the critical time windows when concrete is vulnerable to rain?
The first 4–8 hours after placement represent the highest risk window for rain damage. During this period, concrete is still in its plastic stage: water can enter the surface, dilute the cement paste, and permanently alter the water-cement ratio. After final set at around 8 hours, light rain becomes far less harmful and can actually assist curing by maintaining surface moisture.
Understanding the difference between initial set and final set is critical. Initial set typically occurs between 2 and 4 hours after placement, depending on mix design, temperature, and admixtures. During this window, the concrete surface is still workable and extremely vulnerable. Any rain that lands on it and gets worked into the surface creates laitance, a weak, dusty layer that dusts off under traffic and signals a compromised pour.
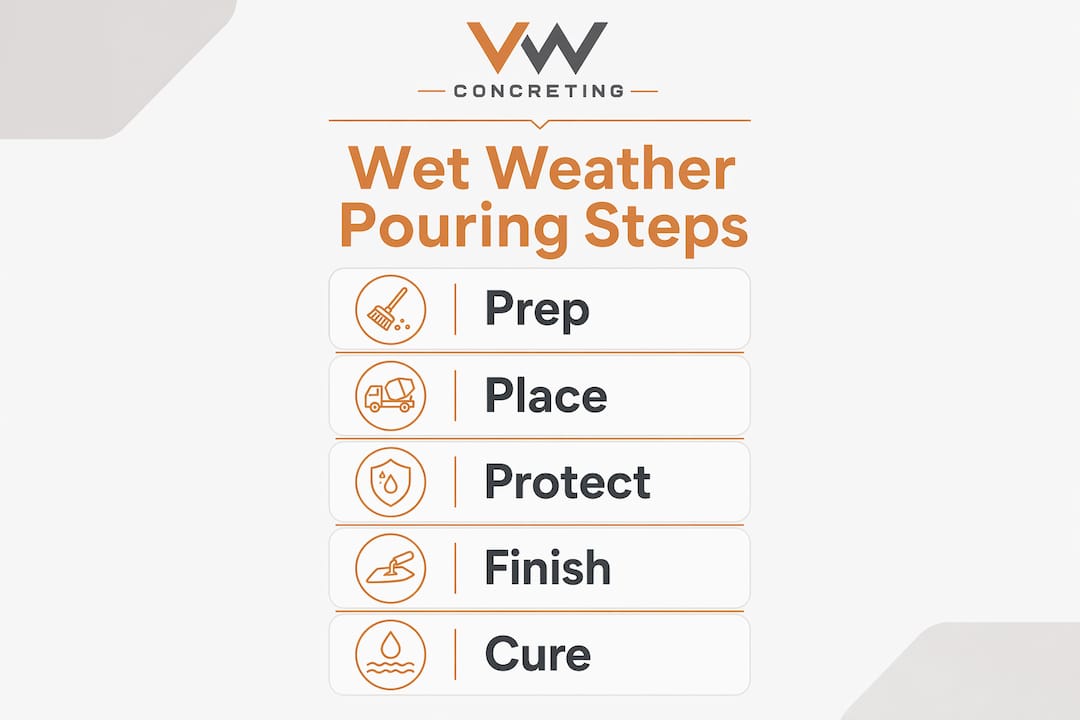
Here is a step-by-step approach to protecting concrete during each phase:
- Before placement. Grade the subgrade to a minimum 2% slope so water drains away from the pour area. Confirm drainage channels are clear. Stage all protective materials on site before the truck arrives.
- During placement. Erect windbreaks or weatherproof screens around the pour zone. Windbreaks outperform tarps because they block wind-driven rain without creating pooling risks on the cover itself.
- Immediately after screeding. Tent plastic sheeting on frames positioned 6–12 inches above the concrete surface. Never lay plastic directly on fresh concrete. Direct contact causes discoloration and traps bleed water, which weakens the surface layer.
- During initial set (0–4 hours). Monitor the pour continuously. If rain intensifies beyond a drizzle (above 0.3mm per hour), stop placement immediately. Do not attempt to cover and continue.
- After initial set (4–8 hours). Maintain tented coverage. The concrete is firming but not yet rain-proof. Light drizzle is manageable; moderate rain still requires full shelter.
Pro Tip: Stage your tenting frames and plastic sheeting the day before the pour. If rain starts mid-pour and your materials are still in the truck, you have already lost the window.
Site drainage is as important as surface protection. Proper subgrade grading at 2% slope prevents standing water from migrating under or around the slab. Standing water beneath a pour creates soft spots that cause long-term settlement. Confirm the subgrade is firm and drained before the batch arrives.
How to adjust mix design and finishing for wet conditions
A well-designed mix is your first line of defense against rain damage. The water-cement ratio is the single most important variable. Keeping it at or below 0.45 gives the mix less free water to be displaced by rain intrusion. High-range water reducers (HRWR admixtures) let you achieve workable slump without adding excess water, which is the correct approach for rainy day concrete work.
Key mix and finishing adjustments for wet weather:
- Use accelerating admixtures. Accelerators shorten the time to initial set, reducing the vulnerability window. This is especially useful when rain is forecast within 3–4 hours of placement.
- Heat the mix water or aggregates if ambient temperature drops below 10°C. Concrete delivery temperature should sit between 10°C and 25°C to maintain proper hydration chemistry.
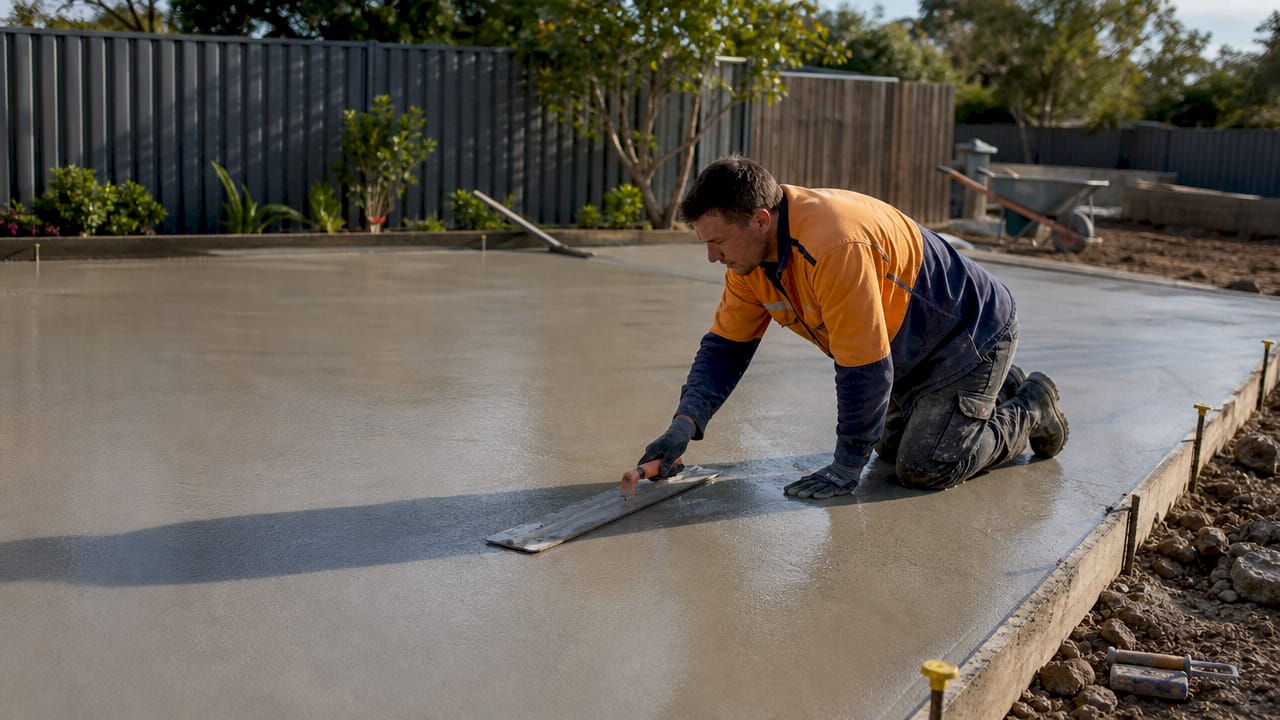
- Delay final finishing. Do not trowel or broom finish while rain is present. Finishing operations work bleed water and any surface moisture into the paste, creating a weak top layer. Wait until the surface is firm enough that your footprint sinks less than 6mm.
- Apply evaporation retarders post-screeding. In damp conditions, evaporation retarders slow surface drying and give the bleed water time to rise and escape before finishing. This prevents premature crusting that traps moisture below.
- Never add water to restore slump. If a load arrives during rain and the mix has stiffened, adding water on site is prohibited under QA standards. Discard the load and order a fresh batch.
Pro Tip: Apply a monomolecular evaporation retarder immediately after screeding, before any finishing pass. It buys you time without altering the mix chemistry.
Wet concrete finishing techniques require patience above all else. The instinct to finish quickly and get off site is exactly what causes surface failures. A brushed concrete finish applied too early in wet conditions produces a surface that scales within the first winter. Wait for the right timing cues, not the clock.
What are the best curing methods when it rains?
Curing is not the same as drying. Curing is the process of maintaining adequate moisture and temperature so cement hydration continues and the concrete reaches its design strength. Rain complicates this because uncontrolled moisture during the plastic stage increases porosity, while controlled moisture after final set is exactly what the concrete needs.
The table below compares the most common curing methods and their suitability for wet weather conditions:
| Curing method | How it works | Wet weather suitability |
|---|---|---|
| Burlap or cotton mats | Absorb and retain moisture against the surface | Excellent. Prevents both over-wetting and drying. |
| Water sprays | Continuous misting keeps surface moist | Good after final set. Risk of erosion if applied too early. |
| Curing compounds | Membrane applied post-finishing seals surface moisture | Excellent. Reduces reliance on weather conditions. |
| Plastic sheeting (direct) | Laid on surface to trap moisture | Poor. Causes discoloration and bleed water trapping. |
| Natural rain (after set) | Ambient rain maintains surface moisture | Acceptable after 8 hours. Beneficial for extended curing. |
Wet curing must start immediately after finishing and continue for a minimum of 7 days. That 7-day minimum is not a guideline. It is the threshold below which surface durability is measurably compromised. Burlap is the preferred material because it holds moisture evenly without pooling. Lay it flat, keep it wet, and weight the edges so wind does not lift it.
Curing compounds work well in wet weather because they do not depend on ambient conditions after application. Spray them on immediately after the final finishing pass. They form a membrane that locks in the mix water already present, which is sufficient for hydration. The risk with curing compounds in rain is timing: apply them too early and bleed water is trapped; apply them too late and the surface has already dried unevenly.
Light rain after final set is genuinely beneficial. After 8 hours, rain assists curing by keeping the surface moist without the erosion risk present during the plastic stage. The key is knowing when that transition has occurred. Press your thumb firmly on the surface. If it leaves no mark, final set is complete and rain is working for you, not against you.
How to identify and fix rain damage on fresh concrete
Rain damage on fresh concrete produces three recognizable signs: laitance, dusting, and scaling. Laitance is a chalky, weak layer on the surface caused by excess water rising to the top and diluting the cement paste. Dusting means the surface powders under foot traffic. Scaling is the flaking of the top layer, usually appearing in the first freeze-thaw cycle after placement.
The most common cause of rain damage is not the rain itself. It is a crew member dragging a float across a rain-wet surface to “fix” the appearance, working diluted water into the paste and creating a weak layer that fails within months. Stop the finishing operation. Cover the concrete. Assess after the rain passes.
Assessing damage requires a systematic approach:
- Hammer test. Strike the surface with a hammer. A hollow sound indicates delamination or a weak subsurface layer.
- Moisture check. Use a surface moisture meter to identify zones of elevated water content that signal rain intrusion.
- Core sampling. For structural slabs, extract cores and test compressive strength in a lab. Compare results against the specified design strength.
- Visual inspection. Map laitance zones, surface crazing, and discoloration. Photograph everything for QA documentation per CDM 2015 and BS EN 13670 requirements.
When damage is confirmed, the repair options depend on depth. Shallow laitance responds to grinding or scabbling, which removes the weak layer and exposes sound concrete beneath. Deeper damage requires a polymer overlay or bonded topping to restore surface integrity. If core strength falls below the specified design value, the pour must be rejected and replaced entirely. Discarding a rain-damaged load is always cheaper than repairing a failed slab after the structure is loaded.
Key Takeaways
Successful wet weather concreting depends on acting before rain arrives, not after it starts.
| Point | Details |
|---|---|
| Protect the 0–8 hour window | Tent plastic sheeting on frames immediately after screeding to block rain during the highest-risk period. |
| Keep water-cement ratio low | Use HRWR admixtures to maintain workability without adding water that rain can further dilute. |
| Never finish in rain | Delay troweling and brooming until rain stops and the surface passes the footprint test. |
| Cure for at least 7 days | Apply burlap or a curing compound immediately after finishing and maintain moisture for the full minimum period. |
| Document every rain event | Photograph damage, record weather conditions, and follow QA protocols per ACI 301-20 and BS EN 13670. |
What I’ve learned from pouring concrete through Melbourne winters
The single biggest mistake I see on wet weather pours is reactive protection. A crew pours the slab, rain starts, and someone runs to find a tarp. By the time the surface is covered, 20 minutes of moderate rain have already hit fresh concrete. That is enough to cause measurable strength loss.
The fix is simple and costs nothing extra: treat weather protection as part of the pour setup, not a contingency. Frames go up before the truck arrives. Plastic is staged and ready. The crew knows the threshold, drizzle is manageable, anything heavier stops the pour.
The second mistake is confusing stiffening with setting. Concrete stiffens as bleed water rises and evaporates. That surface firmness is not final set. I have watched experienced workers start finishing a slab that looked ready, only to work rain moisture into a surface that was still in its plastic stage. The result was a slab that dusted within six months. The concrete trafficability standards exist precisely to define these transitions. Use them.
Weather contingency planning also means knowing when to call the pour off entirely. Postponing a pour costs a day. Replacing a failed slab costs weeks and the full material budget. The math is straightforward.
— Vic
VW Concreting’s approach to wet weather pours in Melbourne
Melbourne’s weather does not wait for convenient pour days. VW Concreting has completed over 145 projects across the city, and a significant number of those required active weather management from site setup through curing.

VW Concreting’s team arrives with protective structures staged, mix designs adjusted for ambient conditions, and a clear protocol for monitoring the pour from placement through final set. Whether the project is a residential driveway or a commercial slab, the approach is the same: protect the concrete before it needs protecting. For projects requiring a full weather-adapted pour plan, the driveways and slabs service page outlines what that looks like in practice. For a broader project scope, the comprehensive project page covers the full range of VW Concreting’s capabilities across Melbourne.
FAQ
Can you pour concrete in the rain?
Concrete shall not be placed during rain unless adequate shelter is provided, per ACI 301-20 and BS EN 13670. Light drizzle below 0.3mm per hour is manageable with tented coverage, but moderate to heavy rain requires stopping placement immediately.
How long does concrete need to be protected from rain?
The critical protection window is the first 4–8 hours after placement. After final set at approximately 8 hours, light rain is no longer harmful and can assist curing by maintaining surface moisture.
What happens if rain gets on fresh concrete?
Rain dilutes the cement paste near the surface, raising the water-cement ratio and producing laitance, a weak, dusty layer. In heavy rain during the first 2–6 hours, compressive strength can drop by up to 55%.
How do you cure concrete in the rain?
Apply burlap or cotton mats immediately after finishing and keep them continuously wet for at least 7 days. Alternatively, spray a curing compound right after the final finishing pass to seal in mix water and reduce dependence on ambient conditions.
What should you do if rain damages a fresh concrete pour?
Stop all finishing operations, cover the surface, and assess after the rain passes using a hammer test, moisture meter, and visual inspection. Document all findings per QA requirements, and repair with grinding, scabbling, or a polymer overlay depending on damage depth.
Leave A Comment