
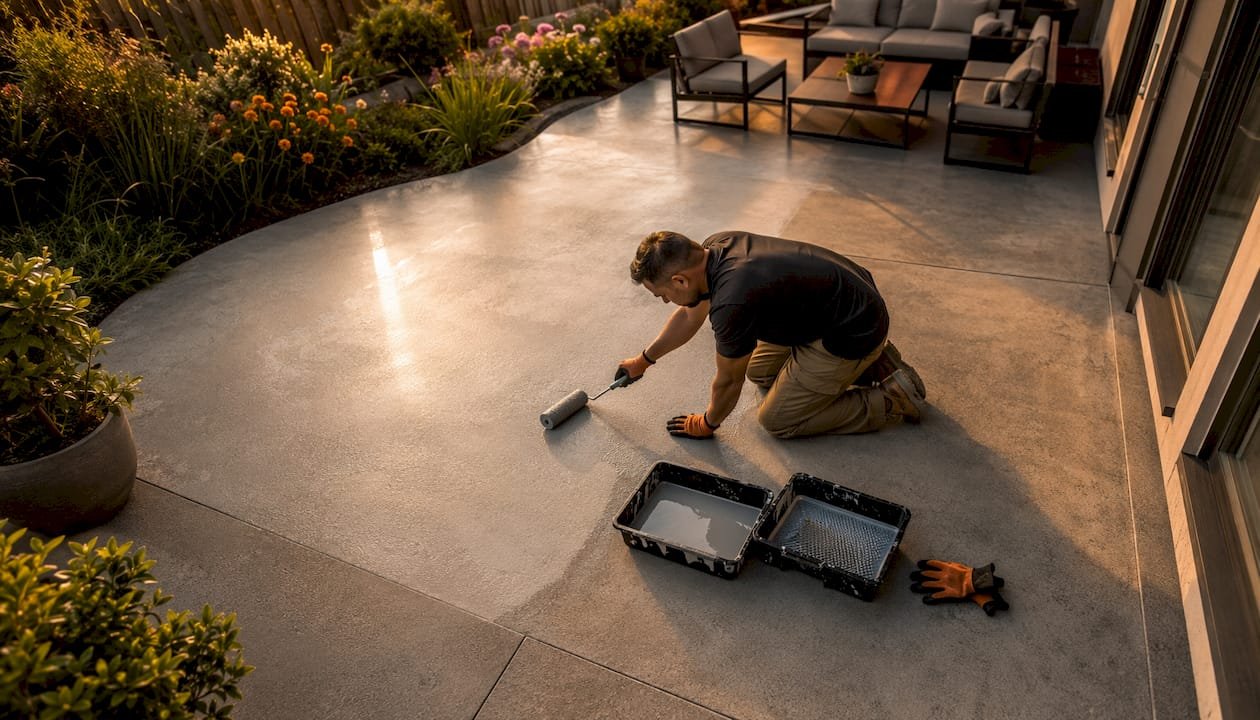
Yes, you should seal your concrete patio. For most homeowners, it’s one of the highest-return maintenance tasks you can do — low cost, straightforward to apply, and it prevents damage that’s expensive to fix later.
The three reasons that drive this recommendation:
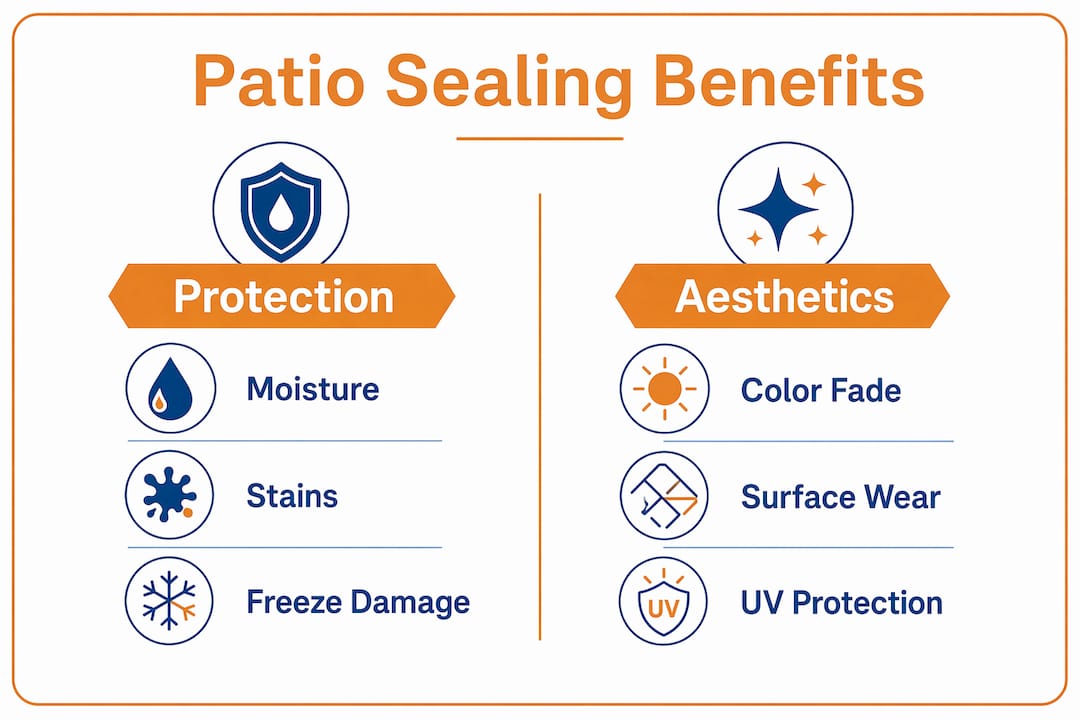
- Moisture protection and freeze–thaw prevention. Water works into concrete’s pores, freezes, expands, and breaks the surface apart. A sealer reduces water absorption, cutting the risk of spalling and surface cracking in cold climates.
- Stain and oil resistance. Unsealed concrete soaks up grill grease, rust, and tannins from leaves almost instantly. A sealer gives you time to wipe spills before they become permanent.
- UV and color preservation. Sun bleaches plain concrete and fades stamped or stained finishes. Sealing slows that process and keeps the surface easier to clean.
One caveat: sealing won’t help a patio with poor drainage, an unstable sub-base, or active structural cracking. Applied over those problems, a sealer can actually trap moisture and speed up failure.
Table of Contents
- What does sealing actually protect your patio from?
- How do sealers actually protect concrete?
- Which sealer type is right for your patio?
- How often does a concrete patio need to be resealed?
- What does sealing a patio cost, and is DIY worth it?
- Common mistakes homeowners make when sealing a patio
- How to seal a concrete patio: the core steps
- How to choose the right sealer at the store or with a contractor
- When is sealing truly essential versus optional?
- Key Takeaways
- The contractor’s honest take on sealing
- Useful sources for further reading
- VW Concreting handles the jobs where prep matters most
What does sealing actually protect your patio from?
Sealing is preventative maintenance, not a repair. It shields concrete from the four forces that degrade it fastest.
- Stain resistance. Concrete is porous by nature. Without a sealer, a dropped bottle of cooking oil or a rust ring from a planter can stain permanently within minutes. A film-forming sealer gives the surface a barrier that lets you wipe spills clean. Decorative and stamped patios get the biggest payoff here because stains are far more visible against colored or patterned finishes.
- Freeze–thaw protection. Water expands roughly 9% when it freezes. When that expansion happens inside concrete pores repeatedly over a winter, the surface spalls — small chips and flakes break away. Sealers reduce surface spalling risk by limiting how much water gets in.
- UV and color protection. Think of a sealer as sunscreen for concrete. It slows the UV-driven bleaching that turns a rich charcoal slab gray and fades stamped finishes over time.
- Abrasion and wear resistance. Foot traffic, patio furniture dragged across the surface, and grit ground underfoot all erode concrete slowly. A sealer adds a sacrificial layer that takes the wear instead of the slab itself.
- Easier cleaning and reduced dusting. Sealed concrete doesn’t shed fine dust the way bare concrete does, and a quick hose-down removes most surface dirt.
Plain concrete benefits from all of the above. Decorative, stamped, or colored concrete gets an additional aesthetic payoff: sealers enhance color and add sheen that makes the finish look intentional rather than weathered.
How do sealers actually protect concrete?
There are two fundamentally different ways a sealer works, and choosing the wrong category for your situation is one of the most common mistakes homeowners make.
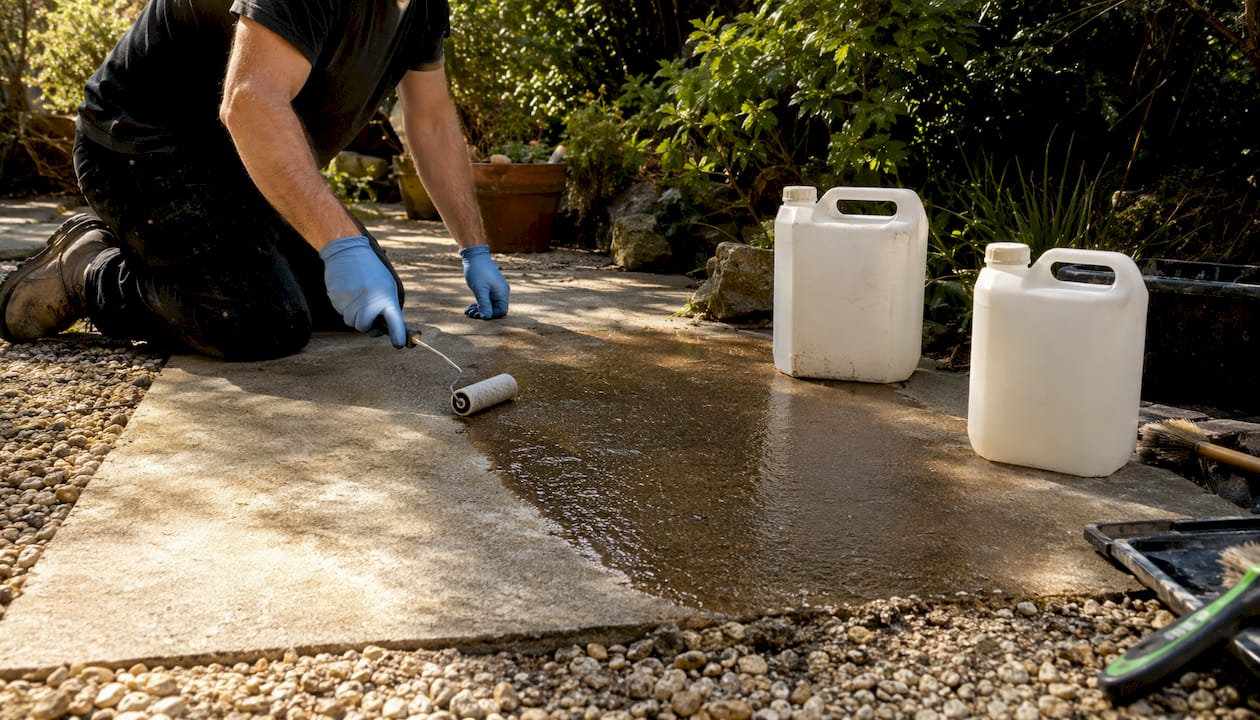
Penetrating sealers (silanes, siloxanes, silicates) soak into the concrete’s pore structure and react chemically to form a water-repellent barrier below the surface. The concrete still looks essentially the same — no sheen, no color shift. Because the sealer lives inside the slab rather than on top of it, it can’t peel, and the surface remains vapor-permeable. That breathability matters in freeze–thaw climates: moisture vapor can escape rather than getting trapped and causing pressure from within.
Film-forming sealers (acrylics, polyurethanes, epoxies) sit on top of the concrete as a continuous coating. They deliver more visible color enhancement and gloss, and they provide a stronger physical barrier against stains and abrasion. The trade-off is that surface films can peel if moisture is trapped beneath them, and they need periodic recoating as the film wears. Solvent-based versions tend to darken concrete more than water-based ones, which is worth knowing before you buy.
For freeze–thaw climates, penetrating sealers are often the safer long-term choice because they don’t trap vapor. For decorative patios where appearance matters most, a quality acrylic or polyurethane film-former delivers the color pop and sheen most homeowners want.
Which sealer type is right for your patio?
| Sealer Type | Best For | Durability / Lifespan | UV / Color Retention | Slip Resistance | Gloss / Appearance | Application Difficulty | Relative Cost |
|---|---|---|---|---|---|---|---|
| Water-based acrylic | Decorative, stamped, general use | 1–3 years | Good | Moderate (add grit for wet areas) | Low to high gloss | Easy | Low |
| Solvent-based acrylic | Stamped, colored, exposed aggregate | 2–4 years | Very good | Lower (slippery when wet) | High gloss / wet-look | Moderate | Low–moderate |
| Penetrating silane/siloxane | Plain concrete, freeze–thaw climates, poolside | 5–10 years | No color change | Unchanged (natural texture) | None / natural look | Easy–moderate | Moderate |
| Polyurethane | High-traffic patios, plain or decorative | 3–5 years | Excellent | Moderate | Satin to high gloss | Moderate | Moderate–high |
| Epoxy | Garage-adjacent areas, heavy use | 3–7 years | Fair (can yellow outdoors) | Moderate | High gloss | Difficult | High |
Quick pros/cons by category:
- Water-based acrylic: Easy to apply, low odor, recoatable without stripping. Shorter lifespan in harsh climates.
- Solvent-based acrylic: Richer color enhancement, better penetration into dense concrete. Higher VOCs, flammable, needs ventilation.
- Penetrating silane/siloxane: Longest service life, invisible finish, vapor-permeable. No aesthetic enhancement; won’t help stained or colored finishes visually.
- Polyurethane: Tough, abrasion-resistant, good UV stability. Harder to recoat without prep; more expensive.
- Epoxy: Extremely durable indoors. Tends to yellow under UV outdoors — generally not the best choice for open patios.
By use case: Stamped or colored patios do best with a solvent-based or water-based acrylic. Exposed aggregate surfaces need a penetrating or low-build acrylic that won’t fill the texture. Poolside areas call for a penetrating sealer or an acrylic with an anti-slip additive — high-gloss wet-look products reduce traction significantly when wet. In freezing climates, prioritize a penetrating silane/siloxane or a breathable acrylic over a thick film-former.
How often does a concrete patio need to be resealed?
The honest answer: it depends on what you used and what your patio faces. Exterior concrete generally needs resealing every one to three years for film-forming acrylics, and every five to ten years for penetrating sealers, depending on product quality and climate. Climate, traffic, and UV exposure all push that window shorter.
Factors that shorten the interval:
- Heavy foot traffic or furniture dragging
- Direct sun exposure most of the day
- Freeze–thaw cycles through winter
- Proximity to a pool (chlorine splash degrades some coatings)
- Shaded, mildew-prone zones where moisture lingers
Pro Tip: Do the water bead test. Splash a cup of water on the surface. If it beads up and rolls off, the sealer is still working. If it soaks in and darkens the concrete within a few seconds, it’s time to reseal. Also watch for loss of sheen, a chalky or powdery surface, or visible staining that wipes off more slowly than it used to.
What does sealing a patio cost, and is DIY worth it?
Sealing a 10’x20’ patio typically runs $250–$600 for a professional job, depending on product choice and how much prep is involved. DIY material costs for the same area run considerably lower — a quality acrylic sealer covers that footprint for roughly $30–$80 in product alone.
What drives cost up:
- Stripping old, failing sealer (often requires chemical stripper or mechanical scuffing)
- Repairing cracks or spalls before sealing
- Using solvent-based or high-performance polyurethane products
- Difficult access or complex decorative patterns requiring careful application
DIY makes sense when:
- The patio is in good condition with no active cracks or drainage issues
- You’re applying a first coat or recoating over a compatible existing sealer
- The surface is plain or lightly stamped and doesn’t require precise color matching
- You have time to do proper prep (cleaning, degreasing, drying)
Hire a pro when:
- The old sealer is peeling, blistering, or built up in layers — recoating over failing sealer usually requires professional chemical stripping for proper adhesion
- The patio has significant cracks, spalling, or moisture issues that need repair first
- You’re working with a high-value decorative or stamped finish where a bad application is costly to fix
- You’re using solvent-based products and don’t have adequate ventilation or PPE
Common mistakes homeowners make when sealing a patio
-
Sealing too soon after a pour. New concrete needs to cure fully — at least 28 days before sealing. Sealing earlier traps bleed water and causes whitening or delamination. Fix: wait the full cure period and confirm the slab is dry.
-
Skipping cleaning and degreasing. Any oil, dirt, or efflorescence on the surface prevents adhesion. The sealer sits on top of the contamination and peels. Fix: clean with a concrete degreaser, rinse thoroughly, and let it dry completely.
-
Choosing the wrong sealer type. A thick epoxy on an outdoor patio will yellow. A penetrating sealer on a stamped finish won’t deliver the color enhancement the homeowner expected. Fix: match the sealer category to the surface finish and climate before buying.
-
Applying in bad weather. Sealing in high humidity, direct hot sun, or temperatures below 50°F causes bubbling, clouding, and poor adhesion. Fix: apply between 50°F and 90°F, with low humidity and no rain forecast for 24 hours.
-
Skipping crack and spall repair. Sealing over cracks doesn’t fix them. Water still enters, and the sealer bridges the gap until it fails. Fix: fill cracks with a concrete patching compound and let it cure before sealing.
-
Over-applying. More product does not mean more protection. Thick coats trap solvents, bubble, and peel. Fix: apply thin, even coats per the manufacturer’s coverage rate.
-
Ignoring old sealer compatibility. Rolling a water-based product over a solvent-based sealer (or vice versa) often causes adhesion failure. Fix: test compatibility or strip the old sealer first.
How to seal a concrete patio: the core steps
- Inspect and test porosity. Splash water on the surface. If it beads, existing sealer is present and you need to assess compatibility or strip it. If it absorbs, the surface is ready for sealer.
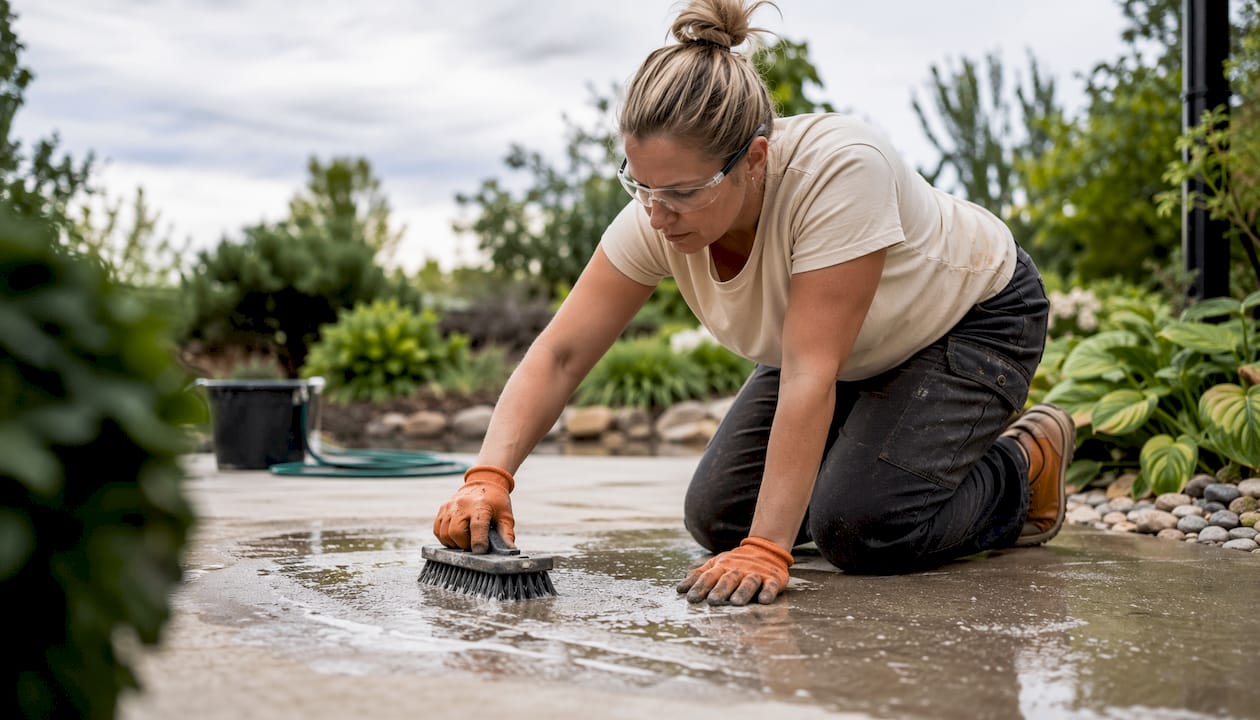
- Clean and degrease. Pressure wash, apply a concrete degreaser to oily spots, scrub, and rinse. Let the slab dry completely — at least 24 hours in warm weather, longer in cool or humid conditions.
- Repair cracks and spalls. Use a concrete patching product. Allow full cure per the product label before proceeding.
- Remove old sealer if needed. Chemical stripper or mechanical grinding for peeling or incompatible existing coats. This step is where most DIYers underestimate the work involved.
- Apply sealer in proper conditions. Use a roller for flat surfaces; a pump sprayer works well for penetrating sealers and large areas. Apply thin, even coats. Two thin coats outperform one thick one.
- Allow full cure before use. Light foot traffic is usually safe after 24 hours; furniture and heavy use typically need 48–72 hours. Check the product datasheet for exact times.
Pro Tip: For solvent-based sealers, wear a respirator (not just a dust mask), nitrile gloves, and eye protection. Work with the wind at your back and keep ignition sources away. Water-based products are far more forgiving indoors or in low-ventilation areas, and they have lower VOC levels — worth considering if you’re sensitive to fumes or working near an enclosed space.
For large patios or complex decorative work, renting a commercial sprayer saves time and gives a more even finish. If the job involves stripping old sealer or repairing significant damage, that’s usually the point where residential paving professionals earn their fee.
How to choose the right sealer at the store or with a contractor
Before you buy anything, run through this checklist:
- Surface type: Stamped, colored, exposed aggregate, or plain? Each has a preferred sealer category.
- Desired appearance: Do you want a natural matte look or a wet-look gloss? Penetrating sealers give you the former; acrylics and polyurethanes give you the latter.
- Climate: Freeze–thaw exposure? Prioritize vapor-permeable penetrating sealers or breathable acrylics.
- Traffic: Heavy foot traffic or furniture use pushes you toward polyurethane or epoxy for durability.
- Slip concerns: Any wet or shaded area needs either a penetrating sealer or an anti-slip additive in the topcoat.
- Recoat frequency: How often are you willing to reapply? Lower-cost acrylics need more frequent recoating than polyurethanes.
Ask the store rep or contractor: What’s the coverage rate per gallon? What’s the recommended number of coats? What’s the recoat window? Is this compatible with what’s already on the slab?
Red flags to walk away from:
- No technical data sheet (TDS) available for the product
- Vague coverage rates (“covers up to 500 sq ft” with no surface-condition qualifier)
- No slip-resistance guidance for outdoor use
- Application weather windows that don’t match your local forecast for the next 48 hours
When is sealing truly essential versus optional?
Sealing is closest to mandatory in three situations: decorative or stamped concrete, climates with regular freeze–thaw cycles, and patios exposed to deicing salts or pool chemicals. In those cases, skipping the sealer means accepting accelerated surface damage that’s difficult and expensive to reverse.
For plain, well-drained concrete in a mild climate with light foot traffic, sealing is still beneficial but genuinely optional. The slab will perform adequately unsealed; it just won’t look as good as long, and stains will be harder to remove.
Credible criteria for deciding:
- Decorative or colored finish: Seal it. The color protection alone justifies the cost.
- Freeze–thaw climate: Seal it, and use a penetrating or breathable product.
- Exposure to deicing salts or pool splash: Seal it. Chemical attack accelerates surface breakdown faster than most homeowners expect.
- Good drainage, mild climate, plain concrete, low traffic: Optional, but a sealer every few years still extends the slab’s life and makes maintenance easier.
Pro Tip: Contractor best practice before any recoat decision: pull back a corner of old sealer with a razor blade or do a small solvent test to identify whether the existing product is water- or solvent-based. Applying the wrong chemistry over an existing coat is one of the most common causes of early delamination.
A sealer cannot fix structural problems. Active cracks, poor slope, or a soft sub-base need to be addressed before any coating goes down. Sealing over those issues traps moisture and accelerates the damage you were trying to prevent. When in doubt about the structural condition of your slab, consult a concrete professional before spending money on product.
Key Takeaways
Sealing a concrete patio is worth doing for most homeowners: it prevents moisture damage, resists stains, and preserves appearance at a fraction of the cost of repairs.
| Point | Details |
|---|---|
| Seal most patios | Moisture, stains, UV, and freeze–thaw cycles all degrade unsealed concrete faster than sealed slabs. |
| Match sealer to surface | Penetrating silane/siloxane for freeze–thaw climates; acrylic or polyurethane for decorative finishes. |
| Reseal on schedule | Film-forming acrylics need recoating every 1–3 years; penetrating sealers last 5–10 years, depending on product and exposure. |
| Prep is everything | Clean, dry, repaired concrete is the only surface a sealer will bond to properly and last on. |
| VW Concreting | For complex prep, decorative surfaces, or failing old sealer, professional help from VW Concreting prevents costly mistakes. |
The contractor’s honest take on sealing
Most homeowners either skip sealing entirely or do it once and forget about it for a decade. Both approaches cost more in the long run than a simple maintenance schedule. The patios that hold up best over time share one thing: they were sealed early, resealed on a reasonable schedule, and the prep was done right each time.
If your patio is plain concrete in decent shape, a water-based acrylic is a reasonable DIY project for a weekend. If you’re dealing with a stamped or colored finish, peeling old sealer, or significant surface damage, the margin for error is much smaller. A bad application on decorative concrete can mean stripping and restarting, which costs more than hiring a pro from the start. VW Concreting has completed over 145 projects across Melbourne and brings that same prep-first discipline to every concreting and outdoor construction job we take on.
For DIYers: do the water bead test, buy a product with a real technical data sheet, and don’t skip the cleaning step. For everyone else: get a professional assessment before you commit to a product or a contractor.
Useful sources for further reading
When you’re comparing products or verifying application specs, go to the manufacturer’s technical data sheet first. Marketing copy on the front of the can is not a substitute for cure times, coverage rates, and recoat windows.
- Giatec Scientific: Concrete Sealers — Types, Benefits, and Application Tips — solid technical overview of sealer categories and application conditions
- Concrete Network: Sealing a Concrete Patio — practical guidance on product selection and decorative concrete
- The Spruce: What to Know About Sealing Concrete — balanced homeowner-facing overview including when sealing is optional
- Above All Foundation Repair: Why You Should Seal Your Concrete Patio — freeze–thaw and moisture protection focus
- HomeGuide: Concrete Sealing Cost — current cost data for DIY and contractor pricing
- Manufacturer TDS links: always request these from your supplier before purchasing any sealer product
- Arrow Asphalt blog — useful background on pavement maintenance and moisture damage mechanisms
VW Concreting handles the jobs where prep matters most

Sealing a patio yourself is straightforward when the surface is clean, sound, and compatible with a new coat. When it’s not — peeling sealer, active cracks, a decorative finish that needs careful product matching — the prep work is where most DIY jobs go wrong, and fixing a bad application costs more than doing it right the first time.
VW Concreting has been delivering quality concreting and outdoor construction across Melbourne since 2001, with over 145 completed projects. Whether you need a full driveway or slab service, surface repairs before resealing, or a professional assessment of your patio’s condition, the team brings the same prep-first approach to every job. Get in touch for a quote and find out what your patio actually needs before you spend money on product.
Leave A Comment