
Turf preparation is the process of removing old vegetation, grading soil, compacting the base, and building layered foundations that directly determine whether your outdoor turf thrives or fails within months. The role of turf preparation in outdoor areas goes far beyond aesthetics. A properly prepared base controls drainage, prevents sinking, blocks weed intrusion, and gives roots or synthetic fibers a stable surface to anchor into. Whether you’re laying natural sod or installing artificial turf, the ground beneath it does most of the work. Tools like landscape rakes, plate compactors, and soil test kits are standard in professional installs, and for good reason. Skip the prep, and you’re setting up your yard for expensive repairs.
What are the key steps in turf preparation for outdoor areas?
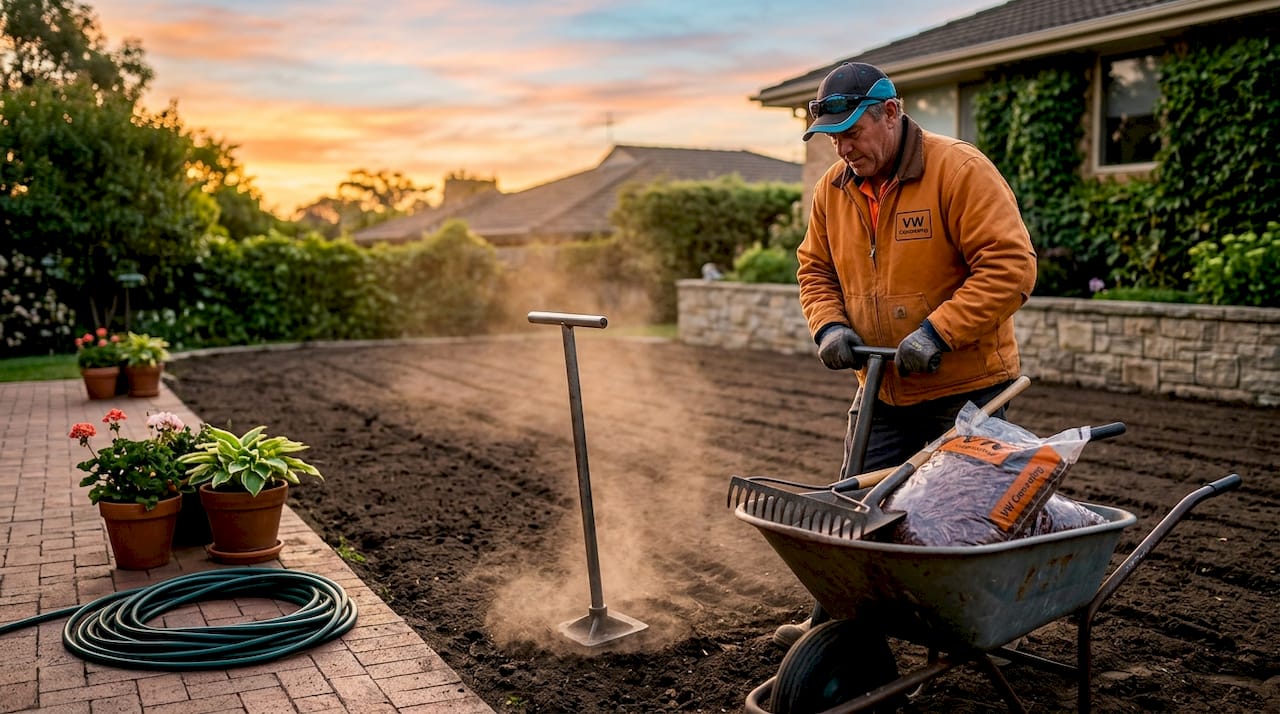
Outdoor turf management starts before a single roll of sod or synthetic fiber touches the ground. The sequence of preparation steps is not flexible. Each one builds on the last, and cutting corners at any stage creates problems that compound over time.
-
Remove all existing vegetation. Old grass, weeds, and organic debris must come out completely. Leaving old grass under new sod creates a rooting barrier and causes uneven decomposition, producing soft dips that appear weeks after installation. Use a sod cutter for large areas or a flat spade for smaller patches.
-
Test your soil. A basic soil test kit from a garden center measures pH and nutrient levels. Most turfgrasses prefer a pH between 6.0 and 7.0. If your soil is too acidic or too alkaline, add lime or sulfur accordingly. If it lacks organic matter, incorporate compost at 2 to 3 inches deep before grading.
-
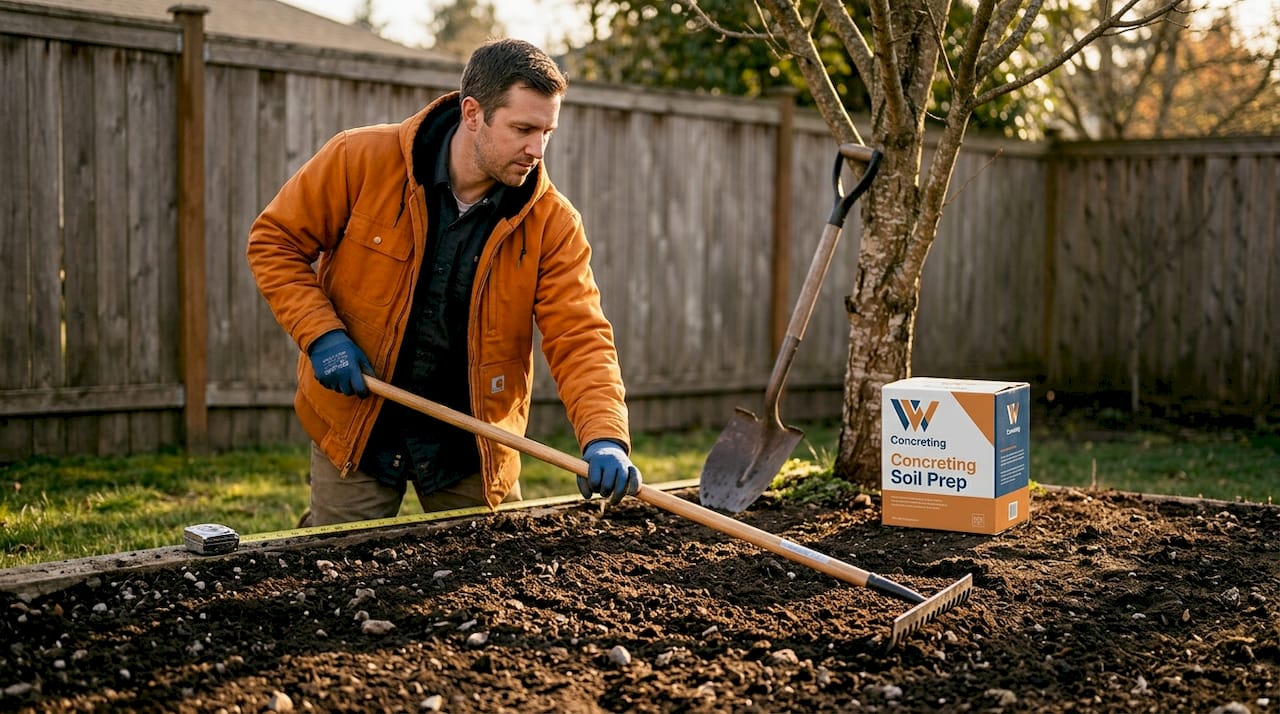
Grade the surface. The soil must slope away from your home and any structures. A 1 to 2 percent slope (roughly one inch of drop per eight feet) channels water away and prevents pooling. Use a long landscape rake or a laser level for accuracy on larger areas.
-
Compact the base. A plate compactor or hand roller firms the soil so it won’t shift after installation. Proper compaction prevents sinking, seam movement, surface waves, and uneven drainage. The surface should feel hard underfoot. If you sink more than half an inch when walking on it, compact again.
-
Add starter fertilizer. Apply a phosphorus-rich starter fertilizer to encourage root development. Lightly rake it into the top inch of soil before laying sod.
-
Pre-moisten the soil. Water the prepared surface lightly the day before installation. Bone-dry soil pulls moisture from fresh sod too quickly, stressing the roots before they establish.
Pro Tip: All base work, including grading, rolling, and fertilizing, must be completed before sod delivery. Sod must be installed the same day it arrives and watered immediately. Scheduling delivery before your prep is done is one of the most common and costly mistakes homeowners make.
How does turf preparation affect drainage and long-term maintenance?
The connection between preparation quality and long-term turf performance is direct and measurable. Poor grading or inadequate compaction leads to water pooling, sinking, and turf damage that no amount of post-installation maintenance can fully correct.
- Water pooling occurs when the base lacks a consistent slope. Standing water suffocates grass roots, promotes moss and fungal growth, and softens the base under artificial turf until it shifts.
- Sinking and seam movement in synthetic turf trace back almost entirely to insufficient compaction during installation. Once the base settles unevenly, the surface ripples and seams open up.
- Weed and moss intrusion drops significantly when soil is properly graded and compacted. Weeds struggle to establish in a firm, well-drained base compared to loose, moisture-retaining soil.
- Irrigation efficiency improves with good prep. The EPA WaterSense program recommends watering based on actual turf stress signs rather than fixed schedules. A well-prepared, well-draining base absorbs water more uniformly, reducing runoff and waste.
A simple drainage check any homeowner can perform: run a garden hose on the prepared surface for two minutes, then observe where water flows. If it moves consistently away from structures, your grade is working. If it pools or flows toward the house, regrade before proceeding.
“University turfgrass research treats drainage and irrigation as engineering challenges, deploying automatic irrigation and aeration in high-performance turf systems.” This same principle applies at the residential scale. A yard that drains well from day one requires far less corrective maintenance over its lifespan.
What are the differences between natural sod and artificial turf preparation?
Natural sod and synthetic turf share the same foundational goal: a stable, level, well-drained base. But the specific requirements diverge significantly, and confusing the two approaches leads to failed installations.
| Preparation Factor | Natural Sod | Artificial Turf |
|---|---|---|
| Base material | Nutrient-rich topsoil, 4 to 6 inches deep | Compacted crushed stone aggregate, 2 to 3 inches thick |
| Drainage layer | Graded soil with organic amendments | Geotextile fabric over compacted stone base |
| Compaction level | Firm but not dense (roots need to penetrate) | Maximum compaction for surface stability |
| Old turf removal | Mandatory. Old organic material blocks roots | Mandatory. Organic material decomposes and destabilizes base |
| Leveling layer | Topsoil and compost blend | Decomposed granite or fine aggregate on top of stone base |
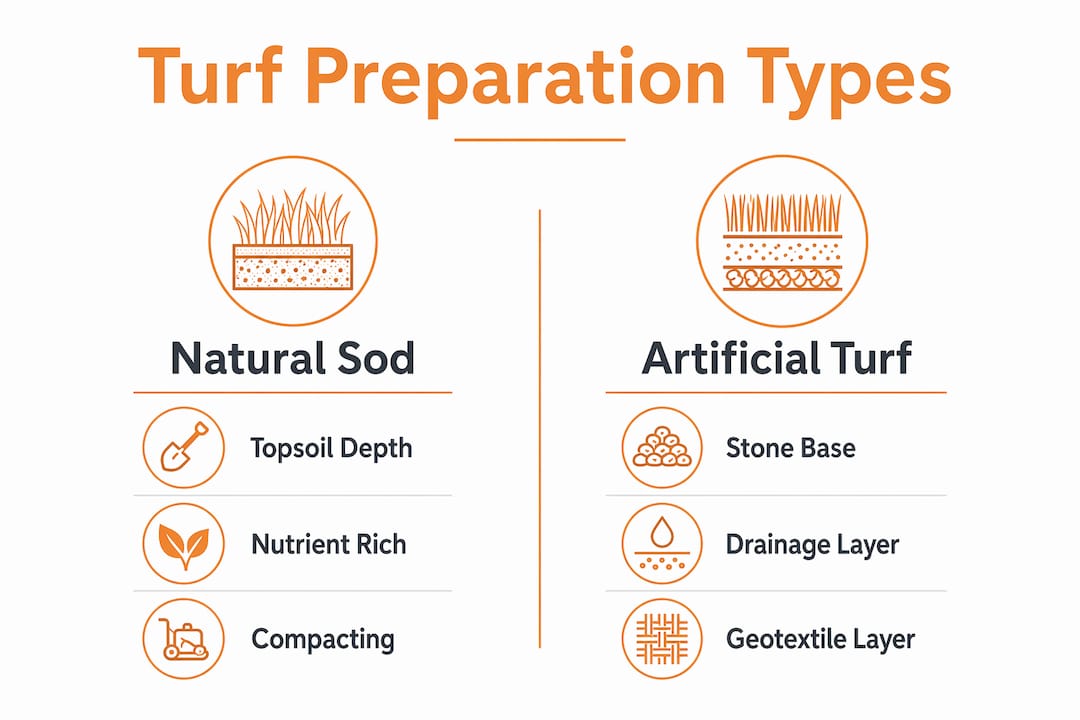
Natural sod needs soil depth. Roots require 4 to 6 inches of loose, nutrient-rich topsoil to anchor properly. Compacting natural sod base too aggressively restricts root penetration and stunts growth.
Artificial turf requires the opposite approach. A compacted stone aggregate base 2 to 3 inches thick provides drainage, load distribution, and long-term stability. Angular crushed stone is preferred because it locks tightly under compaction while remaining permeable. Laying synthetic turf directly on dirt or organic material is the single most common installation mistake, and it produces surface instability and drainage failure within one season.
For high-use areas like dog runs or children’s play zones, increase the stone base to 4 inches and consider a geotextile fabric layer between the native soil and aggregate. This prevents fine soil particles from migrating up into the base and clogging drainage over time.
Pro Tip: For artificial turf, finish the base with a thin leveling layer of decomposed granite or fine crushed aggregate before laying the turf. This smooths out minor surface irregularities that compaction alone cannot eliminate, giving you a flat, professional finish.
You can explore the differences in turf installation types for residential projects to understand which base approach suits your specific yard conditions.
How can homeowners apply turf preparation techniques for best results?
Applying best practices for turf installation on a small to medium residential property is achievable without professional equipment, provided you plan the timeline carefully and select the right materials.
- Plan your timeline backward from delivery day. Soil removal, grading, compaction, and fertilizing each take time to do correctly. Allow at least two to three days of prep work before sod or synthetic turf arrives.
- Select topsoil and amendments based on your soil test results. Generic topsoil from a hardware store works for most installs, but sandy or clay-heavy soils benefit from a compost blend mixed in at a 30 percent ratio to improve structure and water retention.
- Use the right tools for your yard size. A plate compactor (available at most equipment rental stores) handles areas over 200 square feet efficiently. For smaller patches, a hand tamper or lawn roller filled with water achieves adequate compaction.
- Grade in stages. Rake the surface level first, then walk the area to identify high and low spots. Add or remove soil as needed, then compact and re-check. Repeat until the surface is consistent.
- Water immediately after sod installation. The first watering should saturate the sod and penetrate at least 2 inches into the base soil. This prevents the sod from drying out before roots begin to establish.
- Adopt stress-based irrigation after establishment. The EPA WaterSense guidelines recommend watching for footprint persistence (grass that stays flat after being walked on) as a reliable indicator that irrigation is needed. This approach saves water and avoids overwatering, which softens the base.
For homeowners integrating turf with broader landscaping plans, understanding how landscaping integrates with concreting helps you coordinate drainage, edging, and surface levels across the whole outdoor space.
Key takeaways
Proper turf preparation requires removing old vegetation, grading to a 1 to 2 percent slope, compacting the base thoroughly, and selecting the right base materials for either natural sod or artificial turf before any installation begins.
| Point | Details |
|---|---|
| Remove old vegetation first | Old organic material blocks root growth and causes uneven settling under new turf. |
| Grade for drainage | A 1 to 2 percent slope away from structures prevents water pooling and long-term base damage. |
| Compact to prevent shifting | A firm, compacted base stops sinking, seam movement, and surface waves after installation. |
| Match base to turf type | Natural sod needs deep topsoil; artificial turf needs a compacted crushed stone aggregate base. |
| Time prep before delivery | Complete all base work before sod arrives, since sod must be installed and watered the same day. |
What I’ve learned from watching homeowners skip the prep
After working on outdoor construction projects across Melbourne for years, the pattern I see most often is this: homeowners spend weeks choosing the right turf variety, comparing prices, and planning the layout, then rush through the preparation because it feels like the unglamorous part. That decision costs them more than the turf itself.
The installs that fail within a season almost always share the same story. The old lawn wasn’t fully removed. The grading was eyeballed rather than measured. The compaction was done once with a hand roller instead of a plate compactor. None of these shortcuts are obvious on installation day. The surface looks fine. The problems show up six weeks later when the first heavy rain arrives or when foot traffic starts to reveal the soft spots.
What I’ve found actually works is treating the preparation phase as the project itself, and the turf installation as the finishing step. When you approach it that way, you slow down on the grading, you take the soil test seriously, and you don’t rush the compaction. The turf goes down on a surface that’s genuinely ready for it.
The other thing worth saying: preparation is also where you integrate drainage, edging, and irrigation planning into the overall outdoor design. Turf that’s installed in isolation from the rest of the yard almost always creates problems at the boundaries. Think about where water goes, where foot traffic concentrates, and how the turf connects to paths, garden beds, and structures before you start digging.
— Vic
Get professional turf preparation and installation in Melbourne

VW Concreting has completed over 145 outdoor projects across Melbourne since 2001, with turf preparation and installation forming a core part of that work. The team handles every stage of the process, from soil removal and grading to compaction, base building, and irrigation integration, for both natural sod and synthetic turf. If you want a result that holds up through Melbourne’s variable seasons without constant maintenance, professional preparation makes the difference. Explore VW Concreting’s synthetic turf installation services or browse the full range of landscaping and outdoor solutions to find the right fit for your project.
FAQ
What does turf preparation actually involve?
Turf preparation covers soil removal, grading, compaction, and base layering before any turf is installed. The goal is a firm, level, well-drained surface that supports root establishment for natural sod or structural stability for artificial turf.
How deep should topsoil be for natural sod?
Natural sod requires 4 to 6 inches of nutrient-rich topsoil for adequate root development. Shallower depths restrict root penetration and produce thin, stressed turf that struggles through dry periods.
Can I lay artificial turf directly on existing dirt?
No. Artificial turf laid directly on dirt or organic material produces surface instability and drainage failure. A compacted aggregate base 2 to 3 inches thick is required to keep the surface flat, stable, and well-drained.
How do I check if my grading is correct before laying turf?
Run a garden hose on the prepared surface for two minutes and watch where the water flows. Water should move consistently away from your home and structures. Pooling or flow toward the house means the grade needs correction before installation.
When should I water after laying new sod?
Water immediately after installation, saturating the sod and penetrating at least 2 inches into the base soil. After the first two weeks, shift to stress-based watering by checking whether footprints remain visible in the grass as a sign that irrigation is needed.
Leave A Comment