
Control joints in driveways are deliberately cut grooves that create weakened planes in concrete, guiding inevitable shrinkage cracks to form at predictable locations rather than randomly across the slab surface. Every concrete driveway will crack. The role of control joints in driveways is not to prevent that reality but to control exactly where it happens. Penhall, Concretemetric, and W. R. Meadows each confirm that properly designed joints preserve structural integrity, reduce trip hazards, and extend slab service life. Contractors who treat jointing as a formality rather than a precision task consistently produce driveways that fail prematurely.
How control joints structurally function in concrete driveways
A control joint works by reducing the slab’s cross-sectional area at a specific line, concentrating tensile stress at that point as the concrete shrinks during curing. When shrinkage forces exceed the concrete’s tensile strength, the crack forms at the weakest point. That weakest point is the joint. Penhall confirms that a groove cut to at least 1 inch deep in a 4-inch slab, representing roughly one-quarter of the total thickness, reliably guides cracking along the joint rather than across random paths.
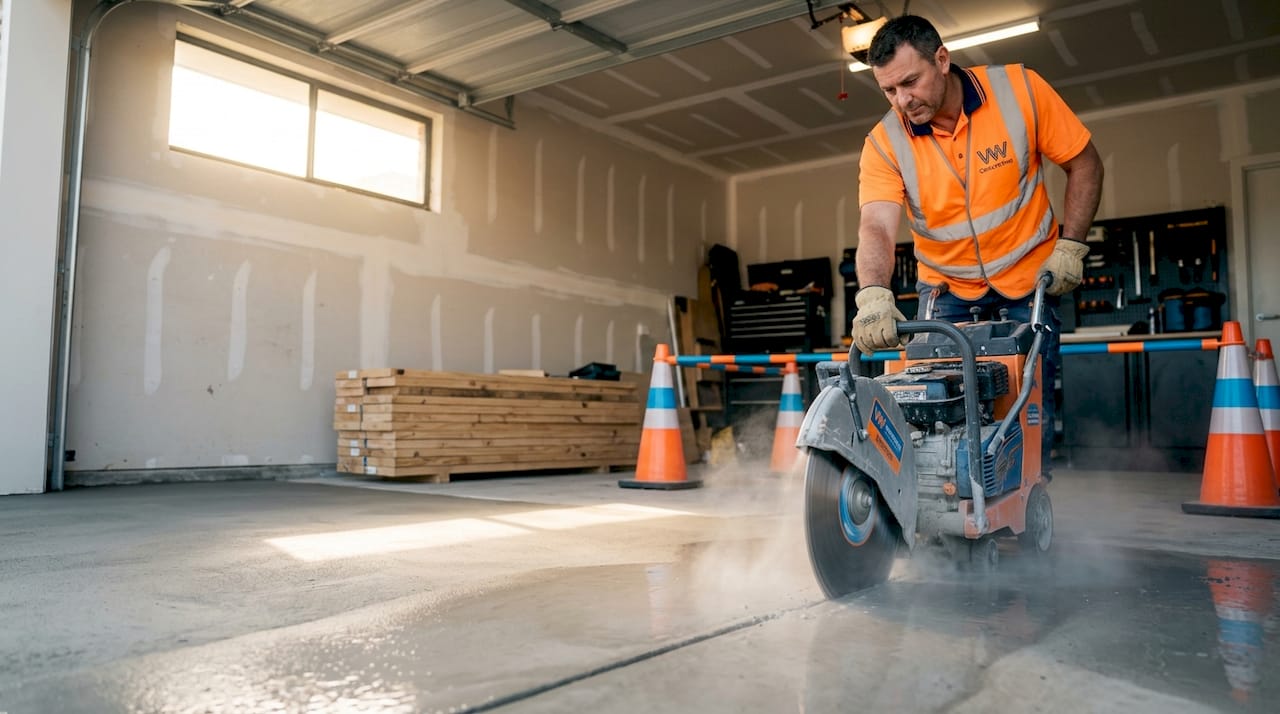
The timing of saw cuts is where many contractors lose control of the process. Cuts made within 6 to 18 hours after the pour capture the concrete at the right stage: firm enough to saw cleanly without raveling, but not yet set to the point where random cracks have already initiated. Temperature, mix design, and humidity all shift that window, so monitoring the slab after the pour is non-negotiable.
Improper cuts cause cracks that skip joints entirely, leaving the contractor with a slab that looks like it was never jointed at all. Shallow grooves, late cuts, and inconsistent depths are the three most common failure modes. Each one produces the same result: random cracking that undermines both the slab’s appearance and its long-term performance.
Pro Tip: Use a concrete saw with a depth guide set before the pour begins. Relying on freehand depth estimation on a freshly cured slab wastes time and produces inconsistent results.
It is also worth understanding that control joints cannot prevent cracking, only redirect it. Reinforcement holds cracked slab faces together but does not eliminate the need for joints. Both elements serve distinct structural roles and neither substitutes for the other.
What are the industry standards for control joint spacing and layout?
Joint spacing is determined by slab thickness, and the relationship is direct. The standard rule sets maximum spacing at 2 to 3 times the slab thickness, expressed in feet for inch-thick slabs. A 4-inch slab calls for joints no more than 8 to 12 feet apart. A 6-inch slab allows spacing up to 18 feet, though tighter intervals reduce the risk of mid-panel cracking under load.
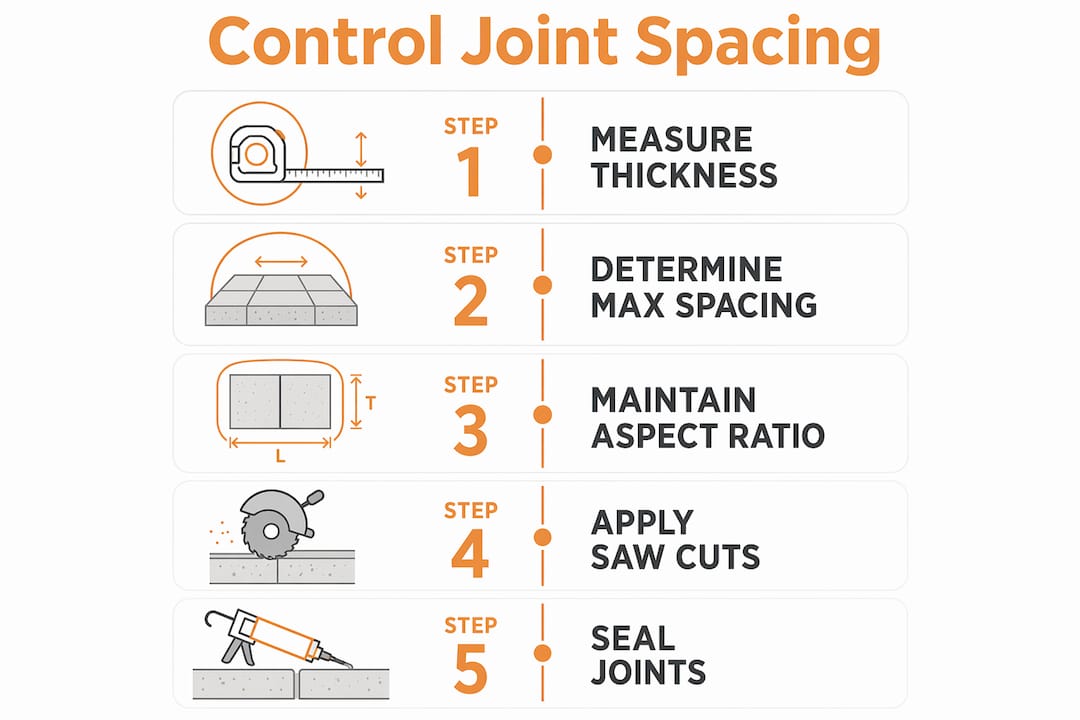
Concretemetric recommends a maximum spacing of 2.5 meters for 100 mm slabs, with panel aspect ratios no greater than 1.5:1. Panels that are significantly longer than they are wide create diagonal tension across the slab, producing corner cracks that no amount of sealing will fix. Keeping panels close to square is the single most effective layout decision a contractor can make.
The table below summarizes standard spacing and depth specifications for common residential driveway thicknesses:
| Slab thickness | Max joint spacing | Minimum groove depth | Max panel aspect ratio |
|---|---|---|---|
| 4 inches (100 mm) | 8 to 10 feet (2.5 m) | 1 inch (25 mm) | 1.5:1 |
| 5 inches (125 mm) | 10 to 12 feet (3 m) | 1.25 inches (32 mm) | 1.5:1 |
| 6 inches (150 mm) | 12 to 15 feet (3.75 m) | 1.5 inches (38 mm) | 1.5:1 |
Beyond spacing, joint width matters for filler performance. Grooves cut too narrow restrict proper filler adhesion, while excessively wide cuts create weak edges prone to spalling under wheel loads. A standard saw cut width of 1/8 to 3/16 inch suits most residential driveway applications and accommodates polyurea or epoxy fillers without modification.
Key layout principles to apply on every driveway project:
- Align joints with any changes in slab thickness, such as thickened edges or transition zones.
- Never terminate a joint mid-panel. Run joints fully from edge to edge or to an intersecting joint.
- Avoid acute angles at joint intersections. Angles below 60 degrees concentrate stress and produce corner cracks.
- Account for driveway slab thickness when calculating spacing before the pour, not after.
How do control joints differ from expansion and isolation joints?
The three joint types serve different structural purposes, and confusing them produces predictable failures. Control joints, also called contraction joints, are partial-depth grooves that manage internal shrinkage within a slab panel. They do not allow the slab to move as a whole. Expansion joints are full-depth gaps filled with compressible material, designed to accommodate thermal expansion and contraction across the entire slab thickness.
Isolation joints, sometimes called construction joints, separate the driveway slab from adjacent fixed structures such as garage aprons, footings, or curbs. They prevent the driveway from transferring load or movement stress into those structures. Using a contraction joint where an isolation joint is required is one of the most common causes of cracking at driveway edges and aprons.
| Joint type | Depth | Primary function | Typical placement |
|---|---|---|---|
| Control (contraction) joint | Partial (1/4 slab depth) | Guides shrinkage cracks within panel | Across slab field at regular intervals |
| Expansion joint | Full depth | Allows thermal movement between slabs | Between separate slab sections |
| Isolation joint | Full depth | Separates slab from fixed structures | At garage aprons, footings, curbs |
Correct joint selection is the foundation of long-term slab performance. A driveway that uses only control joints at every boundary, including where it meets the garage slab, will develop cracking at those boundaries within the first few thermal cycles. The fix requires cutting out and rebuilding the joint, which costs far more than getting the specification right at the start.
What are best practices for protecting and maintaining control joints?
An open control joint is a liability. Debris, water, and de-icing salts enter the groove, freeze, expand, and break down the slab edges over time. Open joints collect moisture that accelerates deterioration and creates the conditions for long-term spalling, particularly in climates with freeze-thaw cycles.
Filling joints with the right material at the right time is the primary maintenance decision. The two main options for residential driveways are polyurea and epoxy. Polyurea fillers cure rapidly, provide semi-rigid structural support, and protect slab edges from wheel loads and cart traffic. W. R. Meadows documents polyurea’s advantages in trafficked concrete applications, noting reduced edge deterioration compared to softer, flexible sealants. Epoxy offers higher compressive strength but cures more slowly and can become brittle in outdoor temperature swings.
Maintenance practices that extend joint and slab life:
- Fill joints within 28 days of the pour, after the slab has completed most of its initial shrinkage.
- Clean joints thoroughly before filling. Dust, curing compound residue, and debris prevent filler adhesion.
- Inspect joints annually. Look for filler debonding, edge spalling, or joint widening that signals ongoing movement.
- Reseal joints showing signs of water infiltration before the next wet season. Sealing joints proactively costs a fraction of repairing spalled edges or replacing panels.
- For driveways subject to heavy vehicle loads, specify a semi-rigid filler rather than a flexible sealant. Flexible sealants compress under load and allow edge-to-edge contact, which defeats the joint’s purpose.
Pro Tip: On projects where the driveway connects to a garage slab, install a backer rod in the isolation joint before applying polyurea filler. This controls filler depth and prevents adhesion to the joint base, allowing the joint to function correctly under thermal movement.
Joint sealing and filling should be specified in the project scope from day one, not treated as an optional finishing step. Contractors who include it in their standard driveway specification deliver measurably better long-term outcomes and fewer callbacks.
Key takeaways
Control joints in driveways require correct depth, precise timing, proper spacing, and appropriate filler materials to perform their structural function and extend slab service life.
| Point | Details |
|---|---|
| Depth is non-negotiable | Cut grooves to at least 1/4 of slab thickness; shallow cuts allow cracks to bypass joints entirely. |
| Timing controls outcomes | Saw cuts made within 6 to 18 hours post-pour capture the optimal window before random cracking initiates. |
| Spacing follows slab thickness | Maximum spacing is 2 to 3 times slab thickness in feet; keep panel aspect ratios at or below 1.5:1. |
| Joint types are not interchangeable | Use isolation joints at slab boundaries and expansion joints between separate slabs; control joints manage internal shrinkage only. |
| Filling protects the investment | Polyurea fillers provide semi-rigid support and rapid cure, reducing edge spalling and water infiltration under traffic. |
Why I stopped treating control joints as a finishing detail
After years of working on concrete driveways across Melbourne, the pattern I see most often is contractors who understand jointing in theory but underestimate it in execution. The groove gets cut too shallow because the saw operator is rushing to the next pour. The spacing gets eyeballed because the layout wasn’t marked before the concrete went down. The joints get left open because filling them feels like a separate job that can wait.
The callbacks that follow are entirely predictable. Random cracks across the field. Spalled edges at the garage apron. Water sitting in open grooves and lifting the slab surface by the second winter. Every one of those failures traces back to a decision made in the first 24 hours after the pour.
What changed my approach was treating joint layout as part of the formwork process, not the finishing process. Mark the joint lines on the forms before the pour. Set the saw depth before the truck arrives. Schedule the cutting crew for the right window based on the mix design and forecast temperature. These are not extra steps. They are the job.
The other shift was specifying polyurea filler as standard on every driveway, not just commercial work. The cost difference over epoxy or flexible sealant is marginal. The performance difference under vehicle loads and seasonal movement is significant. Clients notice when a driveway still looks right after five years. That reputation compounds.
— Vic
Get your driveway joints done right from day one

VW Concreting has completed over 145 projects across Melbourne, with driveway slabs forming the core of that portfolio. Every project includes a joint layout plan developed before the pour, saw cutting scheduled to the correct post-pour window, and polyurea filling as standard. If you are specifying a residential or commercial driveway and want a contractor who treats joint design as a structural requirement rather than an afterthought, explore our driveway and slab services or review our completed driveway projects to see the standard of work we deliver.
FAQ
What is the minimum depth for a control joint in a driveway?
Control joints must be cut to at least one-quarter of the slab’s total thickness. For a standard 4-inch residential driveway slab, that means a minimum groove depth of 1 inch.
How far apart should control joints be spaced on a concrete driveway?
Maximum spacing is 2 to 3 times the slab thickness in feet, with panels kept as close to square as possible. A 4-inch slab should have joints no more than 8 to 10 feet apart.
When should saw cuts for control joints be made after pouring?
Saw cuts should be made within 6 to 18 hours after the pour, depending on temperature and mix design. Cutting too late allows random cracks to initiate before the joint is established.
What is the difference between a control joint and an expansion joint?
A control joint is a partial-depth groove that guides shrinkage cracking within a slab panel. An expansion joint is a full-depth separation filled with compressible material that accommodates thermal movement between separate slab sections.
What filler material works best for residential driveway control joints?
Polyurea is the preferred filler for driveways subject to vehicle traffic. It cures rapidly, provides semi-rigid edge support, and resists deterioration from water infiltration and wheel loads better than flexible sealants or standard epoxy.
Leave A Comment