
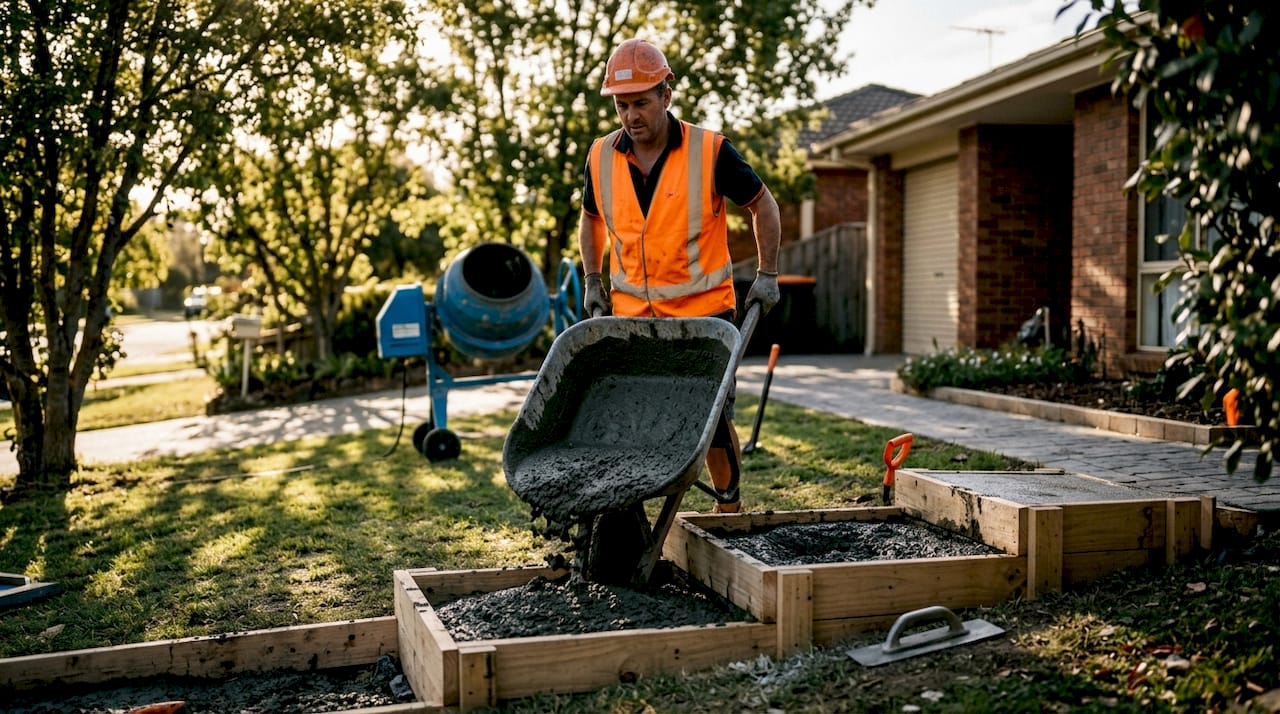
Concrete step construction is the process of building staircases by pouring reinforced concrete into precisely built formwork to create durable, load-bearing steps that meet safety and ergonomic standards. Known formally as cast-in-place concrete stair construction, this method produces steps that outlast timber, brick, and precast alternatives in nearly every climate condition. Standard residential mixes target 3,000 to 4,000 PSI strength using a 1:2:3 or 1:2:4 cement-to-sand-to-gravel ratio. That strength level handles decades of foot traffic, freeze-thaw cycles, and heavy loads without cracking or shifting. VW Concreting has completed over 145 projects across Melbourne, and concrete steps remain one of the most requested installations for both residential and commercial properties.
What materials and mix designs go into concrete steps?
The quality of a concrete step starts with the mix. Standard mix ratios of 1:2:3 or 1:2:4 (cement:sand:gravel) produce concrete in the 3,000 to 4,000 PSI range. That strength level is the baseline for residential steps that carry daily foot traffic without surface degradation.
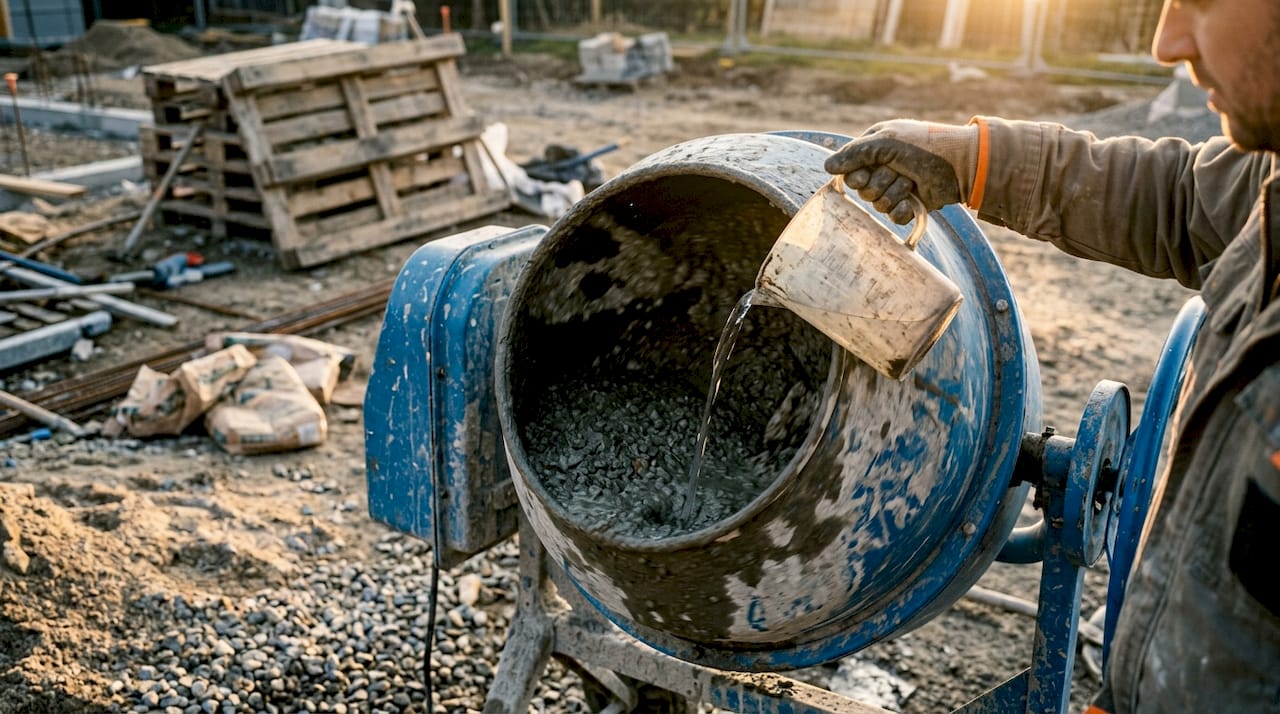
Water content controls more than workability. The water-cement ratio must stay between 0.4 and 0.6 to achieve both strength and frost resistance. Too much water weakens the mix and causes surface scaling in cold climates. Too little makes the concrete unworkable and prone to honeycombing inside the forms.
Reinforcement is not optional for concrete steps. Steel rebar placed in a grid pattern inside the formwork carries tensile loads that concrete alone cannot handle. Without rebar, steps crack under point loads and soil movement. The rebar grid ties together at intersections and sits on plastic chairs to maintain the correct cover depth from the surface.
Key materials for a well-built concrete step:
- Cement: Portland cement Type I or II for standard residential applications
- Fine aggregate: Clean, well-graded sand free of clay or organic material
- Coarse aggregate: 3/4-inch crushed stone or gravel for workability and strength
- Rebar: No. 4 (1/2-inch) deformed steel bars in a 12-inch grid pattern
- Formwork: 3/4-inch plywood for side panels, 2×4 lumber for bracing and kickers
- Release agent: Applied to form faces to prevent concrete from bonding to the wood
Pro Tip: Add a mid-range water reducer (plasticizer) to your mix if you need better workability without increasing the water-cement ratio. This keeps strength targets intact while making the concrete easier to place in tight formwork.
How are concrete steps designed for safety and code compliance?
Step geometry determines whether people walk comfortably and safely. Industry professionals apply the 2R + T formula where two times the riser height plus the tread depth equals 24 to 25 inches. This formula mirrors the natural human stride and prevents the fatigue or tripping risk that comes from steps that are too steep or too shallow.
The table below shows the standard design parameters for residential concrete steps:
| Parameter | Standard Range | Notes |
|---|---|---|
| Riser height | 6–7.25 inches | Uniform across all steps; max variation 3/8 inch |
| Tread depth | 11 inches minimum | Measured from nosing to nosing |
| Step width | 36 inches minimum | Wider for main entries |
| Landing depth | 36 inches minimum | Required at top and bottom |
| Handrail height | 34–38 inches | Required when 4 or more risers |
Riser uniformity is the most critical and most violated rule in concrete stair construction. Building codes such as the International Building Code (IBC) and ACI 318 mandate that riser height variation across a single flight must not exceed 3/8 inch. A half-inch error in one riser causes a trip hazard that requires full reconstruction to fix. Many homeowners discover this problem only after the concrete has cured.
Handrails and landings are not finishing touches. They are structural and legal requirements. A landing at the top of any flight prevents the dangerous condition of a door swinging over a step. Handrails must be graspable, meaning a round rail between 1.25 and 2 inches in diameter, not a flat board.
Pro Tip: Survey your finished floor height and the ground level before drawing any forms. A laser level costs less than $50 to rent and eliminates the measurement errors that cause non-uniform risers.
What is the step-by-step process for building concrete steps?
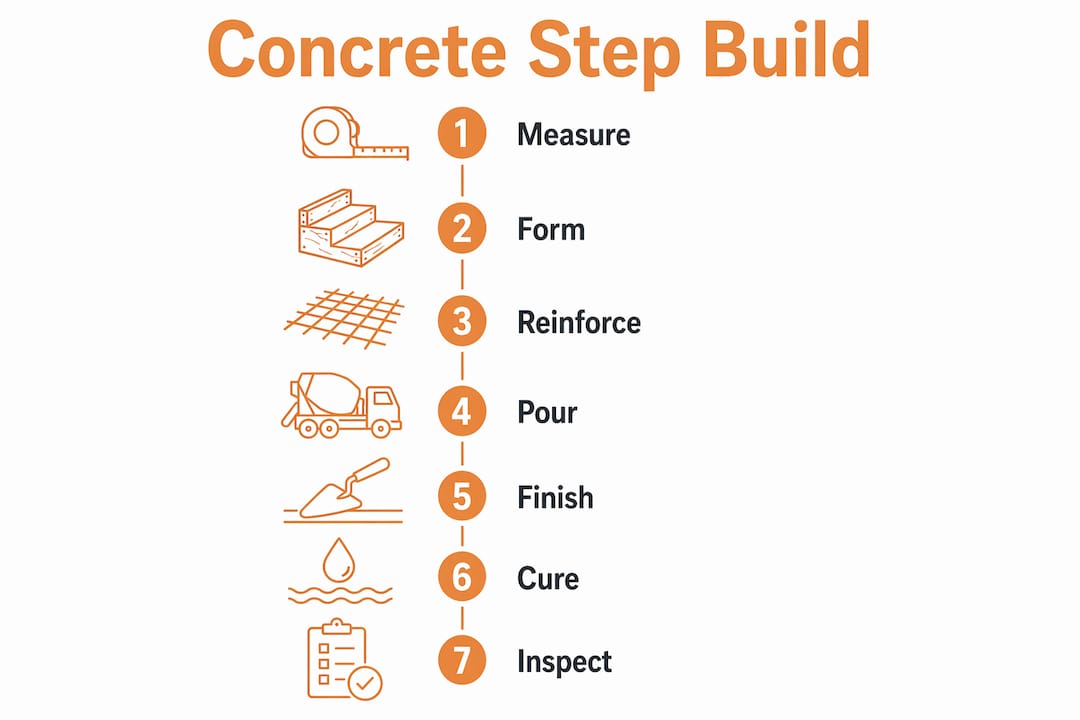
Building concrete steps correctly follows a fixed sequence. Skipping or rushing any phase creates defects that are expensive to correct after the concrete sets.
-
Survey and plan the layout. Measure the total rise (vertical distance from ground to finished floor) and divide by your target riser height to get the number of steps. Even a 1/2-inch error in the total rise calculation produces non-uniform risers that violate building codes and create trip hazards.
-
Prepare the base. Excavate and compact the subgrade. Place a 4-inch compacted gravel base under the step footprint. A solid, well-drained base prevents the settlement that cracks steps from below. This step is skipped more often than any other, and it is the leading cause of premature step failure.
-
Build the formwork. Cut 3/4-inch plywood for the side panels and set them to the exact step profile. Brace every panel with 2×4 kickers driven into the ground. Apply a 5-degree backward tilt to each riser form. That slight angle lets concrete fill completely to the riser-tread junction and eliminates the air voids that cause honeycombing.
-
Place the reinforcement. Lay No. 4 rebar in a 12-inch grid across the full step footprint. Tie intersections with wire and support the grid on plastic chairs so the bars sit at least 1.5 inches from the bottom form face. Rebar that sits too low or too high loses its structural value.
-
Pour and consolidate the concrete. Pour from the bottom step up, filling each tread section before moving to the next. Use a pencil vibrator to consolidate the mix around the rebar and into the riser forms. Work the vibrator slowly and pull it out at the same speed to avoid leaving voids. Overvibrating causes aggregate to settle and weakens the surface.
-
Finish the surface. Screed each tread level and apply a broom finish for traction. For a more polished look, a brushed or exposed aggregate finish works well. Consider embedding cast-in metal nosing strips at the front edge of each tread during the pour. These outlast surface-applied epoxy strips and resist debonding from weather and foot traffic.
-
Cure the concrete. Cover the finished steps with plastic sheeting immediately after the surface loses its sheen. Cure for at least 7 days before removing the sheeting. Do not allow foot traffic for at least 24 hours, and avoid heavy loads for the full curing period. Curing is the phase most often cut short, and it is the single biggest predictor of long-term surface quality.
Pro Tip: In hot or windy conditions, mist the concrete surface lightly before covering with plastic. This prevents the rapid moisture loss that causes plastic shrinkage cracks within the first few hours after placement.
For a deeper look at how concrete is placed and finished on larger projects, the concrete pour process follows the same core principles as step construction.
What factors affect the cost and lifespan of concrete steps?
Cost and longevity both depend on decisions made before the first bag of cement opens. Professional concrete step replacement typically ranges from $1,500 to $5,000 depending on size, finish type, and site access. A simple three-step entry with a broom finish sits at the lower end. A wide, multi-flight staircase with stamped or exposed aggregate finishes pushes toward the upper range.
Concrete steps built with proper reinforcement and base preparation last 25 to 40 years in freeze-thaw climates. Steps built without rebar or on an uncompacted base can fail within five years. The difference in material cost between the two approaches is small. The difference in lifespan is not.
Factors that directly affect both cost and longevity:
- Base preparation: A compacted gravel base adds cost upfront but prevents settlement cracking that requires full replacement
- Reinforcement: Rebar adds material and labor cost but is the primary defense against structural cracking
- Finish type: Broom finishes are the most affordable; stamped and exposed aggregate cost more but add visual appeal
- Site access: Difficult access for a concrete truck increases labor time and may require a pump, raising total cost
- Annual sealing: Applying a penetrating concrete sealer each year protects against salt damage and surface scaling, extending step life significantly
- Winter care: Avoid calcium chloride deicers on concrete steps. They accelerate surface scaling. Sand provides traction without chemical damage.
Integrating steps into a broader outdoor design rather than treating them as a standalone element also improves both aesthetics and structural performance. Steps tied into a patio slab or retaining wall share load distribution and resist movement better than isolated step units.
Key Takeaways
Concrete step construction produces durable, code-compliant staircases when proper mix ratios, reinforcement, formwork, and curing are applied in sequence without shortcuts.
| Point | Details |
|---|---|
| Mix strength matters | Use a 1:2:3 or 1:2:4 ratio targeting 3,000–4,000 PSI with a water-cement ratio of 0.4–0.6. |
| Design to the 2R + T formula | Riser height plus tread depth must equal 24–25 inches for safe, comfortable steps. |
| Riser uniformity is code | Variation across risers must stay under 3/8 inch or the steps require reconstruction. |
| Cure for a full 7 days | Covering steps with plastic sheeting for 7 days prevents cracking and surface dusting. |
| Cost reflects quality inputs | Professional installation ranges from $1,500 to $5,000; proper base and rebar protect that investment for 25–40 years. |
Why I always start with the formwork, not the mix
Most people planning concrete steps focus on the finish. They want to know about stamped patterns, exposed aggregate, or color options. Those choices matter, but they are the last 10% of the job. The first 90% is formwork and geometry, and that is where most problems start.
I have seen steps poured with a beautiful brushed finish that became a trip hazard because one riser was 5/8 inch taller than the others. The homeowner did not notice until a guest stumbled. Fixing it meant cutting out the entire flight and starting over. A laser level and 20 minutes of careful measurement would have prevented it.
The other mistake I see constantly is pulling forms too early and skipping the full curing period. Concrete feels hard after 24 hours. It is not. Surface strength at 24 hours is a fraction of what it reaches at 7 days. Steps that get foot traffic too early develop surface dusting and fine cracks that let water in. In a freeze-thaw climate, that water expands and destroys the surface within a few seasons.
My honest advice: spend more time on your formwork than you think you need to. Brace it more than you think is necessary. Tilt those riser forms back 5 degrees. And cover the finished steps with plastic the moment the surface loses its sheen. The finish you choose is visible. The curing you do is what makes it last.
— Vic
Professional concrete step installation in Melbourne
VW Concreting brings over two decades of experience to concrete step projects across Melbourne, from simple front entry steps to multi-flight outdoor staircases with custom finishes.

Whether you need a standard broom-finish entry or a stamped concrete staircase integrated into a patio design, the team at VW Concreting handles site assessment, formwork, reinforcement, pour, and finishing as a complete package. Every project meets current building code requirements for riser uniformity, tread depth, and structural load. Explore the full project portfolio to see completed step and concreting installations, or get in touch directly to discuss your site and design requirements.
FAQ
What is concrete step construction?
Concrete step construction is the process of pouring reinforced concrete into purpose-built formwork to create durable, load-bearing staircases. The method produces steps that meet ergonomic and structural building code standards.
How long do concrete steps last?
Concrete steps built with proper reinforcement and base preparation last 25 to 40 years in freeze-thaw climates. Annual sealing and avoiding chloride-based deicers extend that lifespan further.
What is the 2R + T formula for concrete steps?
The 2R + T formula means two times the riser height plus the tread depth should equal 24 to 25 inches. This produces a step geometry that matches the natural human stride and reduces trip risk.
How much do concrete steps cost?
Professional concrete step installation typically costs between $1,500 and $5,000, depending on the number of steps, finish type, and site access conditions.
Can I build concrete steps myself?
DIY concrete step installation is possible for simple, small-scale projects if you follow correct formwork, reinforcement, and curing procedures. Complex multi-flight stairs or steps attached to a structure benefit from professional installation to meet code requirements and ensure structural integrity.
Leave A Comment