
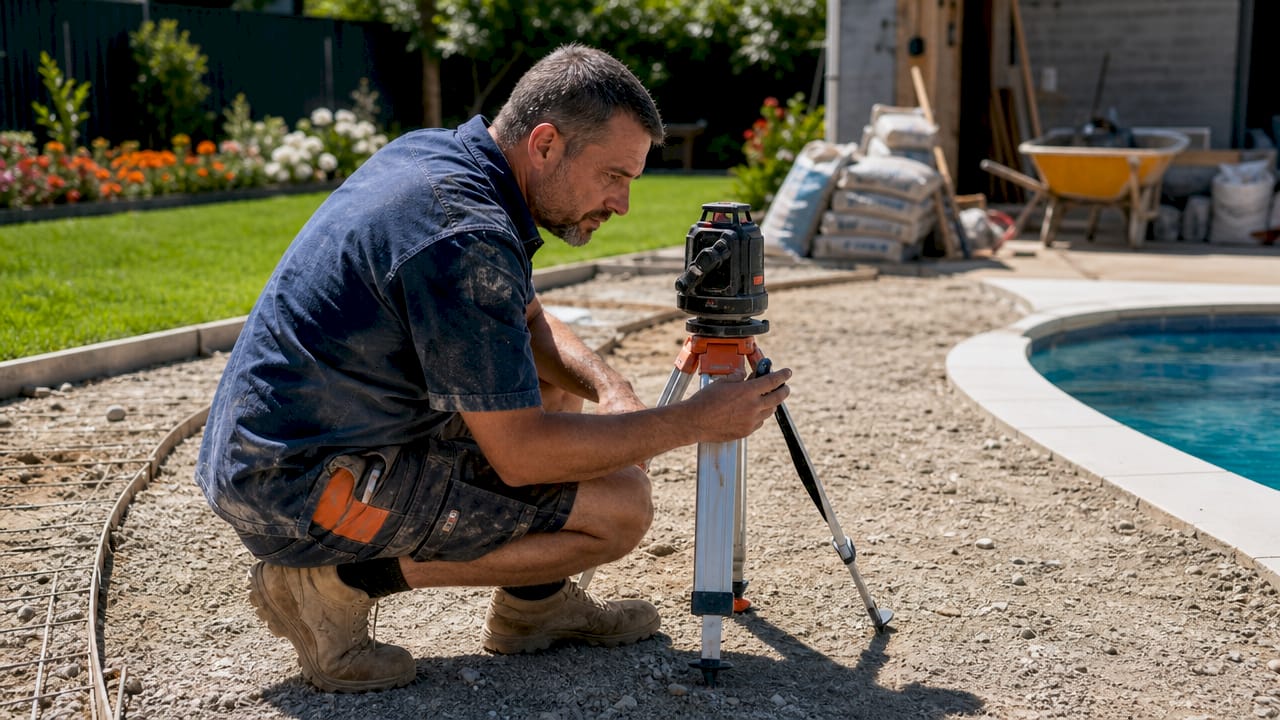
Concrete pool surrounds installation is the process of building a durable, functional concrete decking area around your pool that balances safety, aesthetics, and long-term performance. A well-executed pool surround requires a 100mm slab thickness for pedestrian use, proper drainage slopes, sealed surfaces, and the right concrete mix. Get these elements right and your surround will last 25–30 years with minimal structural issues. Miss any one of them and you are looking at cracking, water pooling, and costly repairs within a few seasons.
What does concrete pool surrounds installation actually require?
Concrete pool surrounds demand more careful planning than a standard outdoor slab. Constant exposure to pool water, chlorine, foot traffic, and seasonal temperature shifts creates conditions that punish shortcuts. Integrating joints, drainage, and non-slip texture from the start is what separates a surround that lasts from one that fails early.
The industry also draws a clear line between two related terms. Pool coping is the edging material attached directly to the pool shell. Pool surrounds, sometimes called pool decking, cover the broader paved area extending outward from the coping. Both must work together, but they are installed and jointed separately to allow for thermal movement.
What preparation and tools do you need before you start?
Solid preparation is the single biggest factor in whether your pool surround holds up over time. Skipping or rushing this stage causes the majority of premature failures seen in residential installations.
Base preparation
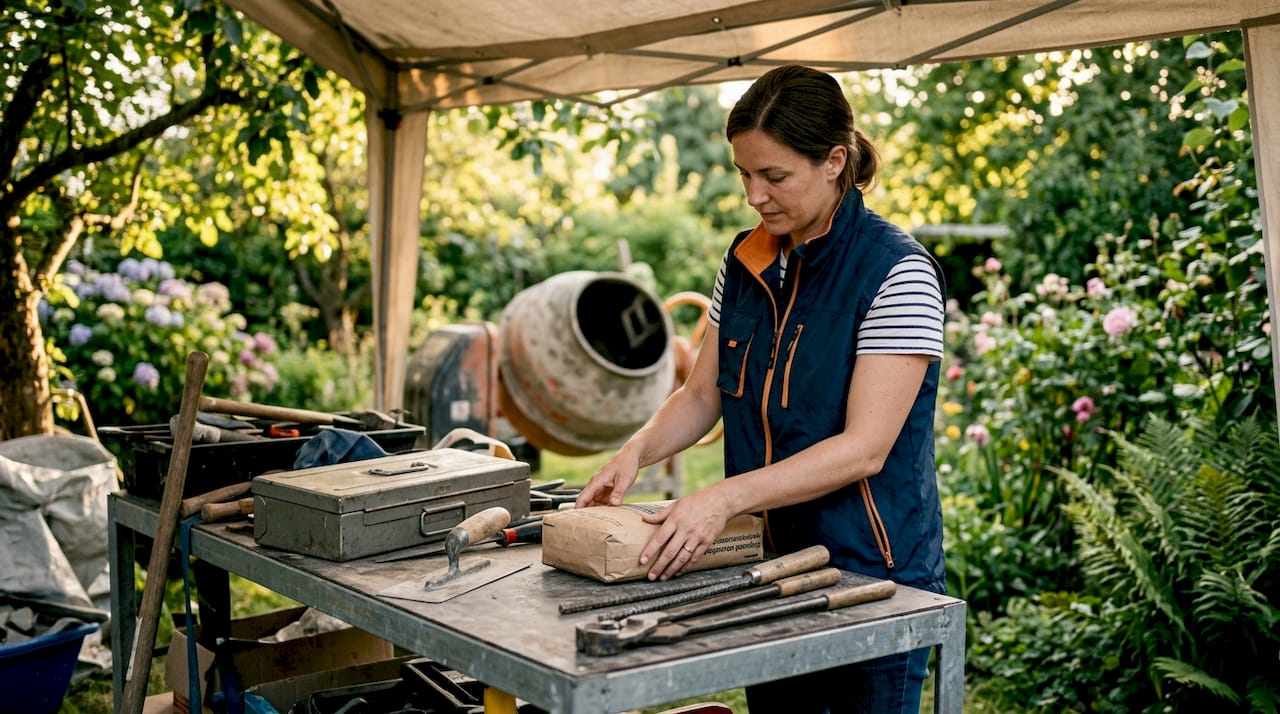
The aggregate base is the foundation everything else rests on. A compacted 4–6 inch layer of crushed aggregate, prepared with a mechanical compactor, gives the slab stable, load-bearing ground to sit on. Mechanical compaction is required at this stage. Hand tamping does not achieve the density needed for long-term support, and a poorly compacted base leads directly to cracking and slab movement.
Before you compact anything, remove all topsoil, organic material, and any soft or unstable ground. These materials compress unevenly under load and create voids beneath the slab over time.
Tools and materials checklist
- Mechanical plate compactor for base preparation
- Screed board and levels for achieving a flat, sloped surface
- Formwork timber for shaping edges and coping borders
- Concrete mixer or ready-mix delivery depending on project scale
- Perforated drainage pipes for subsurface water management
- Exterior-grade polymer-modified, air-entrained concrete mix
The concrete mix matters more than most homeowners expect. Polymer-modified, air-entrained concrete improves freeze-thaw resistance and bonding for exterior pool decks. This mix differs significantly from what you would use for an interior floor, and using the wrong product shortens the surround’s lifespan.
Planning drainage and permits
Plan your drainage slope before a single form goes in. The required surface slope is 1:60 to 1:80, directing water away from the pool edge and toward drains or garden beds. Check with your local council about permits. Many Australian municipalities require approval for concrete work around pools, particularly when it connects to pool fencing or affects stormwater flow.
| Preparation element | Standard requirement |
|---|---|
| Aggregate base depth | 4–6 inches, mechanically compacted |
| Concrete slab thickness | 100mm for pedestrian use |
| Surface drainage slope | 1:60 to 1:80 away from pool |
| Concrete mix type | Polymer-modified, air-entrained exterior grade |
How do you execute the concrete pour and formwork?
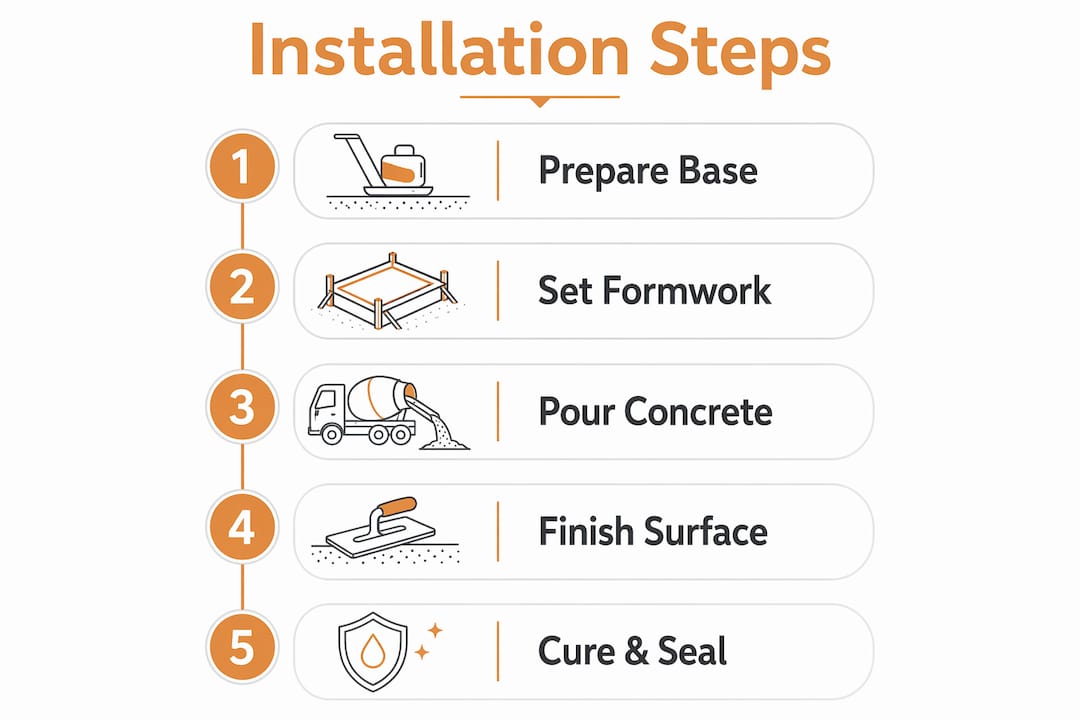
The pour stage is where preparation pays off. Every decision made during forming and pouring directly affects the finished surface’s flatness, durability, and safety.
Setting up formwork
Set your formwork to define the outer edges of the surround and any coping borders. For cantilevered coping, the form must overhang the pool wall slightly to create a clean, finished edge that directs water away from the pool shell. Use straight, rigid timber and check levels constantly. Any flex in the formwork transfers directly into the finished slab edge.
Pool coping and pool surrounds must be separated with a proper joint. This joint accommodates thermal expansion and prevents stress cracking at the connection point, which is one of the most vulnerable areas in any pool surround. Do not pour coping and decking as a single continuous mass.
Pouring in sections
- Divide the area into manageable sections using your control joint positions as natural break points.
- Pour each section continuously within its boundaries to avoid cold joints, which are weak seams that form when fresh concrete meets partially set concrete.
- Use a screed board in a sawing motion across the forms to level the surface and push aggregate down.
- Bull-float the surface immediately after screeding to close the surface and bring cream to the top.
- Check slope with a level before the concrete begins to set. Correct any low spots that could trap water.
- Cut or place control joints at regular intervals, typically every 1.5–2 meters, to manage where the slab cracks as it cures.
- Cover and cure the slab with wet hessian or a curing compound for at least seven days to prevent surface cracking from rapid moisture loss.
Pro Tip: Pour on a cool, overcast day when possible. Hot, windy conditions cause the surface to dry faster than the interior, which creates surface cracking before you can finish the slab properly.
For a deeper look at control joint placement and spacing, the same principles that apply to driveways translate directly to pool surrounds.
What finishing options optimize safety and aesthetics?
The finish you choose affects slip resistance, heat absorption, comfort underfoot, and how the surround looks alongside your pool and home. Each finish type has real trade-offs worth understanding before you commit.
Popular concrete finish options
- Honed concrete (grind and seal): Produces a smooth, matte surface with a modern appearance. Requires a sealer with fine aggregates added for traction. Works well for contemporary pool designs but needs resealing every few years.
- Exposed aggregate: The surface layer of cement paste is washed away to reveal the stone aggregate beneath. Naturally textured and slip-resistant when wet. One of the most popular choices for residential pools because it combines grip with visual appeal.
- Broom finish: A stiff brush is dragged across the surface while the concrete is still plastic, creating parallel grooves. The most affordable option and provides reliable grip. Less refined in appearance but highly practical.
Sealers with fine aggregates added to the mix enhance slip resistance for wet areas. This matters most in family pools where children and older adults are regularly using the surround barefoot.
Heat management by finish type
| Finish type | Slip resistance | Heat absorption | Best suited for |
|---|---|---|---|
| Honed concrete | Moderate (sealed) | Moderate to high | Modern, shaded pools |
| Exposed aggregate | High | Low to moderate | Sunny, high-traffic pools |
| Broom finish | High | Moderate | Budget-focused, practical builds |
In hot climates, finish selection must balance slip resistance with thermal performance. Dark-colored or smooth finishes absorb significantly more heat, making the surface uncomfortable for barefoot use on summer afternoons. Light-colored or textured finishes reflect more heat and stay cooler underfoot.
Pro Tip: If you are in a warm climate and want a honed finish, choose a light gray or cream color and add a non-slip additive to the sealer. You get the modern look without the heat penalty.
For guidance on choosing the right finish contractor, this exposed aggregate contractor guide covers what to look for and what questions to ask.
How do you prevent drainage failures and common installation mistakes?
Water management is the area where most pool surround installations fall short. A surface that looks perfect on day one can develop serious problems within 12–18 months if drainage is not handled correctly at every level.
Surface and subsurface drainage
The required surface slope of 1:60 to 1:80 directs water away from the pool edge and prevents pooling on the slab. But surface slope alone is not enough. Subsurface drainage using perforated pipes and channel drains addresses hydrostatic pressure beneath the slab. Hydrostatic pressure builds when water saturates the ground under the concrete and has nowhere to go. That pressure pushes upward and causes cracking and heaving from below.
Adding subsurface drainage adds cost upfront. The long-term alternative is premature slab failure and full replacement, which costs significantly more.
Water management for a concrete pool surround involves both surface slope and subsurface drainage working together. Relying on surface slope alone leaves the slab vulnerable to hydrostatic pressure, which is a leading cause of concrete failure in pool areas. Perforated pipes and properly placed channel drains are not optional extras. They are structural requirements for a surround that lasts.
For a full breakdown of outdoor concrete drainage strategies, the principles apply directly to pool surround planning.
Common mistakes to avoid
- Inadequate base compaction: Hand tamping instead of mechanical compaction creates an unstable base that shifts under load.
- Poor control joint placement: Joints placed too far apart or in the wrong locations force the slab to crack unpredictably.
- Ignoring subsurface drainage: Surface slope without perforated pipes leaves the base vulnerable to saturation.
- Using the wrong concrete mix: Standard interior or driveway mixes lack the polymer modification and air entrainment needed for pool chemical and freeze-thaw exposure.
- Skipping the curing period: Removing forms or allowing foot traffic too early causes surface damage that cannot be repaired without grinding.
Maintenance extends the surround’s life significantly. Reseal honed or smooth surfaces every 2–3 years. Clean the surface regularly to prevent algae and chemical buildup. Inspect control joints annually and refill any that have cracked or shrunk.
Key Takeaways
Successful concrete pool surrounds installation depends on mechanical base compaction, the right concrete mix, correct drainage slope, proper joint placement, and a finish chosen for both safety and climate.
| Point | Details |
|---|---|
| Slab thickness standard | Use a 100mm slab for pedestrian pool surrounds to meet durability requirements. |
| Base compaction method | Always use a mechanical compactor; hand tamping fails to achieve the required density. |
| Drainage slope requirement | Set surface slope at 1:60 to 1:80 and add subsurface perforated drains to prevent hydrostatic pressure. |
| Concrete mix selection | Specify polymer-modified, air-entrained concrete for chemical and weather resistance. |
| Finish and safety balance | Choose exposed aggregate or broom finish in sunny climates for grip and heat management. |
What I’ve learned from years of pool surround projects
The mistake I see most often is homeowners treating a pool surround like a standard patio slab. They focus on the finish color and forget that the real work happens below the surface. By the time cracking appears, the base compaction or drainage problem has already been set in concrete, literally.
The projects that hold up best are the ones where drainage, joint placement, and finish selection are all decided before the first form goes in. These are not independent choices. A broom finish on a poorly drained slab still fails. A perfect drainage system under a slab with no control joints still cracks. Everything has to work together.
I also think homeowners underestimate how much the finish choice matters for daily comfort. A dark, smooth surface in full sun becomes genuinely painful to walk on barefoot by midday in summer. Light colors and textured finishes are not just aesthetic preferences. They are practical decisions that affect how much you actually use the space.
My honest recommendation is to get a professional concreter involved at the planning stage, not just the pour stage. The decisions made in the first hour of a site visit, about base depth, drain placement, and joint layout, determine whether the surround lasts 10 years or 30. That conversation costs nothing and saves a great deal.
— Vic
Professional pool surround concreting in Melbourne
Getting the base, mix, drainage, and finish right on a pool surround requires experience across all four stages at once. One weak link undoes the rest.

VW Concreting has completed over 145 projects across Melbourne, including comprehensive concreting installations for residential pool areas. The team handles everything from base preparation and drainage planning to pour execution and finish selection, so each element supports the others. If you are planning a pool surround and want it done correctly the first time, contact VW Concreting for a consultation and quote. You can also review concreting services in Melbourne to understand what a professional installation covers from start to finish.
FAQ
What is the standard slab thickness for a concrete pool surround?
The standard slab thickness for a concrete pool surround is 100mm for pedestrian use. This thickness provides the structural strength needed to handle foot traffic, furniture loads, and the stress of thermal expansion over a 25–30 year lifespan.
How long does a concrete pool surround last?
A correctly installed concrete pool surround lasts 25–30 years with minimal structural issues. Proper base compaction, the right concrete mix, and regular resealing are the main factors that determine lifespan.
What drainage slope is required for a pool surround?
The required surface drainage slope is 1:60 to 1:80, directing water away from the pool edge. Subsurface drainage with perforated pipes is also needed to prevent hydrostatic pressure from causing cracking beneath the slab.
Which concrete finish is best for slip resistance around a pool?
Exposed aggregate and broom finish both provide reliable grip on wet surfaces and are the most practical choices for pool surrounds. Honed concrete can be made slip-resistant by adding fine aggregates to the sealer, but it requires more maintenance.
Can I install a concrete pool surround myself?
The preparation and pour stages require a mechanical compactor, correct concrete mix, and precise drainage planning that most homeowners cannot achieve without professional equipment and experience. DIY attempts most commonly fail at base compaction and drainage, which causes cracking within the first two years.
Leave A Comment