
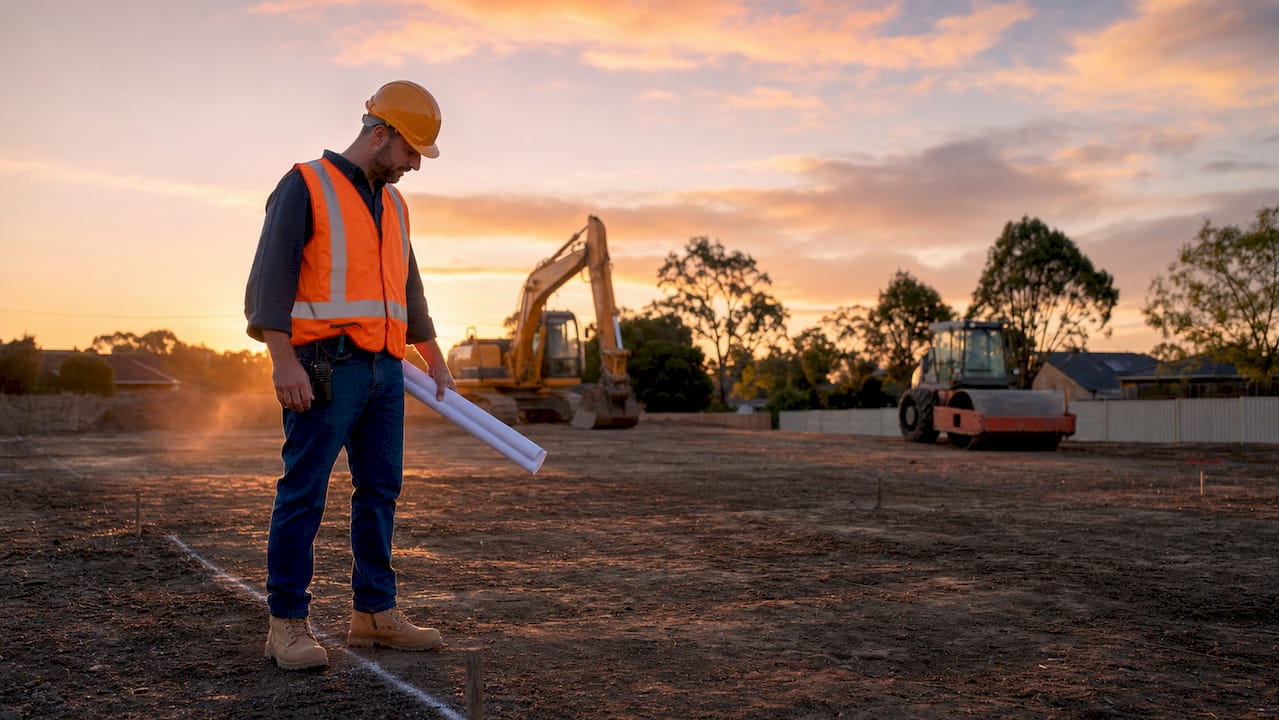
Site preparation best practices for concreting define the difference between a slab that lasts decades and one that cracks within years. The industry term for this process is subgrade preparation, and it covers clearing, grading, compaction, sub-base installation, and drainage setup before a single cubic meter of concrete is poured. Get any one of these steps wrong, and the concrete above it will eventually fail. For Melbourne construction professionals and DIY enthusiasts, following a disciplined, step-by-step approach is the only way to guarantee structural integrity and long-term performance.
1. Site clearing and initial assessment
Clearing the site is the first and most consequential step in any concrete project. Organic material under slabs is the leading cause of future slab settlement. Roots, grass, and decomposing matter compress and break down over time, creating voids beneath the concrete that trigger cracking and uneven surfaces.
Topsoil must be stripped to a depth of 150–300 mm. That range accounts for varying organic content across Melbourne’s suburban and outer-growth sites. Once topsoil is removed, inspect the exposed subgrade for soft spots, clay pockets, or fill material left from previous construction.
- Remove all vegetation, roots, and organic debris completely
- Strip topsoil to 150–300 mm depth before any grading begins
- Identify and mark underground services using a licensed locator
- Clear existing structures, footings, or old concrete from the footprint
- Document existing drainage paths and surface water behavior
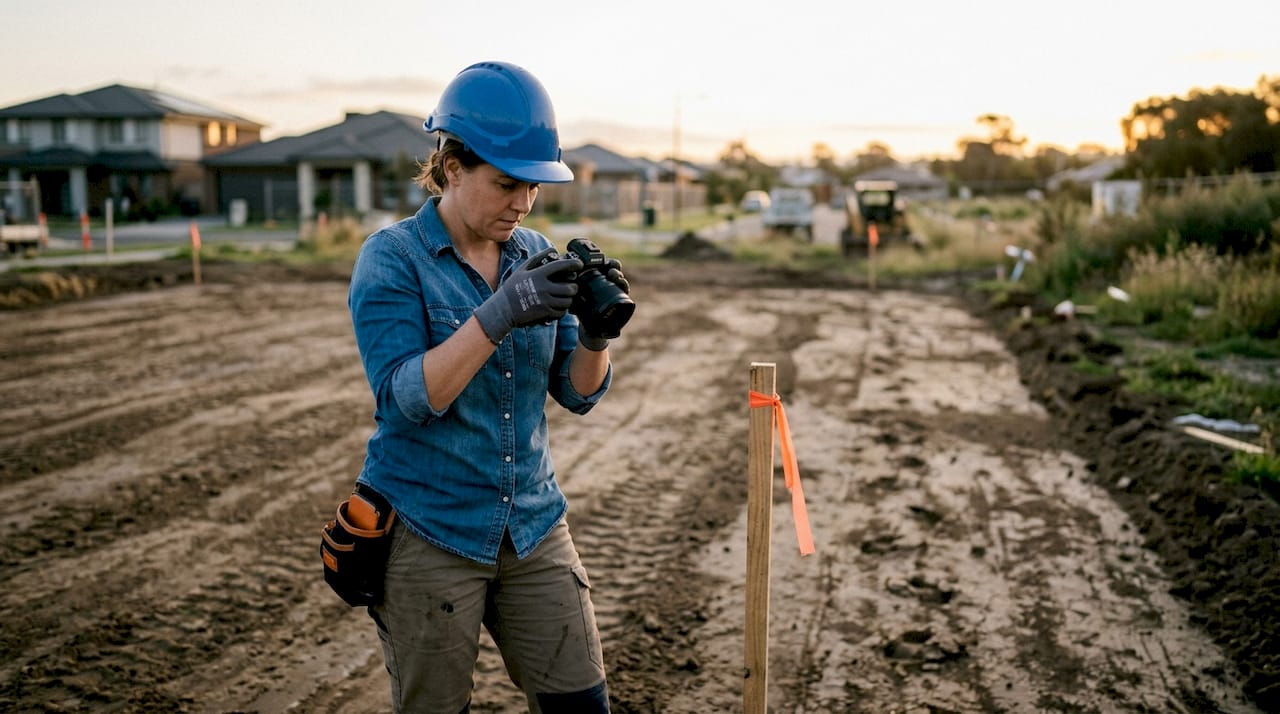
Pro Tip: Take photos of the cleared subgrade before any grading begins. If a dispute arises later about site conditions, that photographic record is your best evidence.
A geotechnical report is the most reliable tool for understanding what lies beneath the surface on complex or commercial sites. It classifies soil type, measures bearing capacity, and informs sub-base design decisions that visual inspection simply cannot support.
2. Grading for slope, level, and drainage
Precise grading creates the stable, level platform that concrete needs to cure and perform correctly. The subgrade must be graded to the designed elevation with a minimum 1% crossfall to direct water away from the slab perimeter. That slope sounds minor, but saturated subgrade rapidly loses bearing capacity and causes slab failure.
Laser grading tools give contractors the accuracy needed to hit design elevations consistently across large pour areas. Proof-rolling with a loaded truck or roller is a practical method for identifying soft spots that laser levels cannot detect. Any area that deflects visibly under proof-rolling load requires additional excavation and engineered fill before work continues.
Poor grading is the silent killer of concrete slabs. Water that pools on the sub-base before or after the pour weakens the soil beneath, and no amount of concrete thickness compensates for a subgrade that moves. A 1% slope costs nothing to achieve during grading and saves thousands in repairs later.
Pro Tip: Always grade away from buildings and structures, not just toward the street. Melbourne’s clay-heavy soils expand when wet, and water pooling near footings causes foundation movement that affects the entire structure.
3. Soil compaction methods and density targets
Compaction is the most technically demanding step in concrete site preparation, and it is the one most often done inadequately. The target is 95–98% Standard Proctor density, achieved by compacting in lifts no greater than 200 mm. Compacting thicker lifts produces a firm surface crust while leaving loose, unstable material below.
The right equipment depends on soil type and project scale:
- Vibratory plate compactor for granular soils and smaller residential slabs
- Vibratory roller for larger areas and cohesive soils requiring higher compactive effort
- Jumping jack compactor (rammer) for cohesive clay soils in confined areas
- Dynamic cone penetrometer (DCP) for field verification of compaction depth and density
- Nuclear density gauge for precise, real-time measurement of compaction compliance
Visual inspection alone is unreliable for confirming compaction. A surface can look firm and still fail a density test. The dynamic cone penetrometer and nuclear density gauge are the two accepted field tools for confirming that the subgrade meets the 95–98% Standard Proctor density specification.
Statistic callout: Subgrade compacted to 95–98% Standard Proctor density in lifts no greater than 200 mm is the accepted industry standard for concrete base preparation. Falling short of this target is the primary cause of post-pour settlement.
Skipping objective testing and relying on visual cues is a common mistake on residential projects. Arrange for a geotechnical technician to conduct DCP or nuclear density gauge testing before formwork is set. That sign-off protects both the contractor and the client.
4. Sub-base installation for structural support
The sub-base sits between the compacted subgrade and the concrete slab. Its job is to distribute load, provide a stable working platform, and manage moisture movement beneath the slab. For driveways and heavy-load slabs, 75–100 mm of compacted 20 mm crushed rock is the standard sub-base specification.
Crushed rock performs better than native soil in this role because it drains freely, compacts to a consistent density, and does not shrink or swell with moisture changes. Melbourne’s reactive clay soils make this distinction especially important. A granular sub-base acts as a buffer between the clay and the concrete, reducing the effect of seasonal soil movement on the slab above.
| Sub-base material | Load suitability | Drainage performance | Recommended thickness |
|---|---|---|---|
| 20 mm compacted crushed rock | High (driveways, slabs) | Excellent | 75–100 mm |
| Engineered granular fill | Medium to high | Good | Per design specification |
| Native soil (unengineered) | Low | Poor | Not recommended |
- Place sub-base material in even layers and compact each lift before adding the next
- Never backfill over-excavated zones with native soil. Engineered granular fill compacted in lifts is the only acceptable alternative
- Check sub-base level with a straight edge and laser level before setting formwork
- Allow no vehicle traffic on the finished sub-base that could disturb compaction
For more detail on how crushed rock performs under high-load concrete applications, the crushed rock base guide from VW Concreting covers material selection and compaction procedures in depth.
5. Drainage and moisture control
Drainage is the most overlooked element of concrete site prep, and it causes more long-term failures than any other single factor. A minimum 1% crossfall directs surface water away from the slab. Without it, water ponds on the sub-base, saturates the subgrade, and destroys the bearing capacity that compaction worked to create.
For outdoor concrete drainage, the setup goes beyond slope alone. Edge drains and geotextile fabrics prevent fine soil particles from migrating into the sub-base and blocking drainage paths over time. Geotextile fabric placed between the subgrade and the granular sub-base acts as a separation layer that keeps the two materials distinct while allowing water to pass through freely.
- Grade the sub-base surface to match the designed crossfall before placing concrete
- Install perimeter edge drains where the site has no natural outlet for water
- Use geotextile fabric as a separation layer between subgrade and granular fill
- Never pour concrete on a sub-base that shows standing water or wet patches
- Install a vapor barrier (polyethylene sheeting, minimum 0.2 mm) where moisture migration from below is a risk, particularly on clay-heavy Melbourne sites
Pro Tip: Check the sub-base moisture condition the morning of the pour, not just the day before. Melbourne weather changes fast, and an overnight rain event can saturate a sub-base that passed inspection 12 hours earlier.
6. Formwork, access, and pre-pour readiness
Formwork and site access are logistical factors that directly affect concrete quality. Complete formwork and base compaction at least 48–72 hours before the pour. That window allows time for final inspections, remedial work, and any required sign-offs before the truck arrives.
Concrete trucks require a minimum 3.5 m wide and 4.5 m overhead clearance path to reach the pour area. Inadequate site access leads to truck bogging, which damages the prepared sub-base and triggers significant additional costs. Plan the access route before any site work begins, and confirm it with the concrete supplier.
The role of edge forms in controlling slab geometry and thickness is often underestimated. Formwork that is not level, not braced, or not set to the correct height produces a slab with variable thickness, which creates stress concentration points and increases cracking risk.
Key Takeaways
Proper concrete site preparation requires clearing organic material, achieving 95–98% Standard Proctor compaction, installing a granular sub-base, and establishing minimum 1% drainage crossfall before any pour begins.
| Point | Details |
|---|---|
| Remove all organic material | Strip topsoil to 150–300 mm depth to eliminate the leading cause of slab settlement. |
| Compact to specification | Target 95–98% Standard Proctor density in lifts no greater than 200 mm, verified by DCP or nuclear density gauge. |
| Install a granular sub-base | Use 75–100 mm of compacted 20 mm crushed rock for driveways and heavy-load slabs. |
| Grade for drainage | Maintain a minimum 1% crossfall to prevent subgrade saturation and bearing capacity loss. |
| Allow 48–72 hours before the pour | Complete formwork and compaction early enough for inspections and remedial work before concrete arrives. |
What I’ve learned from watching site prep go wrong
The most expensive concrete failures I’ve seen in Melbourne share one thing in common: the site prep looked fine to the naked eye. The subgrade appeared firm. The sub-base looked level. The formwork was set. Then the slab cracked within two years, and the investigation revealed under-compaction or organic material that nobody removed properly.
Visual inspection is not a quality control method. It is a starting point. The only way to know that compaction is adequate is to test it with a dynamic cone penetrometer or nuclear density gauge. Contractors who skip that step are gambling with the client’s money and their own reputation.
The other mistake I see regularly is treating drainage as an afterthought. Grading gets done, but nobody checks the crossfall with a level. The sub-base ends up flat or, worse, sloping toward the building. Water follows gravity, and if gravity points toward the slab, the subgrade will eventually saturate.
My practical advice: get a geotechnical technician on site for compaction sign-off, and walk the graded sub-base with a level before setting a single form. Those two steps add a few hours to the schedule and eliminate the most common causes of concrete failure. Coordinate with your structural engineer or building inspector for pre-pour sign-off. That sign-off is your paper trail if anything is questioned later.
— Vic
VW Concreting: Melbourne’s site preparation specialists
VW Concreting has completed over 145 projects across Melbourne since 2001, with site preparation forming the foundation of every job. The team follows 2026 industry standards for clearing, grading, compaction, and drainage on every project, from residential driveways to large commercial slabs.

Whether you need a driveway or slab built to specification or want a professional assessment of your site before you pour, VW Concreting brings the equipment, testing capability, and local knowledge to get it right the first time. For projects that require a comprehensive concreting solution from site assessment through to finished surface, the team handles every stage. Contact VW Concreting to discuss your project and get a site preparation plan that matches your ground conditions and load requirements.
FAQ
What depth should topsoil be removed before concreting?
Topsoil must be stripped to a depth of 150–300 mm before concreting. This removes organic material that compresses over time and causes slab settlement.
What compaction level is required for a concrete sub-base?
The accepted standard is 95–98% Standard Proctor density, achieved by compacting in lifts no greater than 200 mm. Verification requires a dynamic cone penetrometer or nuclear density gauge, not visual inspection.
How thick should a crushed rock sub-base be under a concrete driveway?
A compacted sub-base of 75–100 mm of 20 mm crushed rock is the standard specification for driveways and heavy-load slabs. This thickness provides adequate load distribution and drainage beneath the concrete.
What is the minimum drainage slope for a concrete slab?
A minimum 1% crossfall is required to direct water away from the slab and prevent subgrade saturation. Saturated subgrade loses bearing capacity and is a primary cause of slab failure.
How far in advance should site preparation be completed before the concrete pour?
Site preparation, including formwork and compaction, should be completed at least 48–72 hours before the pour. This window allows time for final inspections and any remedial work before concrete is delivered.
Leave A Comment