
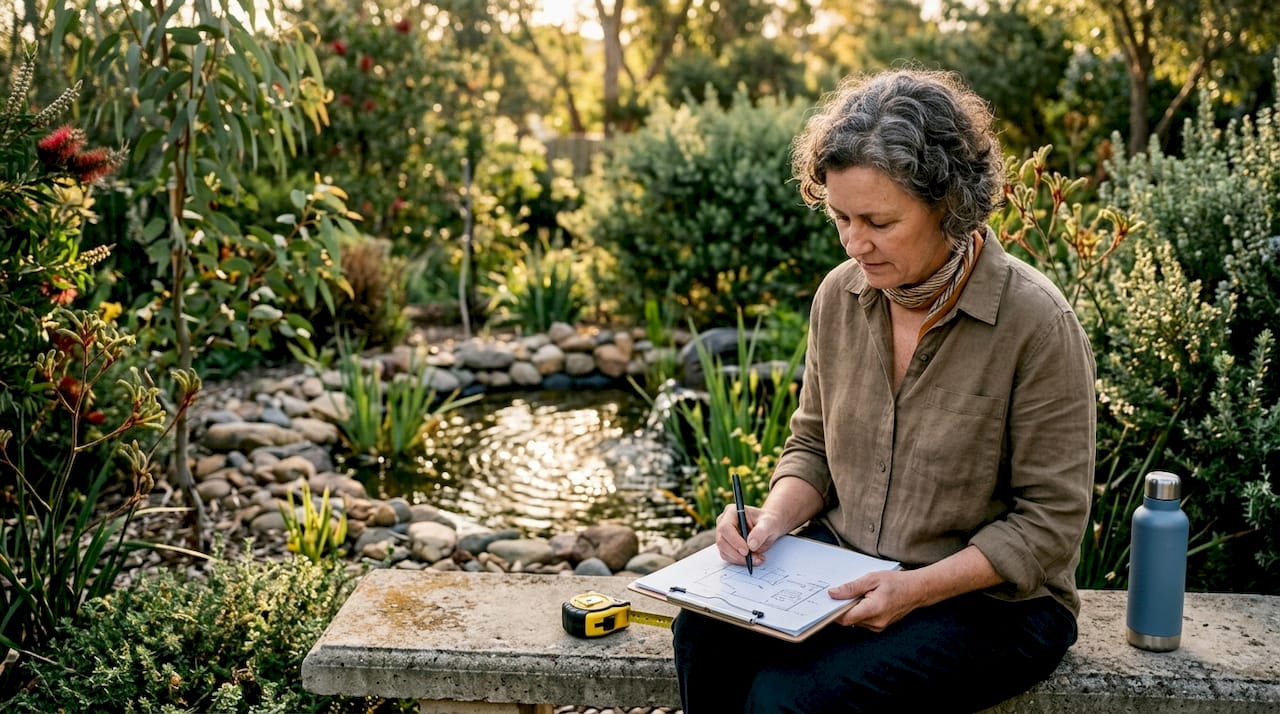
An outdoor entertainment area build checklist is a step-by-step planning framework that guides Melbourne homeowners through every decision, from site grading to furniture placement, before a single slab is poured. Skipping this process is the most common reason builds go over budget or fail to function well. The 2026 industry standard recommends setting aside a 10–15% contingency budget on top of your total project cost. That buffer exists because surprises, like hidden drainage issues or underground utilities, show up on almost every job. A well-structured backyard design checklist puts infrastructure first, zones second, and aesthetics last.
1. What are the essential zones for an effective outdoor entertainment area?
Treating your backyard as one undifferentiated zone is the single most common design mistake. Zoning divides your outdoor space into distinct “rooms,” each with a clear purpose and its own feel.
The four core zones for most Melbourne backyards are:
- Dining zone: A defined area for a table and chairs, ideally close to the kitchen or grill station.
- Cooking zone: The outdoor kitchen or grill station, positioned with access to gas, power, and ventilation.
- Lounging zone: Sofas, armchairs, and a coffee table arranged around a focal point like a fire pit or TV.
- Fire pit or feature zone: A separate, slightly recessed area that draws guests away from the main dining space.
Hardscape transitions, like a change in paving material or a small level change, signal the shift from one zone to the next without needing walls or fences. This approach creates natural traffic flow and prevents the space from feeling cluttered.
Clearance between furniture groupings must be at least 36 inches (91 cm) to allow comfortable movement. That measurement applies between chairs, between a sofa and a coffee table, and along any pathway guests will use.
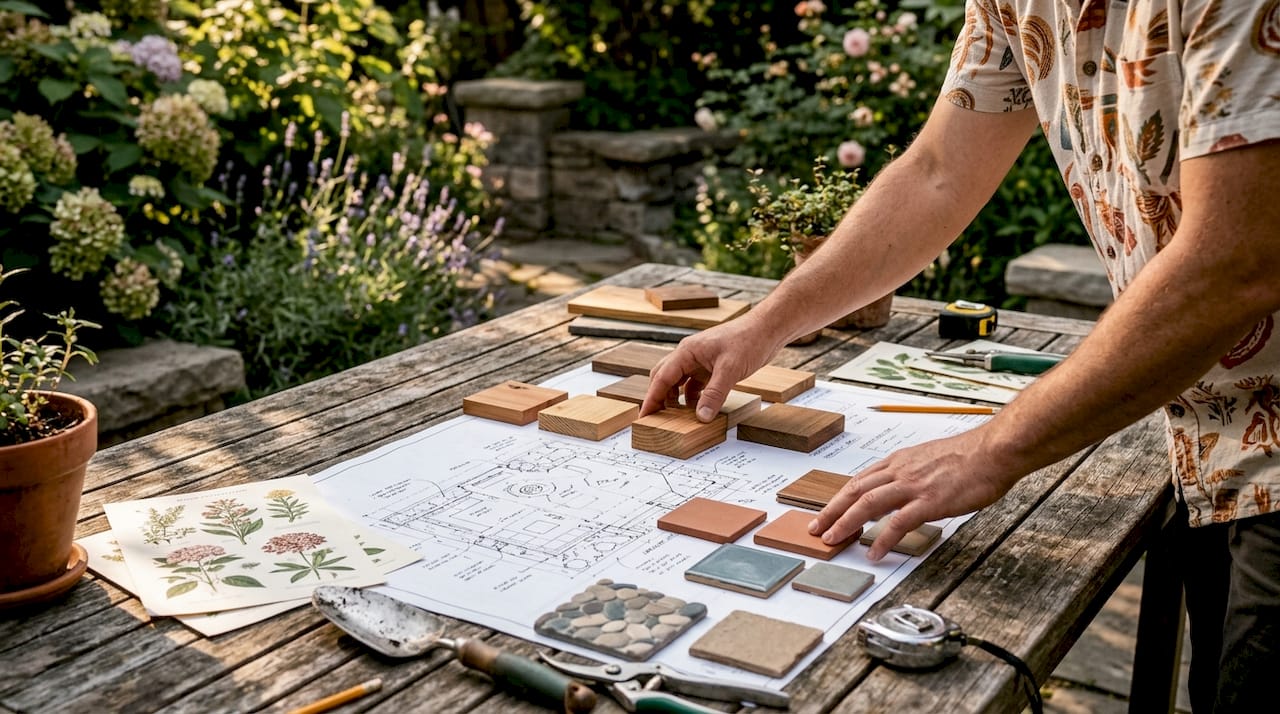
Pro Tip: Plan your zones on paper before you buy a single piece of furniture. Sketch the footprint of each zone at scale so you know exactly what fits before spending money.
2. How to plan infrastructure before aesthetic additions
Infrastructure is the foundation of every successful outdoor build. Drainage, grading, and utility routing must be resolved before any surface material goes down. Ignoring these elements leads to soggy lawns, cracked slabs, and lighting retrofits that cost far more than getting it right the first time.
Work through these infrastructure steps in order:
- Grade the site first. The ground must slope away from your home’s foundation at 1–2% away from the structure. That gradient keeps water moving toward drains and away from your slab and footings.
- Plan drainage paths. Identify where water will go during heavy Melbourne rain. Install ag-pipe or channel drains before any paving begins.
- Install conduit sleeves. Sleeve planning before hardscaping means running empty conduit pipes beneath your slab or paving for future electrical cables, irrigation lines, and data cables. Retrofitting these later means breaking up finished surfaces.
- Route electrical and gas. Engage a licensed electrician and a licensed gas fitter before the slab is poured. Mark every outlet, light point, and appliance location on your plan.
- Check local permits. Melbourne’s building regulations require permits for structures over a certain size, for retaining walls, and for any gas or electrical work. Confirm requirements with your local council before construction starts.
Pro Tip: Ask your concreter to install at least two extra conduit sleeves beyond what you think you need. Future upgrades, like adding a TV point or an irrigation zone, cost almost nothing at the build stage and a lot afterward.
3. What materials and features to prioritize for your outdoor build
Material choice determines how long your outdoor space lasts and how much maintenance it demands. The right selection depends on your budget, your local climate, and how hard the space will be used.
Surface materials
| Material | Pros | Cons | Maintenance | Lifespan |
|---|---|---|---|---|
| Exposed aggregate concrete | Durable, slip-resistant, low cost | Limited color range | Low | 25–40 years |
| Porcelain pavers | High-end look, stain-resistant | Higher upfront cost | Very low | 30+ years |
| Composite decking | Warm underfoot, splinter-free | Can fade in UV | Low | 15–25 years |
| Timber decking | Natural look, affordable | Requires sealing annually | High | 10–20 years |
| Stone veneer | Premium finish, unique | Expensive, skilled install | Low | 30+ years |
Outdoor kitchen essentials
A functional patio entertainment setup requires more than a grill. Plan for:
- A four-burner stainless steel gas grill, which typically costs $800–$1,500 and lasts over 10 years with regular cleaning. That price point represents the best balance of durability and performance for most homeowners.
- Stone or porcelain countertops rated for outdoor use.
- A rangehood or open ventilation design to manage smoke and heat.
- A weatherproof power outlet on a dedicated circuit for small appliances.
Furniture and lighting
Choose furniture frames made from powder-coated aluminum or teak. Both handle Melbourne’s UV exposure and seasonal rain without rusting or warping. Cushions made from solution-dyed acrylic fabric resist fading and mold far better than standard polyester.
Layered lighting is the most underestimated feature in outdoor builds. Plan three levels: ambient lighting for general illumination, task lighting over the grill and dining table, and accent lighting to highlight garden features or architectural details. This system extends the usable hours of your space well beyond sunset.
4. How to size and lay out your outdoor entertainment area
Getting the dimensions right before construction starts prevents the most frustrating outcome in outdoor builds: a finished space that feels too cramped to use comfortably.
A dining area for four to six people needs a minimum footprint of roughly 3 meters by 3 meters. That allows space for the table, chairs pulled out, and a person walking behind a seated guest. A lounging zone with a three-seat sofa, two armchairs, and a coffee table needs at least 4 meters by 3.5 meters to breathe properly.
Key sizing rules for your layout:
- Keep at least 91 cm of clearance between any two furniture groupings. This is the minimum for comfortable movement, not the ideal.
- Face seating toward a focal point, such as a fire pit, garden feature, or outdoor TV. Conversation flows naturally when guests face a shared point of interest.
- Plan pathways from the house to the garden as dedicated routes, not afterthoughts. A 90 cm wide path feels comfortable; anything narrower feels like a squeeze during a party.
- Account for shade. Melbourne’s summer sun hits hard from the north and west. Position a pergola, shade sail, or large umbrella to cover the dining zone during afternoon hours.
- Consider privacy from neighboring properties. A timber fence or screen on the boundary adds enclosure without blocking light.
Pro Tip: Buy your key furniture pieces first and live with them in the space for a season before adding rugs, side tables, and decorative accessories. You will make far better decisions about what the space actually needs.
5. What amenities and finishing touches extend your outdoor space year-round
The difference between a space used three months a year and one used twelve months a year comes down to a handful of well-chosen additions. None of these are required at the build stage, but planning for them early prevents expensive retrofits later.
Heating and fire features:
- Infrared radiant heaters mounted to a pergola beam provide even, wind-resistant warmth. They outperform mushroom-style patio heaters in Melbourne’s variable weather because they heat people directly rather than the surrounding air.
- A built-in fire pit with a gas connection is cleaner and easier to use than a wood-burning version. It also avoids the smoke and ember issues that come with timber fires in suburban settings.
Water features and greenery:
- A wall-mounted water feature adds ambient sound and masks street noise without taking up floor space.
- Green walls or vertical planters work well on boundary fences and add privacy while softening hard surfaces.
- Choose low-maintenance plantings like ornamental grasses, succulents, and native shrubs that handle Melbourne’s dry summers without constant watering.
Outdoor technology:
- Install weatherproof double power outlets at each zone during the build. Adding them afterward means cutting into finished walls or running exposed conduit.
- Run a single ethernet cable to the entertaining area during construction. Streaming audio and video over a wired connection is more reliable than Wi-Fi in an outdoor setting.
- A distributed audio system with in-ceiling or in-wall speakers mounted under a pergola delivers far better sound than a portable Bluetooth speaker.
Textiles and soft furnishings:
- Outdoor throws and cushions in solution-dyed acrylic fabrics add warmth and color without deteriorating quickly.
- An outdoor rug defines the lounging zone visually and makes the space feel finished. Choose a polypropylene weave that drains quickly and resists mold.
Phase your purchases over two to three seasons. Buy the structural furniture first, then add lighting, then textiles. This approach prevents clutter and lets you make decisions based on how you actually use the space.
Key takeaways
A successful outdoor entertainment area build puts infrastructure and zoning first, because every aesthetic decision depends on getting those foundations right.
| Point | Details |
|---|---|
| Budget for contingency | Set aside 10–15% of total project cost for unforeseen issues during construction. |
| Zone before you furnish | Divide the space into dining, cooking, lounging, and feature zones before buying anything. |
| Infrastructure comes first | Grade the site, install drainage, and run conduit sleeves before any surface material goes down. |
| Size for comfort | Allow at least 91 cm of clearance between furniture groupings and plan pathways as dedicated routes. |
| Phase your purchases | Buy foundation furniture first, then add lighting, textiles, and accessories over time. |
What I’ve learned from watching outdoor builds go wrong
The projects that disappoint homeowners almost always share one pattern. The owners spent heavily on furniture and a grill before the slab was even finished, then ran out of budget for the things that actually make a space work: proper drainage, a pergola for shade, and decent lighting. The space looks fine in photos but is unusable on a hot afternoon or after dark.
Zoning is the other thing people skip because it feels abstract at the planning stage. You can’t see a zone on an empty concrete slab. But the moment you put furniture down without a zone plan, you end up with a dining table too close to the grill, nowhere comfortable to sit after dinner, and guests bunching up near the door. I’ve seen this on builds that cost well over $30,000.
My honest advice: spend the first hour of your planning session drawing zones, not browsing furniture. Get your outdoor hardscape zones right on paper first. Then let the infrastructure decisions follow from that plan. The furniture and decor are the easy part. You can always add a new cushion. You cannot easily re-grade a slab.
The homeowners who end up with spaces they genuinely love are the ones who were patient. They built the bones well, used the space for a season, and then made informed decisions about what to add. That patience is not a personality trait. It is a strategy.
— Vic
VW Concreting: Melbourne’s outdoor build specialists
Building an outdoor entertainment area in Melbourne requires more than good taste. It requires a team that understands concrete, drainage, and landscaping as a single integrated system.

Com (VW Concreting) has completed over 145 projects across Melbourne, covering everything from concrete patios and slabs to fencing, turf, and decking. The team handles the full build sequence, from site grading and drainage through to surface finishes and landscaping, so nothing falls through the cracks between trades. If you are planning an outdoor entertainment area and want a team that gets the infrastructure right before touching the aesthetics, contact Com for a consultation. See the full range of Melbourne landscaping services to understand what a complete outdoor build looks like from start to finish.
FAQ
What is an outdoor entertainment area build checklist?
An outdoor entertainment area build checklist is a structured planning guide covering zones, infrastructure, materials, sizing, and amenities in the correct sequence. It prevents costly mistakes by ensuring each decision is made before construction begins.
How much should I budget for an outdoor entertainment area in Melbourne?
Budget varies widely based on size and materials, but always add a 10–15% contingency on top of your quoted project cost to cover unforeseen issues during construction.
What size patio do I need for outdoor entertaining?
A dining area for four to six people requires a minimum footprint of roughly 3 meters by 3 meters. Add at least 91 cm of clearance around furniture groupings for comfortable movement.
Do I need a permit to build an outdoor entertainment area in Melbourne?
Most structural builds, including pergolas, retaining walls, and any electrical or gas work, require a permit from your local Melbourne council. Confirm requirements before construction starts to avoid fines or forced demolition.
What should I build first in an outdoor entertainment area?
Start with site grading, drainage, and conduit sleeves before any surface material is installed. Getting infrastructure right first prevents expensive retrofits and protects every surface and material that follows.
Leave A Comment