
TL;DR:
- Skipping steps in nail installation leads to structural failures, material waste, and costly rework. Consistent workflow, thorough preparation, correct tool setup, and regular inspections are essential for reliable, long-lasting results. Building a quick pre-start checklist ensures quality and compliance across projects, especially when working with evolving materials like composites and engineered timber.
Skipping steps in your nail installation workflow doesn’t just slow you down. It creates structural failures, wastes materials, and turns a straightforward job into a costly rework. Whether you’re fastening decking boards, installing a wood nailer against masonry, or securing roofing sheets, the difference between a job that lasts a decade and one that fails in the first wet season comes down to process. This guide walks you through every stage of the nail installation process, from selecting the right materials to verifying the final result, with the kind of specificity that actually helps on site.
Table of Contents
- Key takeaways
- Setting up your nail installation workflow
- Step-by-step nail installation process
- Troubleshooting common nail installation problems
- Verification and quality assurance
- What I’ve learned about workflow consistency
- Professional nail installation support in Melbourne
- FAQ
Key takeaways
| Point | Details |
|---|---|
| Preparation drives results | Thorough surface prep accounts for the majority of successful nail installation outcomes. |
| Match nail type to application | Selecting the correct nail coating and gauge for your substrate prevents corrosion and pull-through failure. |
| Nail gun pressure is critical | Incorrect pressure settings cause over or under penetration, both of which compromise structural integrity. |
| Inspection closes the loop | Post-installation checks against Australian construction standards catch errors before they become expensive callbacks. |
| Training saves time and money | Spending 15 minutes on workflow setup prevents days of repair work on site. |
Setting up your nail installation workflow
Tools, materials, and nail selection
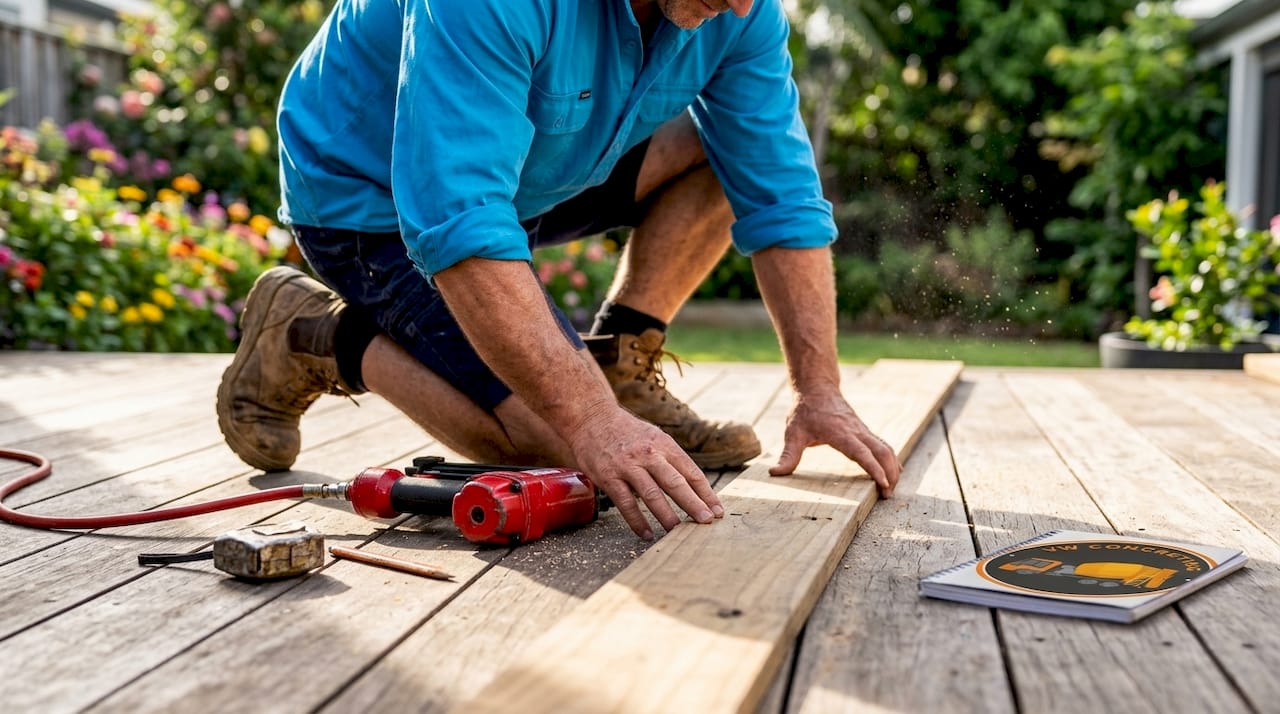
Before a single nail touches a substrate, you need the right kit. The tools you bring to a job directly affect the speed and quality of your output, so this is not the place to improvise.
Core tools for most nail installation jobs:
- Framing nail gun (pneumatic or battery powered) for structural timber work
- Finish nailer for trim, decking edges, and detailed joinery
- Roofing coil nailer for sheet and shingle applications
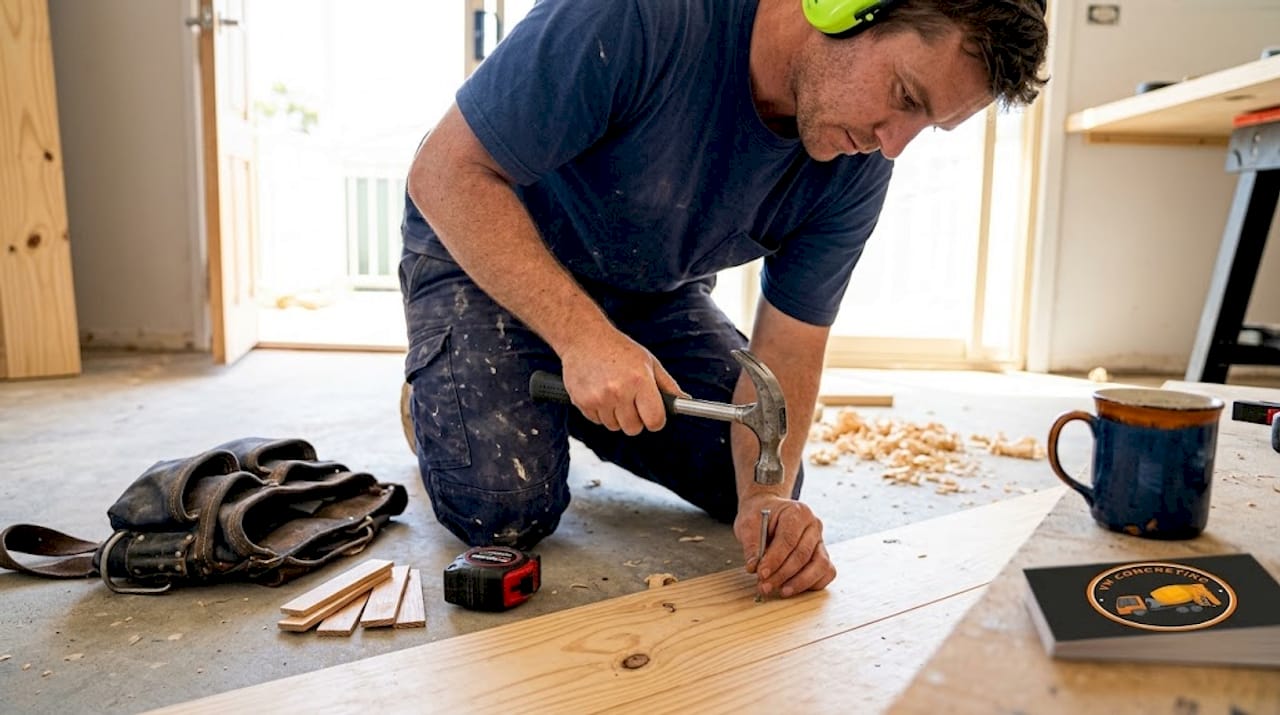
- Hammer and punch for manual corrections and tight access areas
- Speed square, chalk line, and tape measure for layout
- Safety glasses, hearing protection, and steel-capped boots
Nail selection matters more than most people realise. For any application where nails contact treated pine, ACQ or CA-treated lumber, or masonry, you need hot-dipped galvanised or stainless steel nails to prevent galvanic corrosion. Using bright steel nails against treated timber is one of the most common causes of premature fastener failure in Australian outdoor builds. You can read more about nail coating selection to match your project requirements.
Shims deserve a mention here too. Polypropylene shims that resist compression are far more reliable than timber offcuts for levelling and alignment work. They don’t compress, rot, or change dimension with moisture, which keeps your fastener lines true over time.
Substrate preparation
Clean, dry, and structurally sound surfaces are non-negotiable. For timber, check for twisting, cupping, or splits before you commit to a layout. For masonry or concrete bases, remove dust, loose aggregate, and any residual form oil. Wood nailer installation best practice calls for ACQ or CA-treated lumber when the nailer contacts masonry, with anchors spaced 24 inches on centre.
Mark your nail lines before you pick up the gun. A chalk line takes 60 seconds and prevents a crooked row that’s visible once the job is complete. Organise your workspace so fastener bins, shims, and measuring tools are within arm’s reach. Reducing the time you spend walking back and forth is a real efficiency gain on larger jobs.
Pro Tip: Always check timber moisture content before nailing. Timber above 19% moisture content can shrink after installation, loosening fasteners and causing surface movement. A basic moisture metre costs less than $50 and prevents expensive callbacks.
Step-by-step nail installation process
Getting the sequence right is what separates a professional result from a patchy one. Follow these steps consistently, and you’ll build a nail installation process that delivers repeatable quality regardless of project size.
-
Mark your layout. Snap chalk lines at your specified nail spacing intervals. For roofing applications, nail spacing of 8 to 12 inches staggered with 6-inch spacing at eaves and rakes is standard practice. For decking, follow your board manufacturer’s specification, typically 50mm from board edges.
-
Set your nail gun pressure. Connect your pneumatic nailer and test fire into a scrap piece of the same substrate. The nail head should sit flush, not countersunk and not proud. Over-penetration blows through the substrate and requires re-nailing or clipping to rectify. Adjust pressure in small increments until you achieve a clean, flush result consistently.
-
Load the correct fastener. Confirm nail gauge, length, and coating match the application. A 75mm x 3.05mm hot-dipped galvanised nail is a common choice for structural framing. Roofing applications may call for a shorter, wider-headed clout nail to hold sheet materials without tearing.
-
Begin nailing from a fixed reference point. Work from one end or one corner and maintain consistent spacing as you progress. Do not skip ahead and fill gaps later. Inconsistent spacing creates stress concentrations in the substrate that cause splitting or movement.
-
Check penetration depth regularly. For roof framing, the IRC standard calls for 3/8 to 1/2 inch penetration into the receiving member. In Australian residential construction, AS 1684 governs timber framing connections and specifies minimum penetration depths for different nail types and load conditions.
-
Nail at the correct angle. For standard face nailing, keep the gun perpendicular to the surface. For skew nailing into timber joints, a 30 to 45 degree angle improves withdrawal resistance significantly. Think of the technique used when applying fasteners at a consistent angle and pressing firmly from the centre outward. The principle of controlled, deliberate contact applies across fastening applications.
-
Inspect as you go. Don’t wait until the end of the job to check your work. Every 10 to 15 fasteners, step back and confirm spacing, depth, and alignment are on track.
Pro Tip: When nailing close to the end of a board, pre-drill a pilot hole slightly smaller than the nail shank. This prevents splitting at critical connection points and maintains the structural integrity of your substrate.
For a deeper look at efficient fastener application methods, the step-by-step breakdown covers a range of materials and project types.
Troubleshooting common nail installation problems
Even experienced installers run into problems. Knowing what to look for and how to respond quickly keeps a job on track.
Nails sticking through the underside of the substrate indicate your nail length is too long for the material thickness, or your gun pressure is set too high. If you’re seeing this on a roof, more than 1 in 10 nails sticking through is a sign of systemic pressure problems, not a one-off mistake. Clip protruding tips flush and reset your gun before continuing.
Nails lifting or popping after installation usually trace back to one of two causes: fastening into wet or unseasoned timber, or using too short a nail with insufficient penetration depth. Wet timber shrinks as it dries, and a 50mm nail that grips well at installation may lose holding power once the moisture leaves the wood. Re-nail with the correct length and allow timber to season before installation wherever possible.
| Problem | Likely cause | Fix |
|---|---|---|
| Nails sticking through substrate | Excessive gun pressure or nail too long | Reduce pressure, clip tips, switch nail length |
| Nail heads countersunk too deep | Gun pressure too high | Increase pressure, re-nail affected areas |
| Nails proud of surface | Gun pressure too low | Reduce pressure, hand set with punch |
| Surface splitting near ends | Nailing too close to edge | Pre-drill pilot holes, reposition nail line |
| Corrosion after 12 months | Wrong nail coating for substrate | Replace with galvanised or stainless fasteners |
Pro Tip: If you’re working with composite decking or fibre cement sheeting, check the manufacturer’s installation guide for fastener type. Many composite products void the warranty if the wrong nail coating is used. A five-minute check saves a full deck replacement.
For a structured approach to resolving fastening issues on site, this fastening troubleshooting guide covers five practical steps you can apply immediately.

Verification and quality assurance
A thorough post-installation check is what separates a professional job from a finished-looking one. QA doesn’t need to be bureaucratic. It just needs to be consistent.
Post-installation inspection checklist:
- Confirm nail spacing matches the specified layout at regular intervals
- Check penetration depth visually or with a depth gauge
- Verify nail heads are flush, with no countersinking or proud heads
- Inspect for splitting, blowout, or cracking around each fastener
- Confirm all exposed fasteners are the correct coating for the environment
| Inspection item | Tool or method | Pass condition |
|---|---|---|
| Nail spacing | Tape measure | Within ±5mm of specified spacing |
| Penetration depth | Depth gauge or visual | Per AS 1684 or manufacturer spec |
| Head flush condition | Visual or straight edge | No more than 1mm variation |
| Corrosion resistance | Visual check | Correct coating for substrate type |
| Splitting or cracking | Visual | No splits within 20mm of fastener |
Document your inspection results for any commercial or multi-trade project. A simple site diary entry noting nail type, spacing, and any corrections made protects you if a dispute arises later. It also creates a repeatable record that helps your team improve over time. Preventive workflow and regular maintenance scheduling are habits that reduce costly callbacks on any construction project.
What I’ve learned about workflow consistency
In my experience, the biggest mistakes in nail installation don’t happen because someone chose the wrong nail. They happen because the installer skipped the preparation phase when time pressure kicked in. I’ve seen decking jobs where everything looked fine at handover, only to have boards lifting and fasteners corroding within 18 months. When we traced the cause, it was always the same story: treated timber nailed with bright steel, or boards fastened before the substrate was checked for moisture.
The part that doesn’t appear in most formal guides is this: workflow consistency is a discipline, not a technique. You can know every nail spacing specification by heart and still produce inconsistent results if your site setup is disorganised, your team is skipping the pressure check, or you’re substituting nail types because the right stock isn’t on the truck. The preparation phase is where the result is determined. The nailing itself is almost mechanical once the prep is done correctly.
My practical advice is to build a pre-start checklist that takes under three minutes to complete. Nail type confirmed. Pressure tested on scrap. Layout marked. Substrate checked. That four-step habit will eliminate the majority of problems I see on site. As new materials like composite cladding and engineered timber become more common in Australian construction, the same discipline applies. Read the spec sheet, test your setup, then nail.
— VW
Professional nail installation support in Melbourne
Whether you’re planning a new deck, a timber retaining structure, or a complete landscaping project, getting the nail installation process right from the start makes every other trade’s job easier. Com has completed over 145 projects across Melbourne, applying the same systematic approach to fastening, substrate preparation, and quality verification described in this guide. From decking and fencing to slabs and outdoor structures, the team brings the same nail workflow best practices to every job. If you want work that holds up to Melbourne’s seasons and meets Australian construction standards, contact the team at VW Concreting to discuss your project and get expert advice tailored to your site conditions.
FAQ
What is the most important step in nail installation?
Surface preparation is the most critical step. Skipping thorough surface prep leads to premature failure in virtually every type of nail application, from structural framing to exterior cladding.
How do I stop my nail gun from over-penetrating?
Test fire into a scrap piece of the same substrate and adjust air pressure in small increments until nails sit flush. Over-penetration beyond acceptable limits requires re-nailing or clipping and is always a pressure calibration problem.
What nail spacing should I use for roofing?
For asphalt shingle roofing, use 8 to 12 inch staggered spacing with 6-inch spacing at eaves and rakes, and increase to three nails per shingle in high-wind areas.
When should I use treated nails versus galvanised nails?
Use hot-dipped galvanised or stainless steel nails any time you’re fastening into or near treated timber, masonry, or in external environments. ACQ and CA-treated lumber reacts with bright steel and causes accelerated corrosion and structural failure.
How do I verify my nail installation meets Australian standards?
Check nail penetration depth, spacing, and fastener type against AS 1684 for timber framing or your product manufacturer’s installation guide. Document spacing and any site corrections in a site diary for compliance and future reference.
Recommended
- Choosing the right nail types for durable Australian builds – Aussie Nails and Fasteners Warehouse
- Fastener installation guide: expert tips for Australian projects – Aussie Nails and Fasteners Warehouse
- Nail types for Melbourne DIY and landscaping projects
- Why nail guns boost efficiency and precision for DIY projects
Leave A Comment