
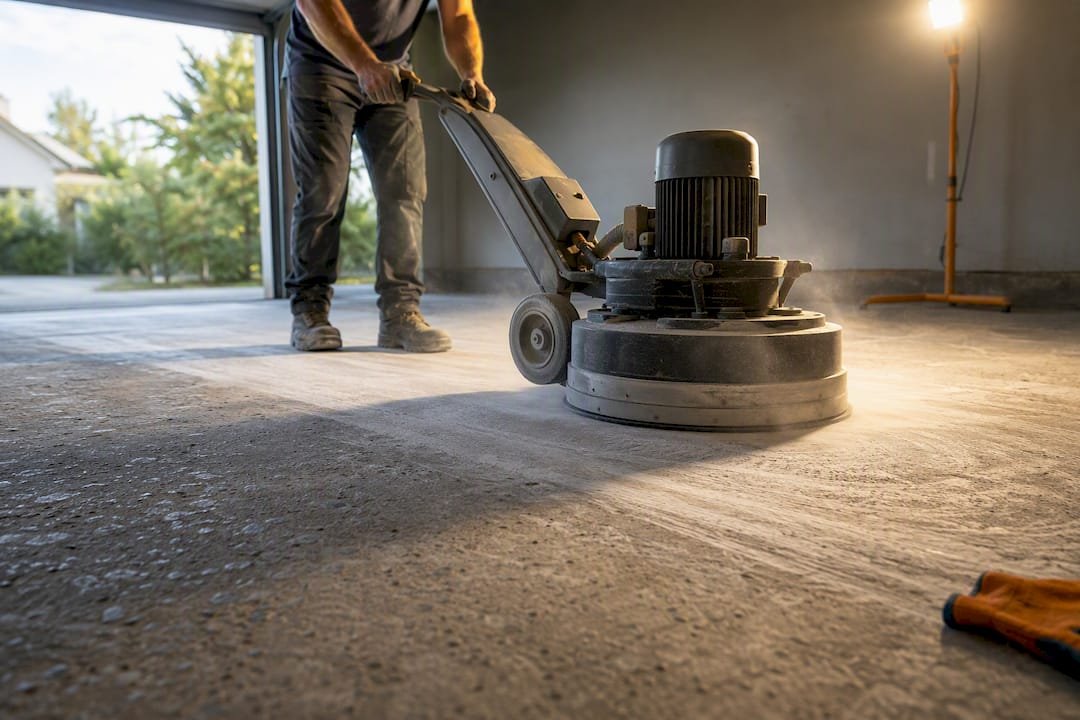
Epoxy floor prep follows one sequence: test moisture, degrease, repair, profile the concrete, clean it again, verify, then prime. Skip any step and adhesion failure follows, usually within a year. The two decisions that make or break the job are moisture testing to ASTM F2170 or ASTM F1869, and profiling the slab to an ICRI Concrete Surface Profile (CSP) of 2 to 3. Everything else in this guide supports those two checkpoints.
TL;DR:
- Moisture testing must be done accurately with ASTM F2170 or ASTM F1869 before proceeding, especially on slabs below grade or without vapor barriers.
- Profiling the concrete to CSP 2–3 using mechanical methods like grinding or shot blasting is crucial for ensuring strong epoxy adhesion and durability.
- Mechanical profiling methods like grinding and shot blasting are more reliable than acid etching, which is generally discouraged unless explicitly permitted by the epoxy manufacturer.
- Degreasing and cleaning the slab thoroughly before profiling prevents oil and contaminant entrapment that can cause failure later.
- Skipping or rushing steps such as moisture testing, proper profiling, or cleaning significantly increases the risk of epoxy failure symptoms like bubbling, peeling, or fisheyes.
Table of Contents
- Quick Epoxy Floor Prep Checklist
- How Do You Test a Concrete Floor for Moisture Before Epoxy?
- Which Concrete Profiling Method Should You Use for Epoxy?
- How Do You Clean and Degrease a Garage Floor Before Epoxy?
- How Do You Repair Cracks and Joints Before Applying Epoxy?
- Final Checks Before You Prime the Floor
- Why Do Epoxy Floors Fail? Matching Symptoms to Missed Prep Steps
- What Fifteen-Plus Years of Melbourne Slabs Have Taught Us
- When Should You DIY Epoxy Floor Prep and When Should You Hire It Out?
- Get Your Garage Floor Prepped and Coated Right the First Time
- Sources
Quick Epoxy Floor Prep Checklist
Print this out and check boxes as you go. Preparing concrete for epoxy is unforgiving of shortcuts, but it’s not complicated once you know the order.
- Screen for moisture with a water drop test, then run ASTM F2170 or ASTM F1869 if the slab is on grade or below.
- Degrease any oil, grease, or curing compound residue completely.
- Repair cracks, spalls, and damaged joints with compatible fillers.
- Profile the slab to CSP 2–3 using mechanical grinding or shot blasting.
- Vacuum and clean the dust and slurry from grinding.
- Run final verification: dust test, water absorption check, dew point.
- Apply primer or moisture vapor barrier per the manufacturer’s technical data sheet (TDS).
Decision rule: grind when you’re unsure. Diamond grinding is commonly used for most residential slabs. Acid etching is acceptable only if your epoxy manufacturer’s TDS explicitly allows it, since etching is less reliable at removing sealers and old coatings than mechanical profiling. Shot blasting is often preferred for larger garages to save time compared to grinding alone.
Tools and supplies: diamond grinder with HEPA dust shroud, degreaser, moisture meter or calcium chloride test kit, epoxy-compatible patch compound, shop vacuum, respirator (N95 minimum), safety glasses, and knee pads.
Pro Tip: Rent the grinder for a full 24-hour period, not a half-day slot. Slab prep always takes longer than the online tutorials suggest, and rushing the last quarter of the floor is where most amateur jobs go wrong.
How Do You Test a Concrete Floor for Moisture Before Epoxy?
Start with a visual walk of the slab. Look for shiny patches, which usually mean a sealer or curing compound is still on the surface, and for dark blotches that suggest trapped moisture underneath. Curing compounds are invisible to the eye about as often as they’re obvious, so don’t skip the next step just because the floor looks clean.
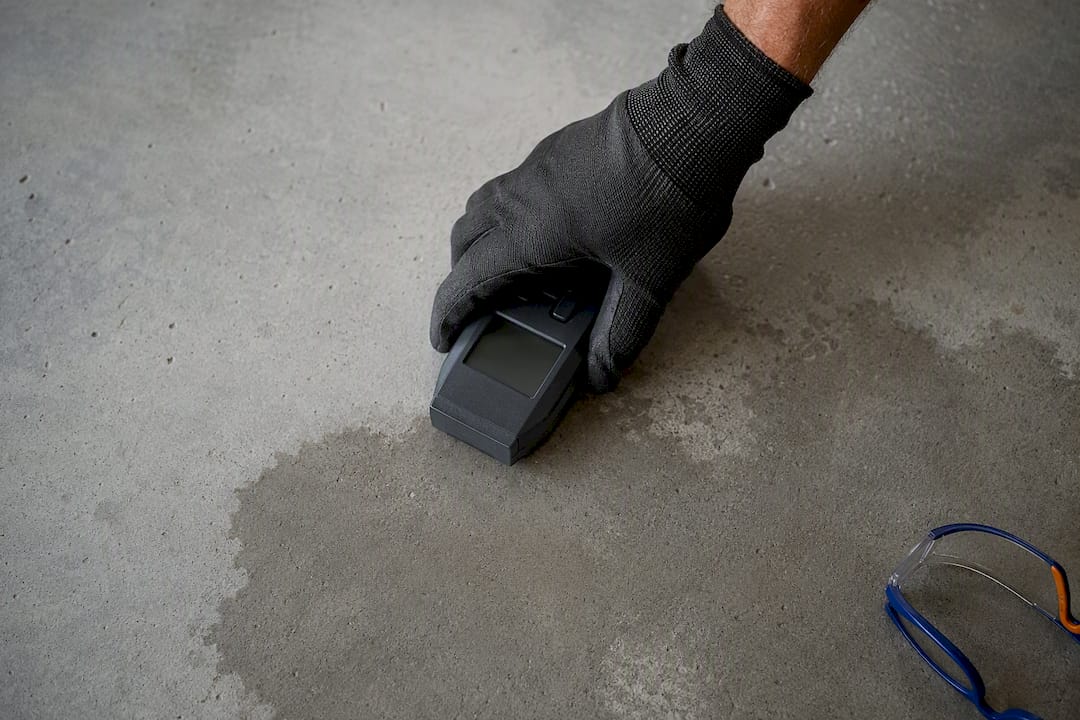
Run a water-drop screening test next: place a few drops of water on bare concrete. If it beads up instead of soaking in within a couple of minutes, a sealer or coating is still present and needs to be stripped before you go further.
For anything below grade, over a crawl space, or in a slab with no known vapor retarder, formal testing matters more than a quick screen. ASTM F2170 measures relative humidity inside the slab using in-situ probes. ASTM F1869 uses calcium chloride to measure moisture vapor emission rate.
- In-situ probes (ASTM F2170) generally need to sit for 24 hours minimum before reading.
- Calcium chloride tests (ASTM F1869) run over 60 to 72 hours and measure pounds of vapor per 1,000 square feet per day.
- Handheld moisture meters give a fast relative reading but aren’t a substitute for either ASTM method on a job that matters.
Your epoxy manufacturer’s TDS sets the actual pass/fail number for either test. If your slab consistently reads high, don’t fight it. Moisture that doesn’t resolve after a few dry days usually means a vapor barrier primer, not a wait-and-see approach.
Which Concrete Profiling Method Should You Use for Epoxy?
Profiling opens the concrete’s pores so epoxy can mechanically key into the surface instead of sitting on top of it, and the method you choose determines whether that bond holds.
Diamond grinding is the practical default for most homeowners. A rented grinder with a HEPA-rated dust shroud produces a CSP 2–3 finish on most residential slabs, strips light coatings and laitance, and gives you control over how aggressive the pass gets. It’s slower than shot blasting and needs a second pass with a hand grinder along walls and corners where the machine can’t reach.
Shot blasting removes material faster and produces a more uniform profile across large open areas, which is why commercial crews favor it for garages and warehouse floors. The equipment is heavier, louder, and usually needs a trailer to transport, so it’s more of a rental decision than a casual DIY tool.
Acid etching is the weakest option of the three. It can lightly roughen bare, uncoated concrete, but it does a poor job removing sealers, oil stains, or old paint, and it leaves a shallower, less consistent profile than mechanical methods. Industry guidance treats mechanical prep as the standard and etching as a fallback only when the coating manufacturer’s TDS explicitly permits it.
Whichever method you use, repairs and patched areas need the same CSP as the surrounding field. A patch that’s smoother than the field around it becomes a visible flat spot and a weak adhesion point the moment the epoxy goes down.
- Diamond grinding: moderate cost to rent, best control, requires edge detailing by hand.
- Shot blasting: faster on large areas, heavier equipment, better for bare or lightly coated slabs.
- Acid etching: cheapest option, least reliable, use only when the TDS allows it.
Pro Tip: Grind in a cross-hatch pattern, overlapping each pass by a few inches. A single-direction grind leaves faint lines the epoxy will telegraph through once it cures.
How Do You Clean and Degrease a Garage Floor Before Epoxy?
Cleaning happens twice: once before you touch the grinder, once after. Skipping the first pass is how oil ends up smeared deeper into the slab instead of removed from it.
- Sweep and dry vacuum the slab to remove loose debris.
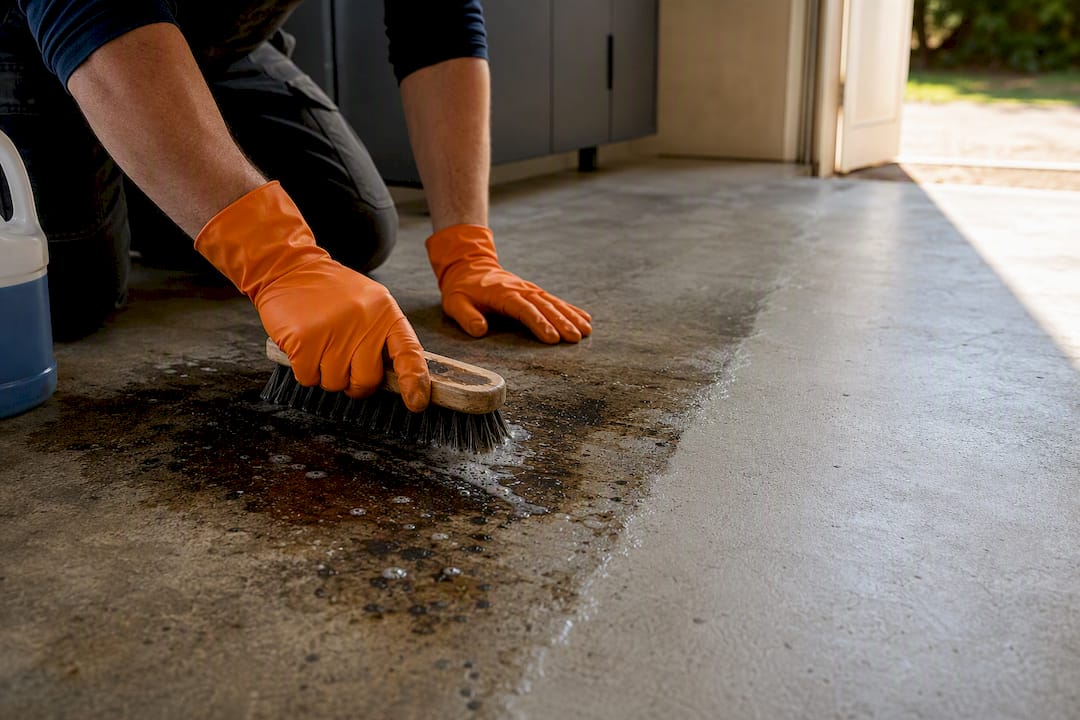
- Apply a concrete degreaser to any oil, grease, or tire marks, and let it sit per the product’s dwell time.
- Scrub the treated areas with a stiff brush, then rinse and extract the runoff.
- Repeat steps 2 and 3 on stubborn stains. Old garage floors often need two or three passes over the same spot.
- Let the slab dry fully before moving to profiling. Grinding a damp or oily floor smears contamination instead of removing it.
Degreasing has to happen before profiling because a grinder or shot blaster will drive any remaining oil straight into the pores it just opened, and there’s no fixing that afterward. Check your work with the same water-drop test used for moisture screening; water that beads instead of soaking in means sealer or oil is still present.
Use an alkaline degreaser rated for concrete rather than a household cleaner, work with ventilation running, and wear gloves and eye protection. Companies that specialize in pressure washing and surface prep point out that a single light pass rarely clears decades-old oil stains, so budget the extra time.
How Do You Repair Cracks and Joints Before Applying Epoxy?
Hairline, non-moving cracks get filled and moved on from. Cracks wider than a hairline, or ones that shift with temperature or load, need a flexible epoxy or polyurethane filler rather than a rigid patch, and a crack that’s actively growing or tied to a foundation issue belongs in front of a structural professional before you touch it with a coating.
Movement joints and control joints stay honored unless your epoxy system is specifically designed to bridge them; filling a control joint solid just relocates the crack to somewhere new. Uneven or unexplained cracking sometimes points to a subgrade problem rather than simple slab shrinkage, which is worth ruling out before you commit to a coating.
- Clean the crack of loose debris and dust before filling.
- Route or slightly widen unstable edges so the filler has something to grip.
- Fill with an epoxy-compatible patch or polymer-modified repair mortar.
- Let it cure fully per the product label, then grind it flush with the field.
Pro Tip: Repaired areas need the same CSP as the rest of the floor. A patch that cures smooth and shiny will show through the epoxy as a dull spot and a weak point.
Final Checks Before You Prime the Floor
Run the dust test first: wipe a clean rag across the ground floor. If it comes away chalky, you haven’t cleaned enough after grinding. Follow with a water absorption check; water should darken and soak into bare concrete within a couple of minutes rather than bead on the surface.
- Confirm slab and air temperature sit within the range your epoxy TDS specifies, usually above 50°F and below 90°F.
- Check relative humidity and dew point; coating too close to the dew point causes condensation under the film.
- Choose a standard epoxy primer for a clean, dry, low-oil slab.
- Choose an oil-tolerant primer if trace residue remains after degreasing.
- Choose a moisture vapor barrier if F2170 or F1869 testing came back above your manufacturer’s threshold.
Why Do Epoxy Floors Fail? Matching Symptoms to Missed Prep Steps
Most epoxy failures trace back to one skipped gate, and the symptom usually tells you which one.
- Bubbling or blistering: moisture escaping the slab. Test again and consider a vapor barrier.
- Peeling or delamination: insufficient profile or leftover sealer. Re-grind to CSP 2–3.
- Fisheyes in the cured coating: oil or silicone contamination missed during degreasing.
- Telegraphing (old cracks showing through): a repair that wasn’t ground flush with the field.
Spot repairs work for small, isolated failures. Widespread bubbling or peeling across the floor usually means a full strip and re-prep, not a patch job.
What Fifteen-Plus Years of Melbourne Slabs Have Taught Us
At Com, we’ve been pouring, finishing, and coating concrete since 2001, and garage epoxy floors are one of the categories where prep mistakes show up fastest…
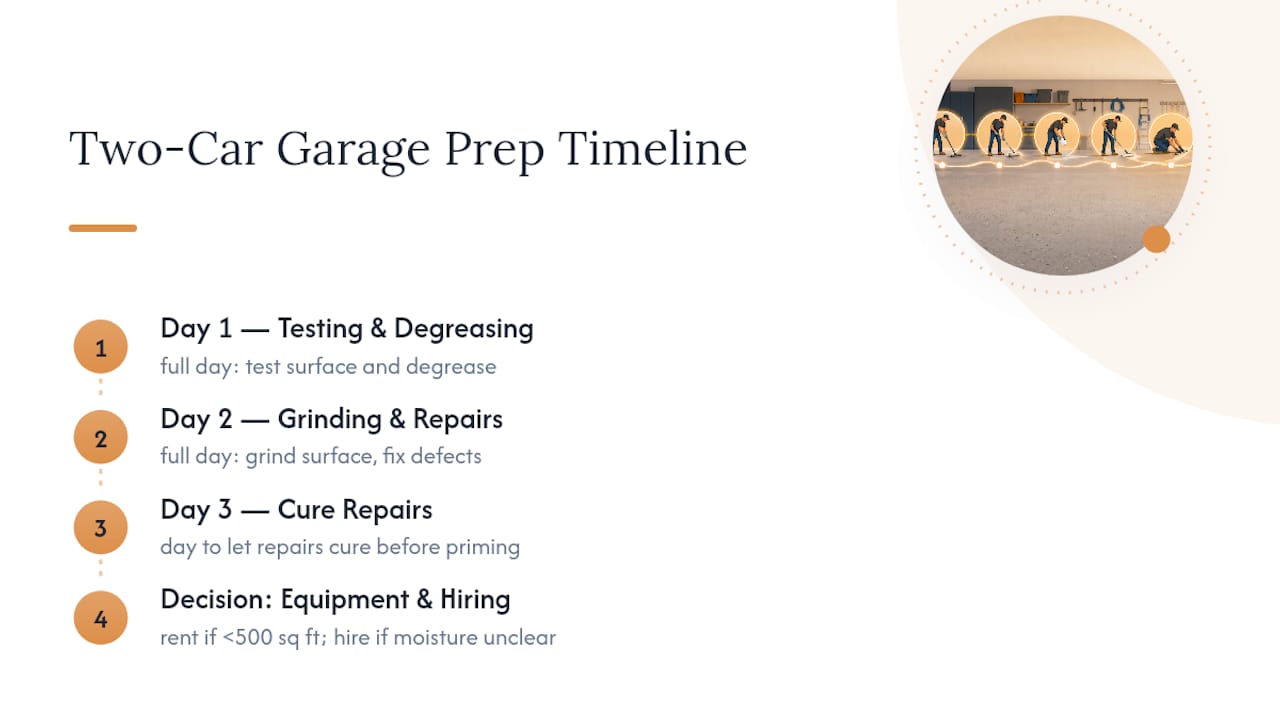
Realistic timing for a two-car garage: a full day for testing and degreasing, a full day for grinding and repairs, and a day to cure repairs before priming. Rent equipment for a one-off job under 500 square feet. Beyond that, or with any moisture reading you’re not confident interpreting, hiring out saves more in redo costs than it spends…
When Should You DIY Epoxy Floor Prep and When Should You Hire It Out?
A clean, dry garage slab with no cracks and a straightforward moisture reading is a reasonable DIY project for someone willing to rent a grinder and follow the sequence in this guide. Add in structural cracks, a failed moisture test, a below-grade slab, or a coating that’s already failed once, and you’re better off calling a professional before you spend a weekend and a rental fee on a floor that fails again in a year.
Whatever route you take, follow the epoxy manufacturer’s TDS over any generic advice, including mine. If you’d rather skip the grinder rental entirely, Com’s garage epoxy flooring service handles the full sequence for Melbourne homeowners.
— Vic
Get Your Garage Floor Prepped and Coated Right the First Time
There are professional services that run the full test-to-prime sequence on garages and driveways, saving you from having to source a grinder, a moisture meter, and a degreaser separately. Many projects have been handled across concreting, driveways, and outdoor construction since 2001, with garage epoxy flooring as part of that work.

If your slab has cracks, a failed DIY etch job, or a moisture reading you’re not sure how to read, that’s exactly the situation where a professional pass saves you a second redo. Beyond epoxy floors, we handle the site preparation work that determines whether a driveway or slab holds up for decades, not just years.
Check out our driveway and slab projects to see finished work, then reach out for a quote on your garage floor or concreting project.
Leave A Comment