
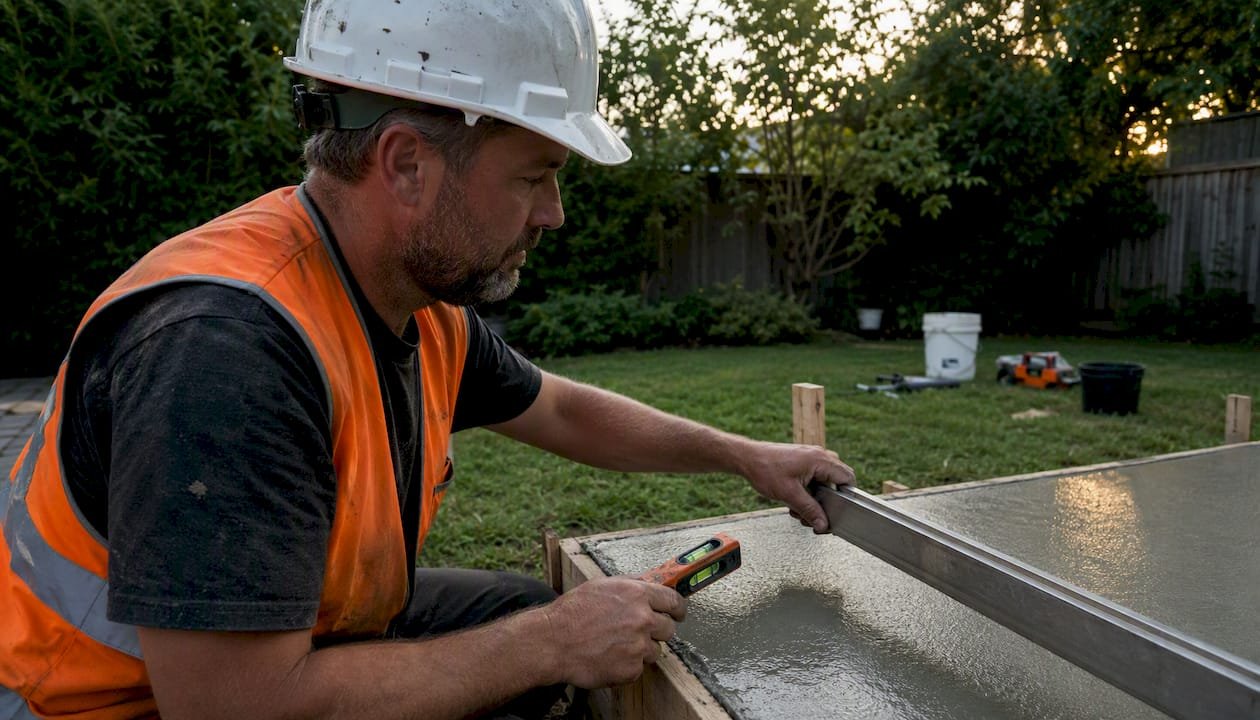
Design outdoor slabs to a minimum of 1% slope, but target 1.5–2% wherever site conditions allow. The single formula you need: Slope (%) = Rise ÷ Run × 100. That’s it. Everything else, the unit conversions, the screed rail heights, the field checks, flows from that one equation.
Quick sense-check: a 10 ft run at 1% drops roughly 1.2 inches total. The same run at 2% drops about 2.4 inches. Neither is visible to the eye, but the difference between adequate drainage and a puddle that sits for three days is real. The American Concrete Institute (ACI) standard ACI 302.1R sets 1/8 in/ft as the minimum exterior slab drainage slope (equivalent to 1%), while Concrete Network and most field practitioners recommend 1/4 in/ft (2%) as the practical working target. Your local building department and the International Building Code (IBC) may add further requirements, so always verify before the pour.
Poor drainage isn’t just an inconvenience. In many homes in wetter U.S. climates, inadequate slab slopes can lead to pooling water, and standing water accelerates cracking, freeze-thaw damage, and slip hazards. Getting the fall right from the start costs nothing extra.
Table of Contents
- How is slab slope expressed, and how do you convert between units?
- How do you calculate total fall, slope per foot, and screed rail heights?
- Three worked examples: driveway, patio, and garage threshold
- Which online calculators and spreadsheet formulas actually help?
- How do you measure and verify slope on site before the pour?
- What slope should you design for, by surface type and climate?
- Common mistakes and a pre-pour inspection checklist
- When should you check local codes or call an engineer?
- Key Takeaways
- Get professional slope-setting for your next slab
- Useful sources and references
How is slab slope expressed, and how do you convert between units?
Three notations show up on plans, calculators, and site levels, and they all describe the same thing.
Percent grade is the most common: 1% means 1 unit of rise for every 100 units of run. Inches per foot is what most U.S. framers and finishers use on site: 1/8 in/ft, 1/4 in/ft. Ratio (e.g., 1:67) appears on some engineering drawings and UK-sourced references.
Converting between them takes one step each:
- Percent to in/ft: multiply % by 0.12 (so 2% × 0.12 = 0.24 in/ft ≈ 1/4 in/ft)
- In/ft to percent: divide by 0.12 (so 0.125 ÷ 0.12 = 1.04% ≈ 1%)
- Percent to ratio: divide 100 by the % (so 1.5% → 1:67; 2% → 1:50)
The table below is the cheat sheet to keep on site or tape to the job box.
| Slope % | Ratio | mm/m | in/ft | Typical use |
|---|---|---|---|---|
| 0.5% | — | 5 mm/m | — | Absolute minimum; not recommended outdoors |
| 1% | 1:100 | 10 mm/m | 1/8 in/ft | Code minimum for exterior slabs (ACI 302.1R) |
| 1.5% | 1:67 | — | — | Practical design minimum for most outdoor slabs |
| 2% | 1:50 | 20 mm/m | 1/4 in/ft | Standard working target; common practitioner rule |
| — | — | 30 mm/m | 3/8 in/ft | Wet climates, textured finishes, steep driveways |
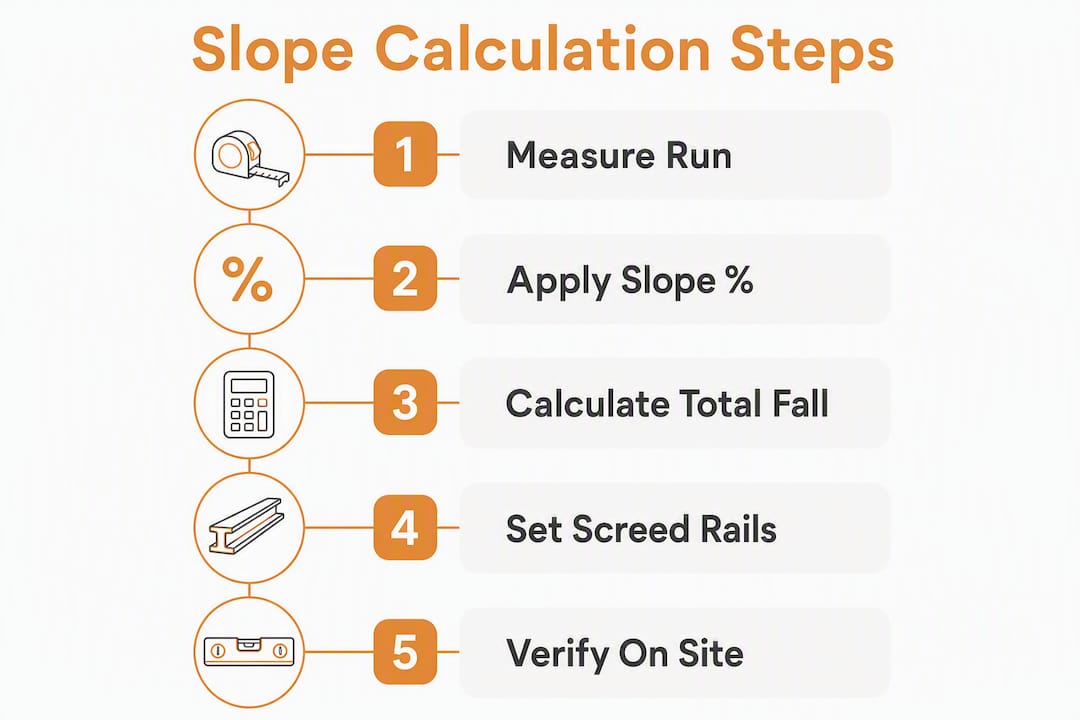
When setting screed rails, use mm/m or in/ft rather than percent, because those units translate directly to a reading on a digital level or a measurement off a straightedge. Percent is for the calculation; mm/m or in/ft is for the field.
How do you calculate total fall, slope per foot, and screed rail heights?
The math is short. Three formulas cover everything you need for a standard outdoor slab.
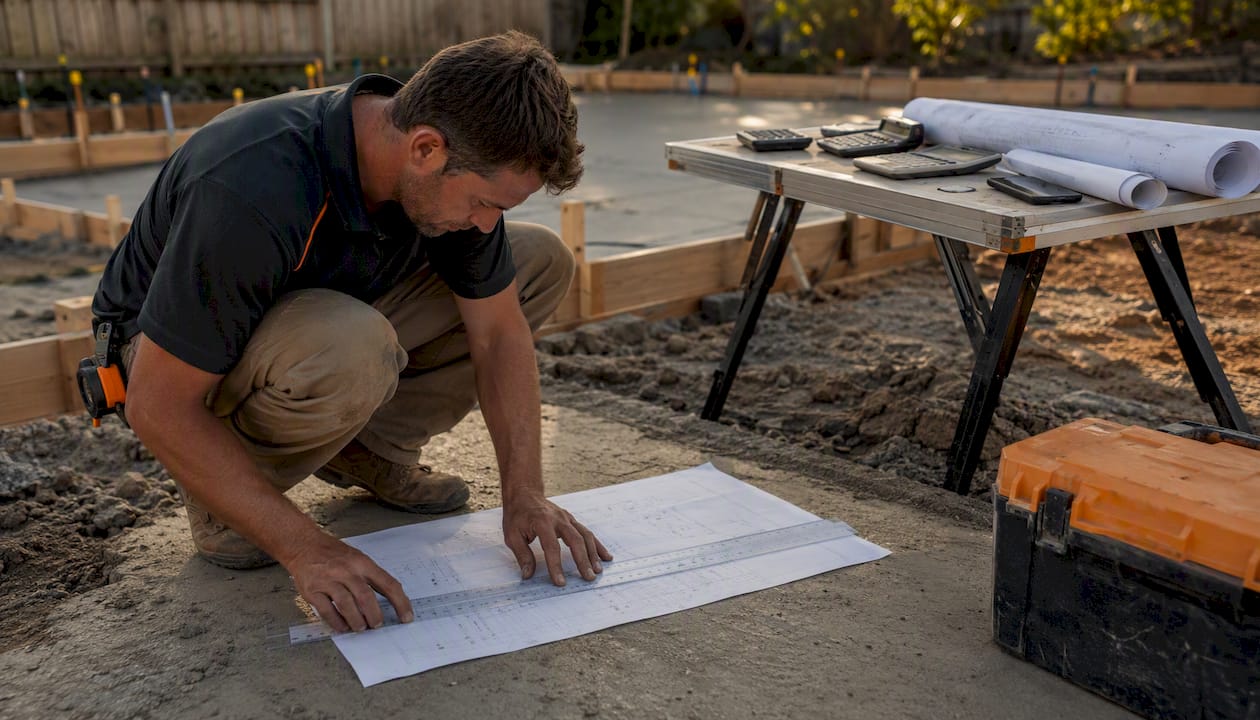
(a) Slope % = Rise ÷ Run × 100
(b) Total fall = Slope% × Run ÷ 100
© Rise per foot = Total fall ÷ Run (in feet)
Step-by-step procedure:
- Pick your design slope. Choose 1.5–2% for most outdoor slabs. Use 2% or higher if the surface is textured, the climate is wet, or construction tolerances are tight.
- Convert to your working unit. Multiply your slope % by 0.12 to get in/ft, or multiply by 10 to get mm/m.
- Compute total drop. Multiply slope % by run length (in feet or meters) and divide by 100. This is the height difference between the high point and the low point.
- Mark your datum. Set the high-point elevation as your reference (zero). Every screed rail height below that is a subtraction.
- Set screed rails. Divide the total drop evenly across the number of rail spacings. At each rail, subtract the cumulative drop from the datum height and mark or shim to that level.
- Record for the pour ticket. Write down each rail height so the crew can check them independently before concrete is placed.
Worked example (patio, 12 ft run at 1.5%):
- Total fall = 1.5 × 12 ÷ 100 = 0.18 ft = 2.16 inches
- Rise per foot = 2.16 ÷ 12 = 0.18 in/ft
- At 4 ft intervals: rail 1 = datum; rail 2 = datum minus 0.72 in; rail 3 = datum minus 1.44 in; rail 4 (low edge) = datum minus 2.16 in
For slabs with both cross-fall and longitudinal grade, the true composite slope is √(cross%² + long%²). A 1.5% cross-fall combined with a 1% longitudinal grade produces a composite of √(2.25 + 1) = √3.25 ≈ 1.8% effective grade, which matters for pedestrian slip risk assessment.
Pro Tip: Design your invert elevations before the pour, not during it. Write the screed heights on a simple sketch and hand it to the finisher. A 30-second check at each rail prevents a costly grind-back.
Three worked examples: driveway, patio, and garage threshold
Driveway: 30 ft run at 2%
Total fall = 2 × 30 ÷ 100 = 0.60 ft = 7.2 inches
At screed rails every 5 ft, the drop per interval is 7.2 ÷ 6 = 1.2 inches per interval. Rail 1 is datum; each subsequent rail drops another 1.2 inches. The residential driveway specification for a standard 2% fall produces a barely perceptible grade that sheds water cleanly without creating a ramp feel underfoot.
Patio: 10 ft run at 1.5%
Total fall = 1.5 × 10 ÷ 100 = 0.15 ft = 1.8 inches
In ratio terms: 1.5% = 1:67. In in/ft: 1.8 ÷ 10 = 0.18 in/ft. As a metric comparison, a 5 m patio at a 1:60 ratio requires roughly 83 mm total fall, which is a steeper 1.67% and illustrates why ratio notation can be misleading without context.
Garage threshold: 20 ft depth at 1% minimum
Total fall = 1 × 20 ÷ 100 = 0.20 ft = 2.4 inches
The floor must slope toward the door or a door-side channel drain, never toward the rear wall. Sloping a garage floor toward the rear wall is one of the most common and expensive mistakes in residential concreting. Direction matters as much as magnitude.
Calculator check shortcut: Enter three values into any slope calculator: run length, desired slope %, and your preferred output unit. Cross-check the total drop against your manual calculation (formula b above). If they disagree by more than 1/8 inch over a 20 ft run, recheck your unit inputs.
| Example | Run | Design slope | Total drop | In/ft |
|---|---|---|---|---|
| Driveway | 30 ft | 2% | 7.2 in | 0.24 in/ft |
| Patio | 10 ft | 1.5% | 1.8 in | 0.18 in/ft |
| Garage | 20 ft | 1% | 2.4 in | 0.12 in/ft |
Which online calculators and spreadsheet formulas actually help?
Most slope calculators ask for the same three inputs: run length, slope %, and preferred output unit (inches, mm, or feet). The output is total drop, sometimes with a grade warning if the slope falls below 1% or exceeds a surface-specific maximum.
The Gradelog IBC drainage slope calculator is worth bookmarking. It returns slope %, elevation drop, and an IBC code reference by surface type (concrete, asphalt, gravel, hardscape pavers), which saves a separate code lookup. The ConcreteCalculate sloped slab calculator adds concrete volume, rebar estimate, and a drainage compliance check against ACI 302.1R, useful when you need both the structural and drainage numbers in one pass.
Spreadsheet formulas (copy into any cell):
| Output needed | Formula (A1 = run in ft, B1 = slope %) |
|---|---|
| Total drop (ft) | =A1*B1/100 |
| Total drop (in) | =A1B1/10012 |
| In/ft | =B1*0.12 |
| Ratio (1:X) | =100/B1 |
When a calculator flags a warning, check two things first: that your run is in the same unit as the calculator expects (feet vs. meters), and that you entered slope as a percentage (e.g., 2) rather than a decimal (0.02). Those two input errors account for most calculator mismatches.
For trench drains and channel systems, a slab slope calculator is not enough. Channel sizing uses Manning’s equation to account for flow velocity and channel geometry. The ABT Drain design manual covers this in detail and is the right reference when the outfall requires a sized channel rather than a simple surface drain.
How do you measure and verify slope on site before the pour?
Measuring slope in the field is where calculations either hold up or fall apart. A design slope of 1.5% on paper can become 0.8% as-built if screed rails are set by eye.
On-site workflow:
- Establish a datum. Drive a stake or mark a reference point at the high edge of the slab. All subsequent measurements subtract from this point.
- Set screed rails at 2–3 ft intervals across the pour width, shimming each rail to the calculated drop at that station.
- Check each rail with a digital level or laser. A digital slope finder (such as a Bosch or Stabila digital level) reads slope directly in percent or in/ft, which matches your design numbers without conversion.
- Confirm with a straightedge before concrete is placed. Lay a 6 ft or 10 ft straightedge across the rails and check for high or low spots.
- Post-pour spot checks. Once the surface has cured enough to walk on, run the digital level at the specified points and confirm readings match design. A straightedge check across the finished surface catches any humps or hollows before the job is signed off.
Tool reference:
| Tool | What it reads | Best for |
|---|---|---|
| Digital slope finder | % or in/ft directly | Rail setting and post-pour checks |
| Laser level | Elevation difference | Long runs, large slabs |
| Line level + tape | Height difference | Quick checks on short runs |
| Spirit level + tape | Rough grade | Preliminary site assessment only |
Pro Tip: Construction tolerances for outdoor slabs are typically ±6 mm under a 3 m straightedge. At a 1% design slope, that tolerance can wipe out your drainage entirely. Design to 1.5–2% so the as-built result still drains even after the tolerance eats into it.
What slope should you design for, by surface type and climate?
The right slope depends on three things: surface type, surface texture, and local rainfall. The table below gives the working ranges.
| Surface | Minimum | Design target | Notes |
|---|---|---|---|
| Garage slab | 1% | 1.5–2% | Slope toward door or channel drain |
| Driveway / car park | 1.5% | 2% | Higher end for wet climates |
| Patio / exposed pavement | 1% | 1.5–2% | Steeper for textured finishes |
| Pedestrian path | 1% | 1.5% | ADA cross-slope max 2% |
| Stamped / textured concrete | 1.5% | 2–3% | Texture slows flow; needs extra fall |
Climate is the variable most plans underweight. Designers in arid regions often accept 1% as adequate, while wet-climate and snow-belt projects typically target 2–3% to handle peak runoff without ponding. If you’re in a region that gets regular heavy rain or freeze-thaw cycles, 1% is a floor, not a target.
Textured or stamped concrete slows surface flow compared to a smooth power-floated finish. A pattern that looks decorative in the showroom adds hydraulic resistance on site. For stamped work, add at least 0.5% to whatever slope you’d specify for a plain slab. For guidance on how hardscape material and surface finish interact with drainage performance, this comparison of durable hardscape materials covers the practical tradeoffs.
Understanding how concrete pathway grade affects drainage in different weather conditions helps when adjusting slope targets for your specific site.
Common mistakes and a pre-pour inspection checklist
The most expensive drainage mistakes happen before the concrete truck arrives.
Common errors:
- Sloping toward the house or building foundation (water follows the grade directly to the structure)
- Designing exactly to the 1% minimum with no tolerance buffer
- Mixing units mid-calculation (feet and meters in the same formula)
- Failing to check invert or outfall elevation before setting screed rails
- Relying on visual estimation instead of a level or laser
Pre-pour checklist:
- Datum marked and recorded on the pour sketch
- Screed rails set and checked with a digital level at every station
- Channel or kerb invert levels confirmed against design
- Screed heights written on the pour ticket
- Flow direction confirmed: away from the building, toward the drain or outfall
Post-pour checklist:
- Straightedge across the slab at multiple points
- Digital level spot checks at the high and low edges
- Drain and kerb connections confirmed at the correct invert level
- No visible ponding after a hose test
Red flags that need immediate action: any planned fall below 1% across a driveway or patio, or any fall directed toward a building foundation. Poor drainage is one of the leading causes of premature concrete failure and structural moisture damage.
Pro Tip: Run a garden hose across the finished slab before sign-off. Water reveals low spots and incorrect fall direction faster than any instrument. If it pools anywhere other than the drain, the slab needs attention before the job closes.
When should you check local codes or call an engineer?
For a standard residential patio or driveway, the formulas in this guide and a check with your local building department cover most situations. The International Building Code (IBC) and local municipal codes set minimum slopes and drainage discharge rules that vary by jurisdiction, so confirm the requirements before you finalize plans.
Call a civil or structural engineer when:
- Grading affects water runoff onto adjacent properties
- The site has composite grades requiring stormwater design
- A driveway ramp has vehicle clearance or structural concerns
- The outfall connects to a municipal stormwater system
Practical steps before any pour: get permit requirements in writing from the building department, verify allowable outfall points, and request as-built elevations from the contractor before final payment. For complex sites with flat natural grade, trench drain systems sized with Manning’s equation can compensate when regrading large areas is impractical. Landscape drainage solutions that integrate with slab outfalls are covered in detail at this yard drainage guide.
Pro Tip: Ask your contractor for the as-built screed heights before the final payment. If they can’t produce them, that’s a signal the rails weren’t set systematically. A $50 digital level check at handover is cheaper than a post-cure grind.
Key Takeaways
Accurate outdoor slab drainage fall calculations require one formula, a tolerance buffer of at least 0.5%, and a field check before the concrete sets.
| Point | Details |
|---|---|
| Core formula | Slope (%) = Rise ÷ Run × 100; total fall = Slope% × Run ÷ 100. |
| Design slope range | Target 1.5–2% for most outdoor slabs; 1% is the ACI code minimum, not the design target. |
| Tolerance buffer | Construction tolerances can reduce planned fall; always design above the minimum. |
| Field verification | Set screed rails with a digital level; run a straightedge and hose test before sign-off. |
| VW Concreting | For slope-critical pours in Melbourne, VW Concreting sets and verifies screed rails on every job. |
The number that matters most isn’t the slope percentage
Most people focus on hitting the 1% minimum and call it done. That’s the wrong target. The minimum is what the code requires for a slab that drains under ideal conditions, with perfect screeding and no construction variation. Real sites don’t work that way.
The figure that actually determines whether your slab drains is the as-built slope after construction tolerances are applied. A 1% design on a 20 ft driveway gives you 2.4 inches of total fall. A ±6 mm tolerance error at one screed rail can cut that by nearly a third. Design to 2% and the same tolerance error still leaves you with adequate drainage. That’s why experienced crews target 1.5–2% as a working minimum, not 1%, and certainly not anything below 1%.
The other thing most guides skip: check the outfall before you set a single screed rail. A perfectly sloped slab that drains into a blocked or undersized channel is just a delayed puddle. Confirm the invert elevation at the outfall point first, then work backward to set your datum. That sequence catches problems before the concrete is in the truck.
Get professional slope-setting for your next slab
Getting the fall right on a driveway or patio slab is straightforward when you have the formulas. Executing it accurately on site, with correct screed rail heights, verified invert elevations, and a post-pour check, is where most DIY and even some contractor jobs fall short.

VW Concreting has completed over 145 driveways, slabs, and outdoor paving projects across Melbourne, setting and verifying screed rails on every pour. The team works to a 1.5–2% design slope as standard, documents as-built heights, and runs a hose test before handover. If you want the drainage fall calculated, set, and confirmed rather than estimated, the driveways and slabs service is the direct next step. For homeowners who want to understand the full scope before committing, the concreting services guide walks through what to look for in a contractor and what questions to ask before signing.
Useful sources and references
- Concrete Network: Slope for Exterior Slabs — practical guidance on slope rules, surface texture effects, and climate adjustments for outdoor concrete.
- Concretemetric: Drainage Slopes in Concrete Pavements — covers construction tolerances, composite grade calculations, and design buffer recommendations.
- ConcreteCaptain: Minimum Slope for Concrete Slab Drainage — explains common mistakes including garage floor direction errors and pooling risk data.
- ABT Drain Design Manual V12 — Manning’s equation application for trench drain and channel sizing when site slope is insufficient.
- Gradelog IBC Drainage Slope Calculator — returns minimum slope, elevation drop, and IBC code reference by surface type; useful for permit documentation.
- ConcreteCalculate Sloped Slab Calculator — combines drainage compliance check (ACI 302.1R), concrete volume, and rebar estimate in one tool.
- International Building Code (IBC) / IPC — primary code reference for drainage slope requirements by jurisdiction.
- FHWA HEC-22 Urban Drainage Design Manual — authoritative federal reference for stormwater outfall and hydraulic grade line design on larger sites.
Leave A Comment