
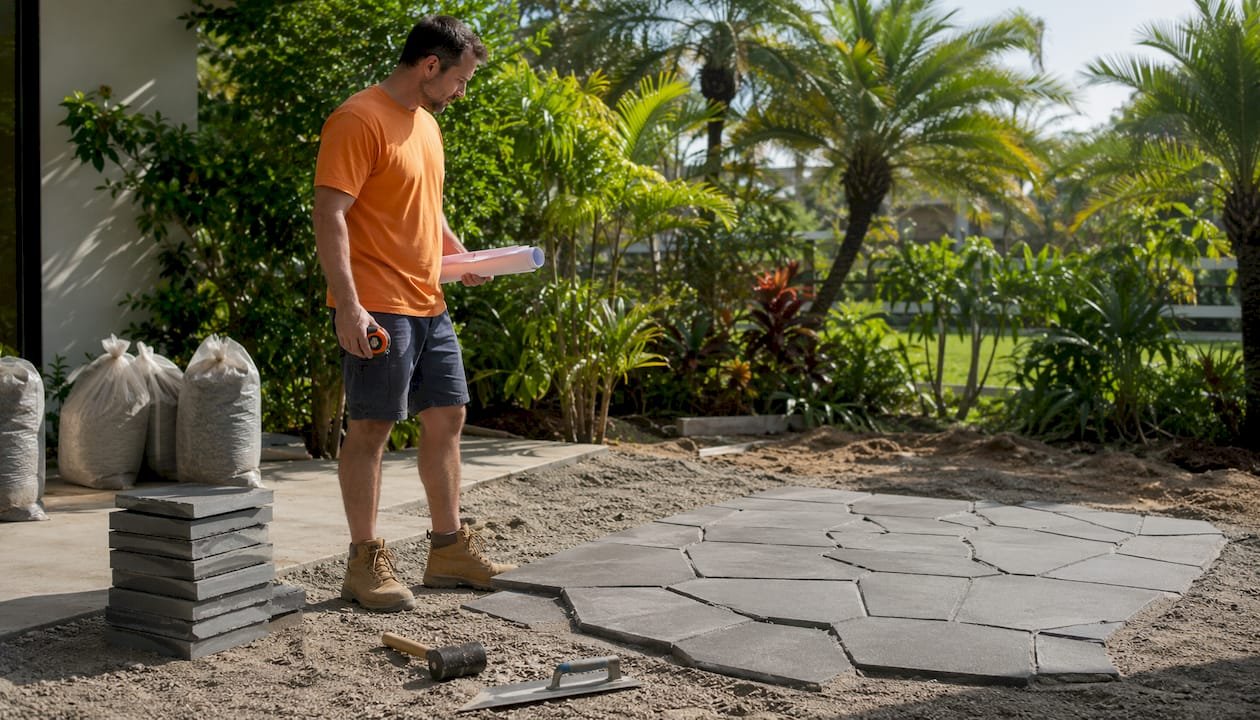
For driveways, choose herringbone. For patios and walkways, running bond or random ashlar. For contemporary large-format looks, stack bond. For borders and heritage aesthetics, basketweave or soldier course. That’s the short answer. The six-step DIY process to get there: plan your pattern and quantities → mark out and measure → excavate and compact the subbase → install edge restraints and screed the bedding layer → lay pavers in your chosen pattern → compact, joint, and finish.
Quick pattern picks by use case:
- Driveway: 45° or 90° herringbone — the strongest pattern for resisting lateral movement under vehicle loads
- Patio: Running bond (easy, forgiving) or random ashlar/French modular (organic, upscale)
- Walkway: Running bond or diagonal stack for visual length
- Pool deck: Basketweave or random ashlar — both handle curved edges well and look clean wet
When to hire a pro instead of DIY: steep slopes (more than 1:10 grade), heavy vehicle loads beyond a standard passenger car, poor subgrade soils, or any project requiring a permit or engineered drainage solution. VW Concreting has completed numerous projects across Melbourne and handles exactly these conditions.
Table of Contents
- What tools and materials do you need for a DIY paving job?
- How do you plan, measure, and orient a paving pattern?
- How deep should you excavate, and what goes in the base?
- How do you install edge restraints and screed the bedding layer?
- Which paving patterns should you use, and how do you lay each one?
- How do you cut pavers and fit awkward edges?
- How do you compact and joint the finished surface?
- What finishing and maintenance does a paved surface need?
- What are the most common DIY paving mistakes, and how do you fix them?
- How does pattern geometry affect structural performance?
- Key Takeaways
- What experienced installers know that most guides skip
- Recommended resources and further reading
- VW Concreting handles the jobs where DIY stops making sense
What tools and materials do you need for a DIY paving job?
Hand tools and powered equipment:
- Spade, rake, and wheelbarrow for excavation and material moving
- Spirit level, string line, and tape measure for layout
- Screed boards or pipes for bedding layer
- Rubber mallet for seating individual pavers
- Plate compactor (rental recommended — a vibrating plate compactor is the only reliable way to achieve true stability for driveways)
- Wet saw with diamond blade for clean cuts on concrete, natural stone, or porcelain
- Block splitter for field setts and rough cuts on standard concrete pavers
| Item | Recommended Spec | Why It Matters |
|---|---|---|
| Plate compactor | suitably sized forward-travel plate | Seats pavers and forces jointing sand into gaps |
| Wet saw | 10" diamond blade | Clean cuts on concrete and stone without chipping |
| Bedding sand | Clean, sharp, washed sand | Uniform bedding; no clay or silt contamination |
| Base aggregate | GAP20 or GAP40 equivalent | Compacts to a stable, load-bearing layer |
| Jointing sand | Kiln-dried silica or polymeric | Locks joints and prevents weed ingress |
| Edge restraints | Plastic, metal, or concrete haunching | Prevents lateral migration of the paved surface |
| Geotextile fabric | Non-woven, 4 oz minimum | Separates subgrade from aggregate base |
Materials list: order pavers, bedding sand (30mm compacted depth), base aggregate (depth depends on use — see Section 4), jointing sand or polymeric sand, edge restraints, and geotextile where the subgrade is soft or sandy.
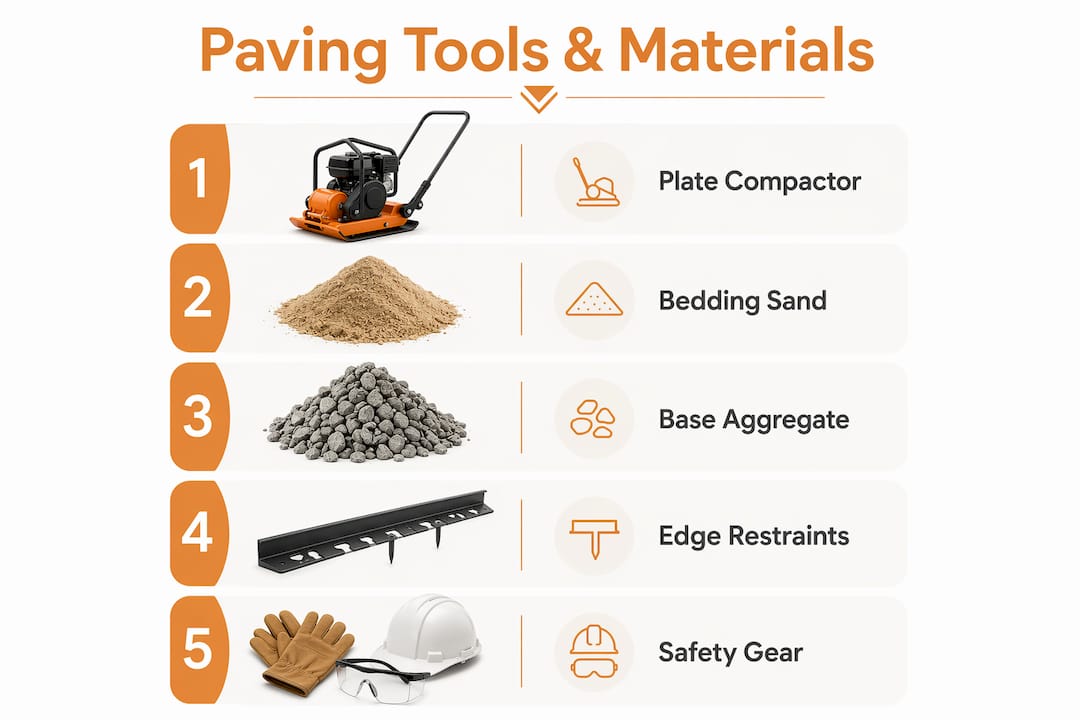
Safety gear: dust mask (N95 minimum for cutting), safety glasses, hearing protection when using the plate compactor, and heavy work gloves. When wet-cutting, keep water flowing continuously to suppress silica dust. Review site preparation best practices before starting any excavation.
Pro Tip: Rent the plate compactor for a full day, not a half-day. You will need it at the base stage, again after laying, and possibly a third time after jointing. Rushing compaction is the single most common cause of paving failure.
How do you plan, measure, and orient a paving pattern?
Orient your pattern to the main sightline and the longest dimension of the space. A running bond laid parallel to a long patio reads as longer and more spacious. Herringbone at 45° draws the eye diagonally and makes a square space feel larger. Getting this right before you order saves money and cutting time.
- Measure the area. Length × width in feet gives you square footage. Add your waste percentage on top.
- Choose your waste allowance by pattern:
- Running bond: 5–8% waste
- Basketweave: 8–10%
- Herringbone (90°): 10–15%
- Herringbone (45°) or diagonal layouts: 15–20%
- Random ashlar/French modular: 10–15% depending on size mix
- Calculate paver quantities. Divide total area (including waste) by the coverage per paver. For mixed-size patterns, use the Polycor modular scaling method: take the smallest paver as your base unit and express all other sizes as integer multiples. A 12" × 12" base unit means a 12" × 24" paver is a 1:2 ratio, and a 24" × 24" is a 2:2 (or 1:1 scaled up).
- Dry-lay a test section. Before committing to the full installation, lay a 4’ × 4’ mock-up to check color blending across packs and confirm joint runs look right.
- Mark reference lines. Snap chalk lines parallel to the main sightline. For herringbone, snap a 45° diagonal from your starting corner.
- Check pattern vs. site dimensions. If your patio width doesn’t divide evenly into your paver module, you’ll have cut pieces at both edges. Center the pattern so cuts are equal on both sides — it looks intentional rather than like a mistake.
Pro Tip: Choose your pattern before purchasing pavers — herringbone requires single-size pallets, while random modular patterns use mixed-size packs. Ordering the wrong mix means expensive returns or excessive cuts.
How deep should you excavate, and what goes in the base?
Correct subbase depth and compaction are the biggest durability drivers in any paving project. Get this wrong and no amount of careful laying will save you from settling, cracking, or drainage problems.
| Layer | Patio / Path | Driveway |
|---|---|---|
| Paver thickness | 50–60mm typical | 60–80mm typical |
| Bedding sand (compacted) | 30mm | 30mm |
| Compacted base aggregate | 50–75mm | 100–150mm |
| Geotextile | Optional (soft subgrade) | Recommended |
| Total excavation depth | 130–175mm | 200–260mm |
These are starting-point ranges. Soft or clay-heavy subgrade requires deeper excavation or a geotextile separator. Compacted base depth recommendations vary by subgrade strength, so probe your soil before finalizing depth.
Excavation and base sequence:
- Strip topsoil and vegetation completely; don’t leave organic material under the base
- Probe for soft spots — undercut and replace with compacted aggregate
- Lay geotextile over prepared subgrade, overlapping seams by 12"
- Spread base aggregate in 75mm lifts and compact each lift separately
- Compact with 3–4 passes of the plate compactor, overlapping each pass by 50%
- Check for a minimum fall of 1:40 (roughly 25mm per meter) away from any building
Drainage callout: water must have somewhere to go. Slope the base away from the house and toward a lawn edge, drain inlet, or permeable strip. Standing water under pavers destroys the base over time. For complex drainage or sites near property lines, check local codes before you dig.
When to call a professional: poor soils (CBR below 3%), heavy vehicle loads beyond standard passenger cars, or any site where drainage affects neighboring properties. Residential paving on challenging sites often requires engineered solutions that go beyond a standard DIY base.
How do you install edge restraints and screed the bedding layer?
Edge restraints are not optional. Without them, pavers migrate laterally over time, joints open up, and the whole surface loses its interlock. Install them before you screed.
Edge restraint options:
- Concrete haunching: strongest option for driveways and high-traffic edges; pour a 100mm-wide × 100mm-deep concrete haunch against the outside face of the perimeter pavers
- Metal or plastic edging: faster to install, suits patios and garden paths; spike into the compacted base at 12" intervals
- Timber: temporary or decorative use only; not suitable for driveways or anywhere with vehicle loads
Setting edge restraints — step checklist:
- Set string lines at finished paving height along all edges
- Allow for paver thickness + 30mm bedding + base depth when setting string line height
- Install restraints so the top sits at least 50mm below the finished paving surface (for haunching) or flush with the paver face (for plastic/metal)
- Check local permit and drainage requirements before fixing any rigid edge treatment near a property line or easement
Screeding the bedding layer:
Lay screed rails (pipes or timber battens) 1m apart across the compacted base. Spread bedding sand loosely, then drag a screed board across the rails to create a flat, uniform 30mm layer. Remove the rails and fill the voids with sand, then screed over lightly. Do not use the bedding layer to correct base errors — if the base is uneven, fix the base. A bedding layer that varies in thickness will compress unevenly under load and create dips.
Which paving patterns should you use, and how do you lay each one?
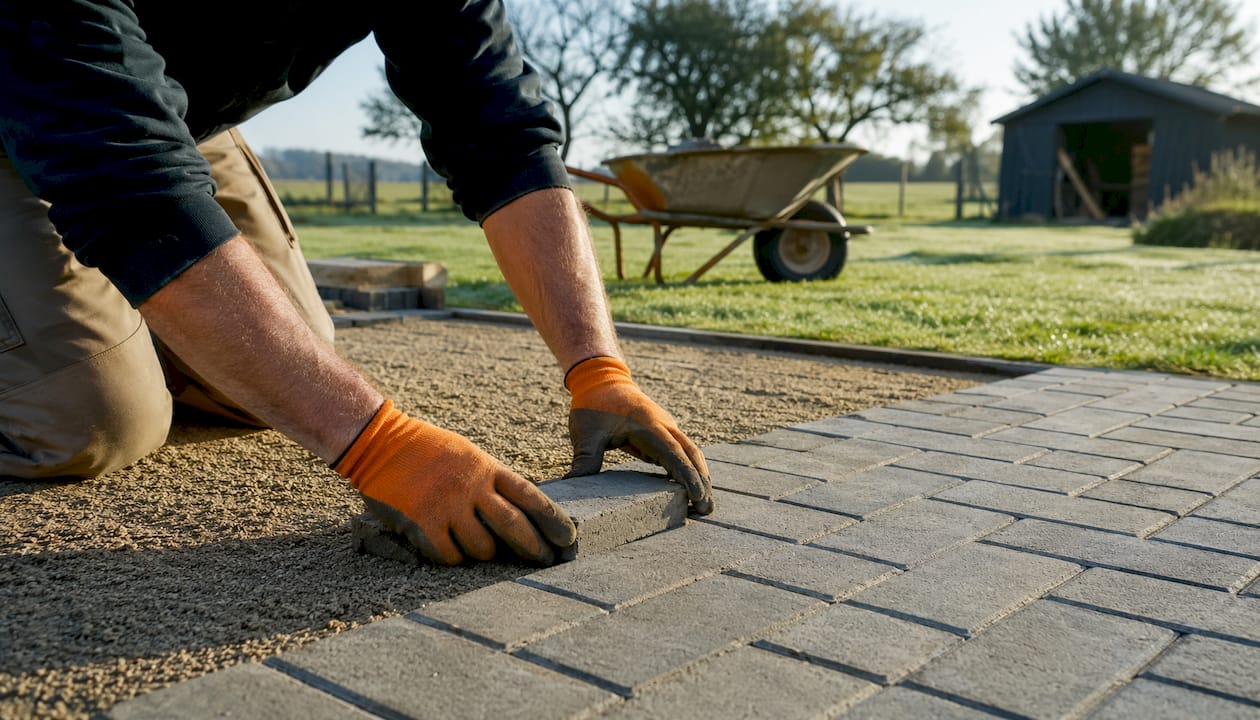
Pattern selection controls both aesthetics and structural performance — it’s not purely a design decision. Here’s how each major pattern works in practice.
| Pattern | Best For | Difficulty | Typical Waste |
|---|---|---|---|
| Herringbone (45° or 90°) | Driveways, high-traffic areas | Intermediate | 10–20% |
| Running bond | Patios, walkways, paths | Beginner | 5–8% |
| Stack bond | Large-format porcelain, contemporary | Intermediate | 5–8% |
| Basketweave | Heritage looks, low-traffic patios | Beginner | 8–10% |
| Random ashlar / French modular | Organic patios, pool decks | Intermediate | 10–15% |
| Soldier course | Borders, accents | Beginner | 5% |
Herringbone: Start from a straight edge or a fixed corner. Lay at 45° or 90° to the main axis. The 1:2 width-to-length ratio is mandatory for true interlock — a 4" × 8" paver is the classic example. Work in a diagonal fan from your starting point. Expect the most cuts of any pattern, especially at 45°. Belgard, one of the most widely referenced manufacturers in the industry, includes herringbone in its pattern library as a standard driveway option.
Running bond: Start from the straightest edge and work across. Offset each row by half a paver length. This pattern hides minor misalignment better than any other, which makes it the best choice for first-time DIYers.
Stack bond: Every joint lines up, so every error is visible. Use a laser level or very tight string lines. Best reserved for large-format porcelain where the clean grid look is the point.
Basketweave: Pairs of pavers alternate direction in a 2×2 grid. Start from a corner. Works only with square pavers or pavers in a 1:2 ratio.
Random ashlar / French modular: Mix three or four paver sizes using the Polycor ratio method. Start from a corner and follow the manufacturer’s layout sheet. Avoid letting the same size cluster — spread sizes evenly across the field.
Soldier course: Single row of pavers laid end-on along a border. Combine with any field pattern for a clean perimeter finish.
How do you cut pavers and fit awkward edges?
Use a wet saw with a diamond blade for any cut that needs to be clean and precise — concrete, natural stone, and porcelain all respond well to wet cutting. A block splitter works for rough cuts on standard concrete pavers where the cut edge will be hidden.
Cutting sequence:
- Measure the gap, transfer the measurement to the paver face with chalk or a marker
- Score a shallow relief cut first on complex angles before making the full cut
- Trial-fit the piece before setting it in bedding — adjusting a dry piece takes seconds; adjusting a bedded one takes minutes
- Cut pieces smaller than one-quarter of the original paver size should be avoided; use in-board cutting to position cuts so small slivers don’t appear at visible edges
Safety for wet cutting: keep water flowing at all times, wear eye protection and an N95 dust mask even with water suppression, and never dry-cut concrete or stone indoors.
Pro Tip: Order extra pavers for herringbone or any diagonal layout to allow for cutting and waste. You will use more than you expect at edges, and running out mid-project means waiting for a new delivery that may not match the color batch you started with.
How do you compact and joint the finished surface?
Mechanical compaction is not optional for driveways. Hand-settling individual pavers is fine for seating them during laying, but it does not lock the jointing sand or achieve the load-bearing capacity the surface needs.
- Sweep the surface clean of debris and loose material
- Pour dry jointing sand (or polymeric sand) across the surface and brush it into joints with a soft broom at 45° to the joint lines
- Lay an old carpet or rubber mat on the plate compactor’s base plate to protect the paver surface
- Make 3–4 passes with the plate compactor across the full surface
- Re-sweep additional jointing sand into any joints that have settled
- Make a final compaction pass and check levels with a spirit level or straightedge
- Leave excess sand on the surface until the first rain or foot traffic works it in
Polymeric sand vs. plain jointing sand:
- Plain kiln-dried sand: easier to apply, cheaper, needs periodic top-up; fine for patios and low-traffic paths
- Polymeric sand: hardens when wet, resists weeds and ants, better for pool decks and driveways; requires a completely dry surface during application and careful cleanup before it sets
Pro Tip: Do not use a plate compactor on large-format slabs (24" × 24" or bigger). The vibration can crack them. Use a rubber mallet to seat these individually instead.
What finishing and maintenance does a paved surface need?
Sealing is optional, but it extends color life and reduces staining on light-colored pavers. Choose your sealer by material and traffic level.
Sealer types:
- Penetrating/impregnating sealer: soaks into the paver, invisible finish, best for natural stone and textured concrete; doesn’t change the surface appearance
- Film-forming sealer: sits on the surface, adds sheen, enhances color; needs reapplication every 2–3 years and can become slippery when wet
- Color-enhancing sealer: deepens the natural tone of the paver; popular on exposed aggregate and natural stone; penetrating formula preferred
Maintenance schedule:
- Immediately after installation: keep foot traffic off for 24 hours; keep vehicle traffic off for 72 hours minimum
- Annually: inspect joints for sand loss, top up with matching jointing sand, check edge restraints for movement
- Every 3–5 years: re-seal if a sealer was applied; replace polymeric sand if joints show cracking or weed growth
- As needed: address efflorescence (white mineral deposits) with a diluted acid wash; treat weed growth early before roots disturb bedding
Watch for these warning signs: surface dips (base settlement), joint gaps wider than 5mm (sand loss or lateral movement), water pooling on the surface (drainage failure or settled section). Any of these caught early is a repair; left alone, it becomes a repair.
What are the most common DIY paving mistakes, and how do you fix them?
Most failures trace back to base or compaction errors, not the laying itself.
Top 6 mistakes and their fixes:
- Insufficient base depth: pavers settle unevenly under load. Fix: lift the affected section, add and compact additional aggregate, relay.
- Poor compaction: surface feels springy or pavers rock. Fix: re-compact with plate compactor; if base is soft, excavate and rebuild.
- No edge restraints: edges fan out over time, joints open. Fix: add concrete haunching to perimeter; re-compact affected pavers.
- Uneven bedding: dips and high spots appear after first rain. Fix: lift pavers, re-screed bedding to uniform depth, relay.
- Wrong joint sand: using builder’s sand instead of kiln-dried allows weed growth and joint erosion. Fix: sweep out old sand, dry surface, apply kiln-dried or polymeric sand.
- Inadequate drainage fall: water pools on surface or migrates toward the house. Fix: lift and re-grade the affected section; add a channel drain inlet if needed.
Safety reminder for repair work: any repair that requires lifting more than a 4’ × 4’ section and disturbing the compacted base should be treated as a mini-excavation. Wear steel-toe boots and gloves, and never work in a trench deeper than knee height without shoring.
For complex repairs on driveways or large areas, concrete paving professionals can assess whether a section relay or full base rebuild is the right call.
How does pattern geometry affect structural performance?
Pattern geometry directly influences how load transfers across a paved surface and how well it resists lateral movement. This is why engineers treat pattern selection as a structural decision, not just an aesthetic one.
Herringbone is the strongest interlocking pattern because each paver is locked by its neighbors on all four sides. The 1:2 ratio rule is what makes this work: a paver twice as long as it is wide creates the alternating perpendicular joint that transfers load in multiple directions simultaneously. Stack bond, by contrast, has continuous straight joints in both directions — no interlock at all — which is why it’s limited to low-traffic applications and large-format slabs set in mortar.
Modular scaling in practice: using the Polycor method, take your smallest available paver as the base unit. If your smallest paver is 12" × 12", a 12" × 24" piece is a 1:2 ratio, and a 24" × 36" piece is a 1:1.5 ratio. A traditional French pattern scaled to these three sizes produces the same visual rhythm as the original, with cuts only at the perimeter.
Installer tips that affect structural outcome:
- Lay from a straight edge and work upslope — always work from already-laid pavers to avoid disturbing the screeded bedding
- Never walk on freshly screeded bedding sand; a single footprint creates a low spot that shows up as a dip after compaction
- Plate compaction forces jointing sand into gaps and locks the interlock geometry — skipping it reduces load-bearing capacity significantly
Structural callout: herringbone at 45° is rated for the highest traffic categories in block paving standards, while basketweave and stack bond are limited to pedestrian and very light vehicle loads only.
Key Takeaways
Herringbone is the only pattern that delivers full structural interlock for driveways; every other pattern decision flows from matching use case, skill level, and base preparation to the load the surface will carry.
| Point | Details |
|---|---|
| Match pattern to load | Use herringbone for driveways, running bond or ashlar for patios; stack bond only for pedestrian areas. |
| Order with waste margin | Add a low single-digit percentage for running bond, and a higher percentage for herringbone at 45° or diagonal layouts. |
| Base depth is non-negotiable | Compact 100–150mm of aggregate for driveways, 50–75mm for patios; never skip the geotextile on soft subgrade. |
| Compact mechanically | A plate compactor with a protective pad is required for driveways; a rubber mallet alone is insufficient. |
| VW Concreting for complex jobs | For steep slopes, heavy loads, or permit-required drainage, VW Concreting’s team handles the full scope. |
What experienced installers know that most guides skip
The single most underrated piece of advice in any paving project: start from a straight, fixed edge and never walk on your screeded bedding. Every footprint is a future dip. Work from a kneeling board laid on already-placed pavers, and move it forward as you go.
Pattern choice also affects project timeline more than most homeowners expect. A 300 sq ft running bond patio is a solid one-day job for two people with the base already prepared. The same area in 45° herringbone takes closer to two days because of the cutting volume at every edge. A French modular pattern with three paver sizes adds another half-day of sorting and layout checking.
VW Concreting’s completed project archive shows the range of pattern and finish combinations that work in real outdoor spaces, from exposed aggregate driveways to modular stone patios. The pattern decisions made at the planning stage consistently determine how the finished surface performs five years later.
For a 200–400 sq ft patio, budget two days for a two-person DIY crew: one day for excavation and base, one day for laying and jointing. A driveway of the same size adds a day for deeper excavation and the heavier compaction work.
Recommended resources and further reading
Before finalizing your design, consult manufacturer cut sheets for exact paver dimensions and pattern layout diagrams. Dimensions vary between manufacturers, and a pattern that works mathematically with one brand’s sizes may not work with another’s.
Key references:
- Firth Paving Installation Guide — subbase depths, compaction technique, drainage falls, and laying sequence
- Polycor Paver Patterns — modular scaling ratios and pattern library with cut sheets
- County Materials Pattern Guide — herringbone structural rules and use-case matrix
- NT Pavers Pattern Guide — pattern list with use-case recommendations for patios, driveways, and pool decks
- CEMEX Block Paving Guide — plate compactor technique and jointing sequence
- Belgard’s pattern library (available on their website) is a useful visual reference for homeowners exploring design options before committing to a layout
Before you finalize: check your local municipality’s requirements for drainage, setbacks, and permits. Any paving that alters surface drainage near a property line or easement may require approval. Confirm current rules with your local building department before breaking ground.
VW Concreting handles the jobs where DIY stops making sense

Running bond on a flat backyard patio? That’s a solid DIY project with the right prep. But herringbone driveways, sloped sites, engineered drainage, and anything requiring a permit are a different story. VW Concreting has delivered driveways and slabs across Melbourne for over two decades, with more than 145 completed projects covering exactly the conditions where DIY risk outweighs the savings.
The difference isn’t just experience. It’s access to commercial-grade compaction equipment, established supplier relationships, and the ability to handle subgrade problems on the day they’re discovered rather than after the pavers are down. For homeowners who want the result without the variables, get a quote from VW Concreting and see what a professionally laid paved surface actually looks like.
Leave A Comment