
A concrete pathway grade is defined by two things: the compressive strength of the concrete mix and the engineered slope of the ground surface that directs water away from your home. Both meanings of “grade” matter equally. Get the strength wrong and your path cracks within years. Get the slope wrong and water pools, freezes, and undermines the slab from below. Understanding both is the foundation of any durable outdoor pathway project.
What is a concrete pathway grade, and why does it have two meanings?
The word “grade” in concrete pathway work carries two distinct meanings, and confusing them is one of the most common mistakes homeowners make. The first meaning is concrete strength grade, which refers to the compressive strength of the concrete mix measured in megapascals (MPa). The second meaning is ground slope grade, which refers to how the soil surface is shaped to channel water away from structures.
The industry term for the strength side is “concrete mix classification,” and in Australia these are labeled as N-class grades: N20, N25, N32, and so on. The number tells you the minimum compressive strength in MPa after 28 days of curing. Australian standard AS 3727.1:2016 sets N25 as the minimum for residential footpaths, though many councils now require N32 for better long-term performance.
The slope side of “grade” is what contractors call “grading.” Grading is shaping the ground surface to a slope between 1% and 2% so water runs off cleanly instead of sitting on or under your slab. A 1% slope means the surface drops 1 inch for every 100 inches of horizontal run. That number sounds small, but it makes the difference between a dry, stable path and one that deteriorates in three to five years.
Both definitions connect directly to pathway durability. Choosing the right concrete strength grade without proper slope grading still results in water damage. Grading the soil perfectly but using an undersized mix still results in cracking under load. You need both working together.
What concrete strength grades are recommended for residential pathways?
Concrete strength grades for residential pedestrian pathways start at N25 and typically go up to N32 for most Australian conditions. N25 (25 MPa) is the standard minimum for residential footpaths, but many councils require N32 (32 MPa) for improved durability and crack resistance. The difference matters: N32 concrete resists surface wear, freeze-thaw cycles, and heavy foot traffic significantly better than N25.
The UK equivalent classification is C25/30, which aligns closely with the N25 Australian grade. Both systems classify concrete by the same principle: minimum compressive strength after 28 days. For a standard residential garden path that sees foot traffic only, N25 is often sufficient. For a path near a driveway entry, beside a pool, or in a frost-prone area, N32 is the smarter call.
| Concrete Grade | Compressive Strength | Typical Pathway Application |
|---|---|---|
| N20 | 20 MPa | Light garden paths, low-traffic areas |
| N25 | 25 MPa | Standard residential footpaths (AS 3727.1:2016 minimum) |
| N32 | 32 MPa | High-traffic paths, frost-prone areas, council-specified works |
| N40 | 40 MPa | Commercial or heavy-load applications |
Pro Tip: Always confirm your local council’s minimum concrete grade requirement before ordering your mix. Specifying N20 when your council mandates N32 can void compliance and lead to costly replacement.
Ordering the wrong grade is a more common problem than most homeowners expect. Specifying N20 instead of the required N32 causes premature pathway failure even when installation is otherwise perfect. Check the spec before you order, not after the truck arrives. For more on how strength grades apply to residential slabs, the residential driveway concrete guide from VW Concreting covers the key decisions in plain language.
How to grade a concrete pathway for proper slope and drainage
Grading a concrete pathway means shaping the soil beneath the slab so water flows away from your house, not toward it. The standard slope for effective drainage is 1/8 to 1/4 inch per foot of horizontal run, which equals roughly 1% to 2% grade. That range is not arbitrary. Below 1% and water sits on the surface. Above 2% and the path becomes a slip hazard, especially for older adults or people with mobility challenges.
The Disability Discrimination Act caps crossfall on public paths at 2%, with a recommended target between 1.25% and 1.5% for both drainage and safety. Even for private residential paths, staying within this range is good practice. Ponding water creates slip hazards and accelerates surface deterioration.
Slope also accumulates over distance in ways that catch homeowners off guard. A 1.5% slope over 12 feet creates a 2.16-inch elevation drop. If your path runs from a door threshold, that drop may conflict with the door’s clearance gap, which is often only 1 inch. Always calculate total elevation change across the full path length before you set your grade.
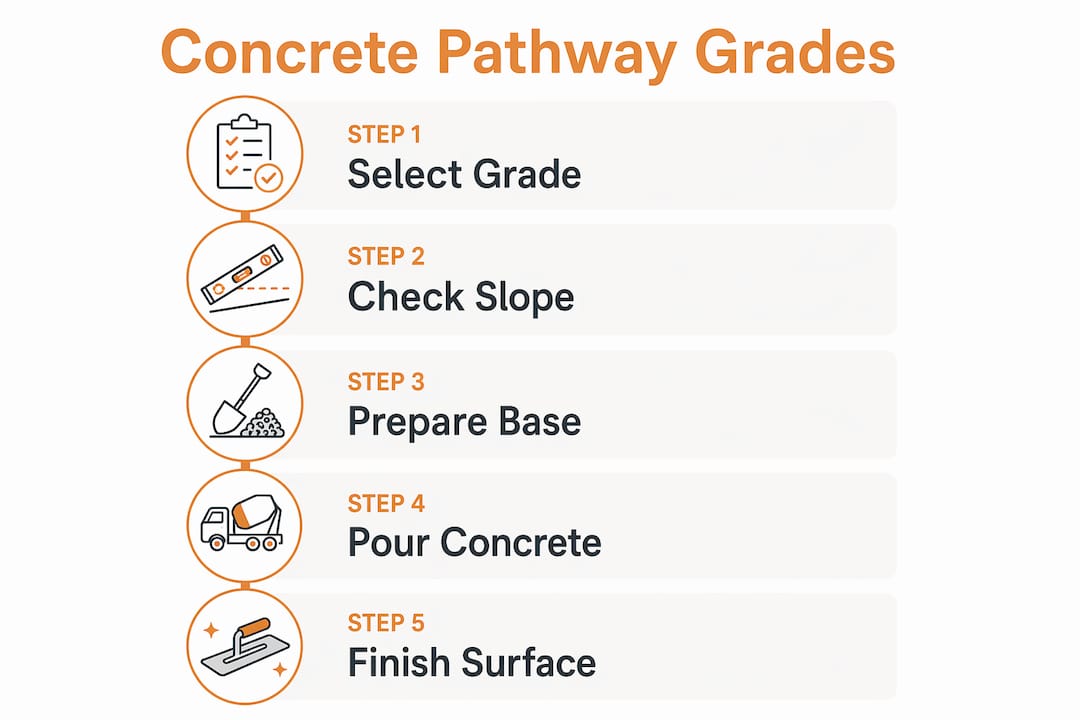
Here is a practical process for grading a concrete pathway correctly:
- Mark the high and low points. Use stakes and string lines at both ends of the path to establish your target slope before any excavation begins.
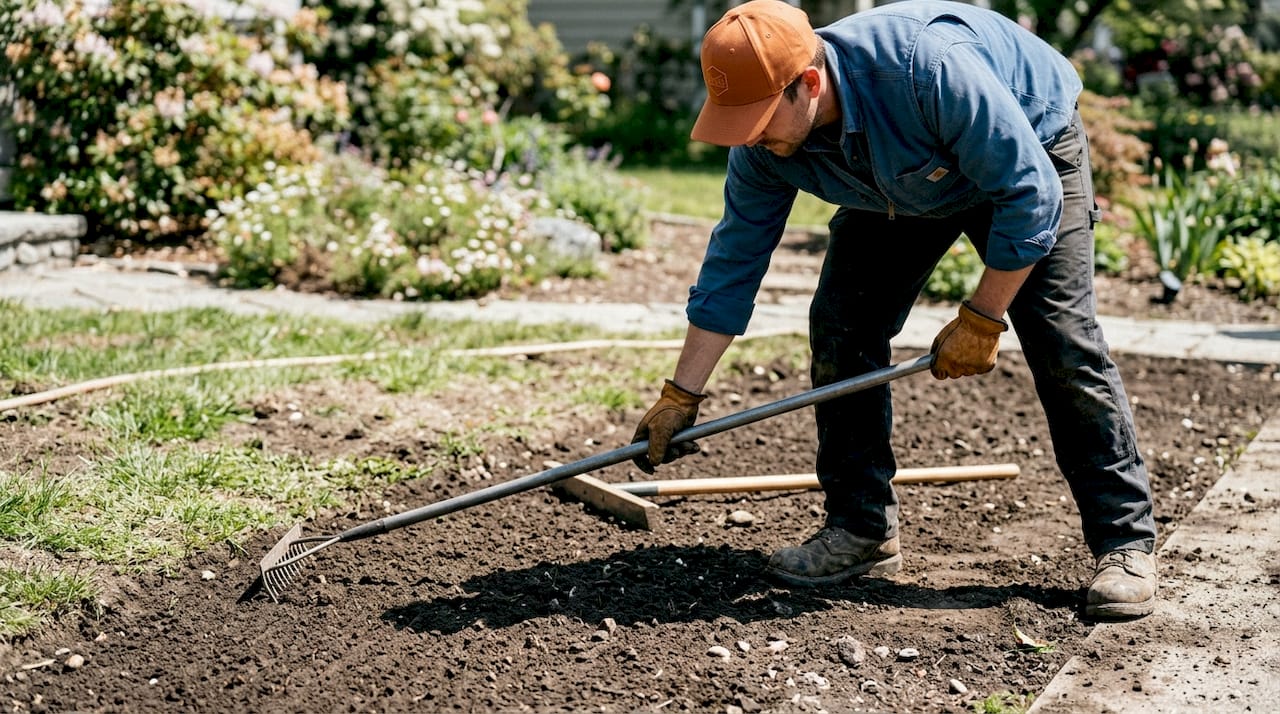
- Excavate to depth. Remove soil to allow for a minimum 100mm compacted sub-base plus your slab thickness, typically 100mm for pedestrian paths.
- Compact the sub-base. Use a plate compactor on your gravel or crushed rock base. Skipping this step causes settlement regardless of concrete grade.
- Verify slope with a level tool. Check the sub-base slope before pouring. Do not rely on visual inspection alone.
- Adjust and re-check. Add or remove sub-base material until the slope reads consistently across the full width and length of the path.
- Confirm crossfall. Check that the path also drains sideways if needed, and that no low spots exist across the width.
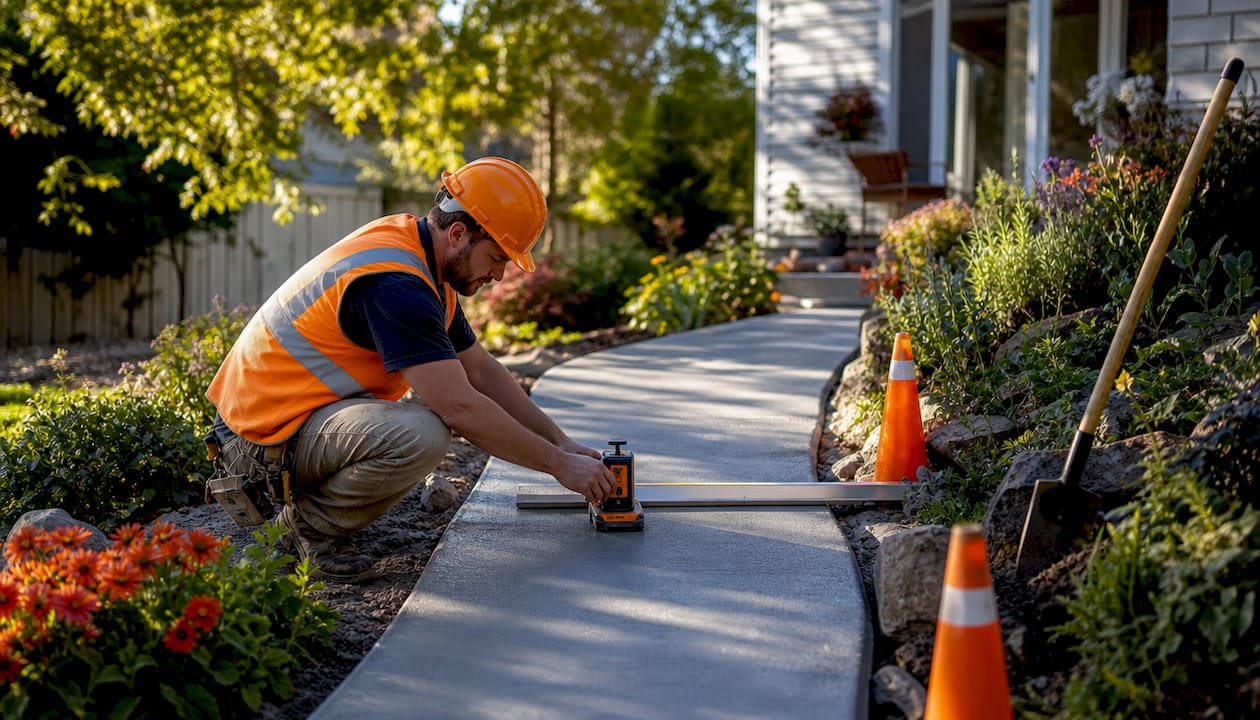
Pro Tip: Use a laser level or a 10-foot straightedge to verify slope across the full path length. Visual inspection misses localized depressions that cause water pooling after the pour.
Understanding why outdoor concrete needs drainage goes deeper than just slope. Subsurface water movement, soil type, and proximity to stormwater systems all affect how you should grade your site.
Why both concrete strength and ground slope are critical for pathway durability
Pathway durability is not a single-variable problem. The best results come from four interdependent elements: slab thickness, concrete grade, sub-base compaction, and proper drainage grading. Neglect any one of them and the others cannot compensate.
Incorrect grading is the most insidious failure mode because the damage is slow and invisible at first. Water that pools under a slab softens the sub-base, which causes differential settlement. The slab then cracks along the weakest point, usually a control joint or a thin section. By the time cracks appear on the surface, the sub-base damage is already extensive.
Here are the key factors that determine whether a concrete pathway lasts:
- Slab thickness: A minimum of 100mm for pedestrian paths. Thinner slabs crack under point loads and thermal movement.
- Concrete grade: N25 minimum, N32 preferred for most residential conditions in 2026.
- Sub-base compaction: A minimum 100mm compacted base is non-negotiable. Loose fill under a slab guarantees settlement.
- Drainage slope: 1% to 2% grade across the full path surface, verified with tools, not eyes.
- Control joints: Placed at regular intervals to manage thermal cracking. The contractor’s guide to control joints explains spacing and depth requirements clearly.
- Curing time: Concrete must stay moist and protected for several days after pouring to reach full design strength.
The interaction between slope and strength is worth emphasizing. A high-grade N32 mix poured on a flat or reverse-sloped sub-base will still fail. Water intrusion degrades the concrete from below, regardless of surface strength. Grading is not cosmetic preparation. It is structural engineering of the soil profile.
What practical steps should homeowners take before pouring a concrete pathway?
Planning a concrete pathway correctly before the pour saves money and avoids the most common failure modes. The sequence below applies whether you are doing the work yourself or managing a contractor.
- Check local requirements first. Contact your local council to confirm minimum concrete grade, slab thickness, and any drainage setback rules. This step takes 10 minutes and prevents costly non-compliance.
- Survey the site for drainage patterns. Walk the area after rain and note where water naturally flows. Your path grade should work with those patterns, not against them.
- Excavate to the correct depth. Allow for 100mm of compacted sub-base plus 100mm of concrete. Mark the depth on your stakes before digging.
- Install and compact the sub-base. Use crushed rock or road base material. Compact in layers using a plate compactor. Do not compact once and move on.
- Set your slope with string lines. Run string lines along both edges of the path at your target grade. These are your reference for the sub-base surface and the finished slab.
- Order the right concrete mix. Specify N32 unless your council permits N25. State the grade explicitly when ordering. Do not assume the supplier will default to the correct spec.
- Pour, screed, and finish. Work the concrete to your string line grade. Avoid over-working the surface, which draws water to the top and weakens the surface layer.
- Cure properly. Cover the slab with plastic sheeting or apply a curing compound immediately after finishing. Keep the concrete moist for several days to achieve full strength.
Pro Tip: Local codes and site conditions like garage thresholds and stormwater patterns often override generic slope guidelines. Measure your specific site before assuming standard specs apply.
Watch for these warning signs that your grading or mix spec may be wrong: water pooling within 24 hours of rain, surface dusting or scaling within the first year, and visible cracking within 18 months of installation. Any of these signals warrant a professional inspection before the problem spreads.
Key Takeaways
A concrete pathway grade covers both the mix strength class and the surface slope, and getting both right is the only path to a durable, safe outdoor surface.
| Point | Details |
|---|---|
| Two meanings of “grade” | Concrete grade refers to mix strength (N25, N32) and ground slope (1%–2%) for drainage. |
| Minimum strength standard | AS 3727.1:2016 sets N25 as the residential minimum; N32 is now preferred by most councils. |
| Correct slope range | Grade the surface at 1%–2% slope; crossfall must not exceed 2% for safety and accessibility. |
| Four durability factors | Slab thickness, concrete grade, sub-base compaction, and drainage slope all work together. |
| Verify with tools | Always use a laser level or straightedge to confirm slope. Visual inspection misses low spots. |
The part most homeowners get wrong about pathway grade
The dual meaning of “grade” trips up more homeowners than any other concrete concept I encounter. Most people focus entirely on the concrete mix and treat the ground preparation as a minor task. That is backwards. In my experience working on outdoor concrete projects, the majority of early pathway failures trace back to poor grading, not poor concrete.
Here is what I have seen repeatedly: a homeowner orders N32 concrete, follows the pour process correctly, and still ends up with a cracked, sunken path within three years. The cause is almost always a sub-base that was not properly compacted or a slope that was eyeballed instead of measured. Water found its way under the slab and did the rest.
The other common mistake is ignoring the elevation math. A 1.5% slope sounds harmless until you realize it drops over 2 inches across a 12-foot path. If that path runs from a door threshold, you may end up with a step where you did not plan for one. Measure the full run before you set a single stake.
My honest advice: treat grading as the most important part of the job, not the least. Spend the extra hour verifying your slope with a laser level. Confirm your concrete grade with your local council before ordering. These two steps cost almost nothing and prevent the most expensive failures. Cutting corners on either one is a decision you will be reminded of every time it rains.
— Vic
VW Concreting: professional pathway grading done right
Getting the grade right on a concrete pathway requires both the right mix specification and precise ground preparation. VW Concreting has completed over 145 projects across Melbourne, with a team that understands local council requirements, drainage standards, and concrete specifications for residential and commercial sites.

Whether you need a new pathway poured to the correct N32 spec or an existing path assessed for drainage issues, VW Concreting handles the full scope. From sub-base compaction to slope verification and finishing, every step follows current Australian standards. Browse the driveways and slabs portfolio to see completed pathway and slab projects, or visit the Melbourne concreting services page to request a consultation.
FAQ
What is the standard concrete grade for a residential pathway?
AS 3727.1:2016 sets N25 as the minimum for residential footpaths in Australia, but many councils now require N32 for better durability and crack resistance.
What slope should a concrete pathway have?
The standard drainage slope is 1% to 2%, equivalent to 1/8 to 1/4 inch per foot. Crossfall must not exceed 2% to meet accessibility requirements under the Disability Discrimination Act.
How do I measure the slope of a concrete pathway?
Use a laser level or a 10-foot straightedge to check slope across the full path length. Visual inspection misses localized low spots that cause water pooling after the pour.
What happens if a concrete pathway is not graded correctly?
Water pools on or under the slab, softening the sub-base and causing settlement and cracking. Ponding water also creates slip hazards and accelerates surface deterioration over time.
Can I pour a concrete pathway myself without professional grading?
DIY installation is possible for simple, short paths, but site-specific factors like door thresholds, stormwater patterns, and council compliance requirements often require professional assessment to get the grade right.
Leave A Comment