
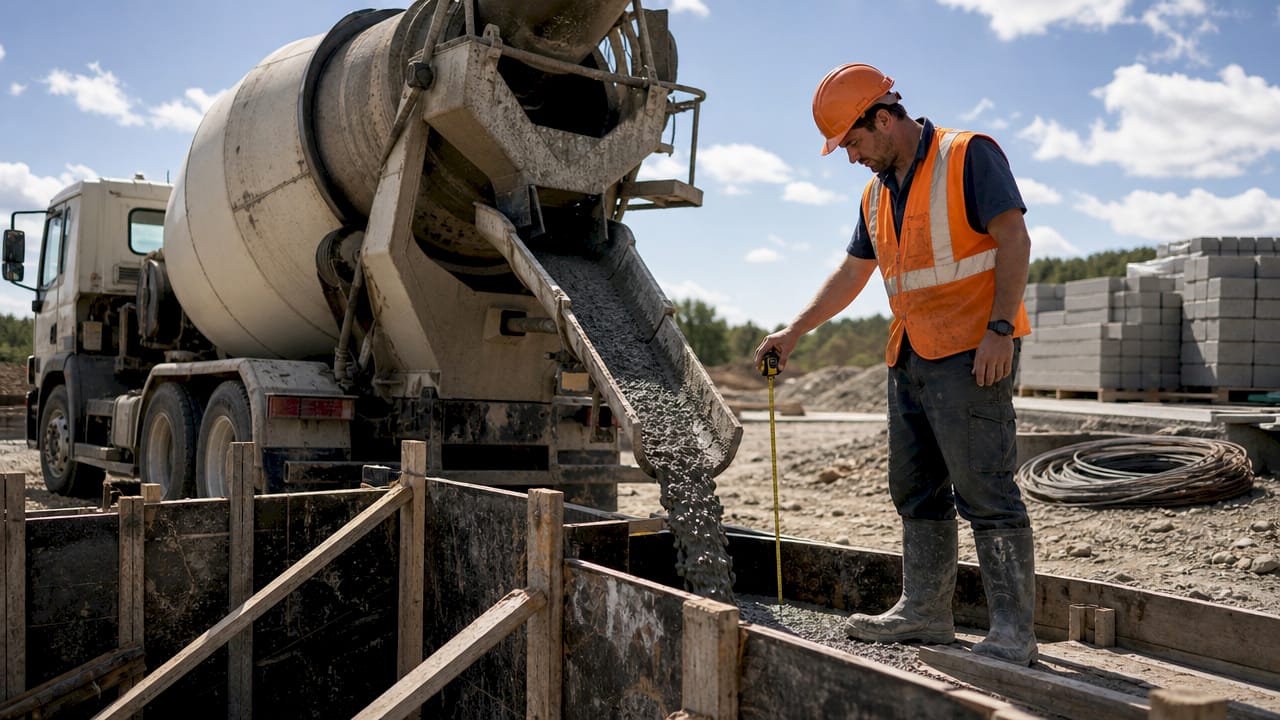
A concrete pour is defined as the on-site placement of fluid, mixed concrete directly into prepared formwork, where it cures and hardens into a monolithic structural element. This method, formally called cast-in-place concrete, is the foundation of slabs, walls, footings, and structural foundations across residential and commercial construction. Products like QUIKRETE and Sakrete supply ready-mix options for smaller pours, while larger projects follow ACI 318 standards for mix design and structural compliance. Cast-in-place concrete structures can last 50–100 years when placed and cured correctly. That lifespan makes the concrete pouring process one of the highest-value decisions on any build.
What is a concrete pour and how does it work?
A concrete pour places fluid concrete into a formed cavity, where it consolidates around reinforcement and cures into a single, jointless mass. This is the key advantage over precast systems: cast-in-place concrete eliminates the joints and connection points that precast panels require. Fewer joints mean fewer long-term failure points, particularly in foundations and structural slabs.
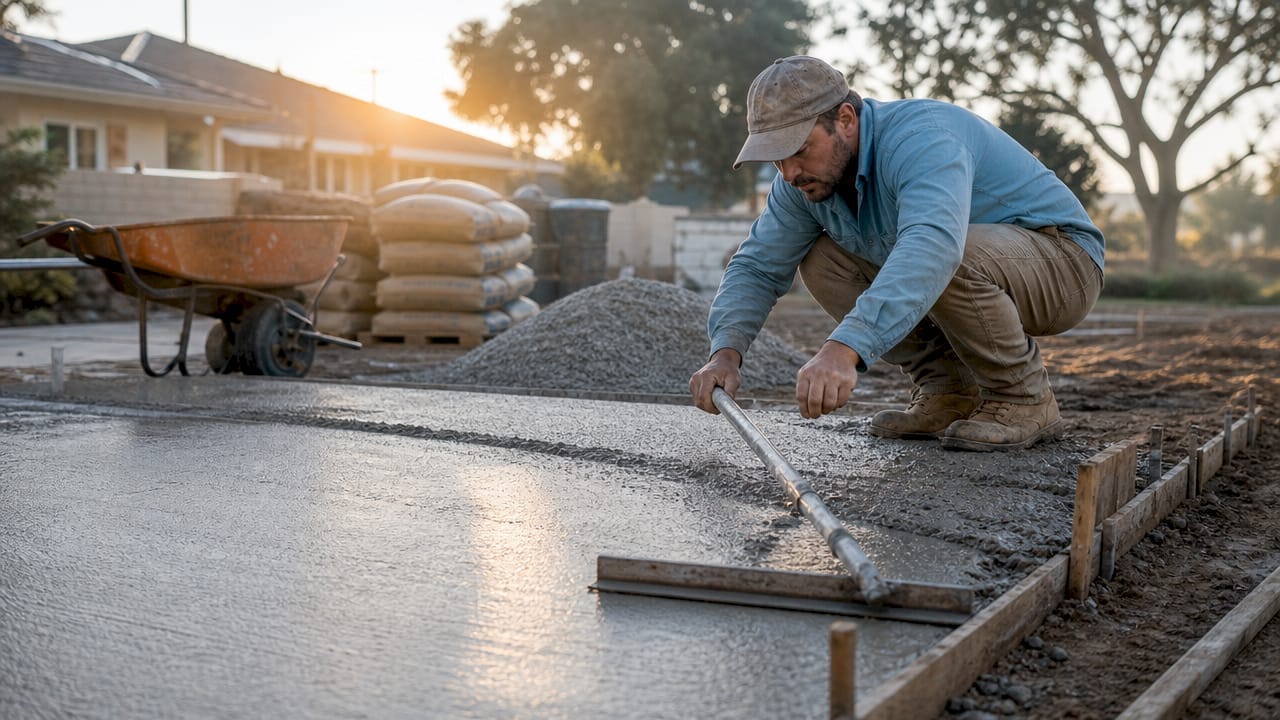
The industry distinguishes between “pouring” and “placing” concrete. Pouring refers to fluid delivery into forms, while placing describes more controlled, manual positioning and consolidation. Professionals use this distinction to clarify method scale and precision requirements. For most residential slabs and driveways, the terms are used interchangeably, but on engineered structures, placing is the technically correct term.
Mix design is critical before a single yard of concrete moves. Defective concrete inside formwork is often irreparable without demolition. That fact alone explains why mix selection, water-to-cement ratio, and admixture choices must be locked in before the truck arrives.
What are the steps in the concrete pouring process?
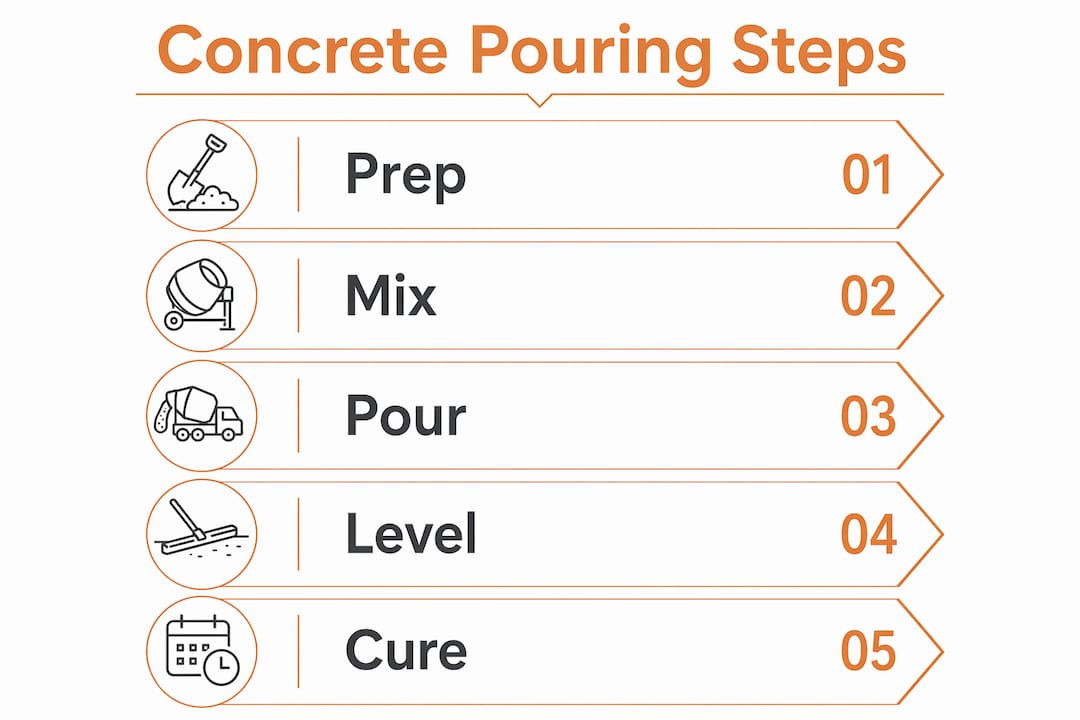
The concrete pouring process follows a fixed sequence. Skipping or rushing any phase compounds problems in every phase that follows.
- Site preparation. Compact the subgrade and install a gravel base where required. Soft or uneven subgrade causes slab settlement and cracking.
- Forming. Set and brace timber or steel forms to the correct grade. Forms must be rigid enough to hold the weight of wet concrete without deflecting.
- Reinforcement placement. Install rebar or wire mesh at the correct cover depth. Reinforcement placed too low or too high loses its structural function.
- Concrete delivery and placement. Direct the chute or pump to fill forms in layers, working from the far end back toward the truck. Avoid dragging concrete long distances with a rake, as this separates aggregate.
- Consolidation. Use a concrete vibrator to eliminate air pockets. Move the vibrator in a grid pattern, spacing insertions no more than 18 inches apart.
- Screeding. Strike off the surface with a screed board to bring concrete to the correct level and remove high spots.
- Floating. Use a bull float or hand float to close the surface and embed aggregate just below the finish plane.
- Edging and jointing. Run an edger along forms and cut control joints at planned intervals before the surface stiffens.
- Final finishing. Apply a broom finish, trowel finish, or exposed aggregate texture depending on the specification.
- Curing. Cover with curing compound, wet burlap, or plastic sheeting immediately after finishing.
The pour and finishing window runs 30–90 minutes depending on temperature and humidity. Hot, dry, or windy conditions shorten that window significantly. Full curing takes 7–28 days, and proper curing increases concrete strength by 30–50%. Cutting curing short is the single most common reason slabs crack and dust prematurely.
Pro Tip: Stage all tools, crew positions, and the curing materials before the first truck arrives. Once concrete is in the forms, there is no time to search for a screed board or locate the vibrator.
What is the difference between structural and non-structural concrete pours?
Structural concrete and non-structural concrete serve fundamentally different functions, and the mix design, reinforcement, and standards that govern each are not interchangeable.
Structural concrete carries load. It must comply with standards like ACI 318 or AS 3600 and typically requires a minimum compressive strength of C25 (3,600 psi) or higher. Reinforcement is mandatory, and the mix must be designed for the exposure class of the structure. Foundations, suspended slabs, retaining walls, and columns all fall into this category.
Non-structural concrete fills, levels, or protects. Mass fill under slabs, blinding layers below footings, and lean-mix bases are common examples. Strength classes of C10–C20 are typical, and reinforcement is minimal or absent. The concrete applications in outdoor rooms like patios and decorative surfaces often sit in this category, though driveway slabs frequently cross into structural territory depending on vehicle loads.
| Feature | Structural concrete | Non-structural concrete |
|---|---|---|
| Minimum strength | C25+ (3,600 psi+) | C10–C20 (1,450–2,900 psi) |
| Reinforcement | Required (rebar or mesh) | Minimal or none |
| Governing standard | ACI 318, AS 3600 | Project specification only |
| Primary function | Load-bearing | Fill, leveling, protection |
| Air entrainment | Required in freeze-thaw zones | Rarely specified |
Air entrainment deserves specific attention for contractors working in climates with freeze-thaw cycles. Entrained air creates microscopic voids that absorb the expansion pressure of freezing water. Without it, surface scaling and spalling begin within a few winters.
What are common mistakes and best practices during a concrete pour?
Most pour failures trace back to decisions made before the truck arrives, not during the pour itself.
- Adding water at the site. Adding extra water to the mix permanently weakens the slab. Every additional gallon of water per yard drops compressive strength measurably. Use a concrete vibrator or rake to work the mix, not water.
- Finishing over bleed water. Finishing while bleed water sits on the surface ruins wear resistance. The water dilutes the surface paste and creates a weak, dusty layer that wears off within months. Wait until bleed water fully evaporates before any troweling.
- Inadequate subgrade preparation. Preparation is 90% of a successful pour. Soft spots under a slab create stress concentrations that crack even well-designed concrete.
- Undersized crew. Large pours require 3–4 people to manage spreading, screeding, and floating within the workable window. One person cannot finish a 20-foot slab before the surface stiffens.
- Skipping curing. Inadequate curing is the leading cause of surface cracking and durability problems. Curing is not optional. It is the chemical process that builds strength.
Pro Tip: For driveways and slabs, review the residential driveway concrete specification guide before finalizing your mix design. Slab thickness, reinforcement spacing, and joint placement all interact with pour quality.
Temperature management matters on large pours. Hot weather accelerates set time and increases plastic shrinkage cracking risk. Cold weather slows hydration and can stop it entirely below 40°F. Both extremes require active management: shade, windbreaks, heated enclosures, or retarding admixtures.
How are mass concrete pours managed and why is temperature control critical?
Mass concrete is defined as any volume large enough to generate significant internal heat from the chemical reaction of cement hydration. Foundations for bridges, dams, large commercial footings, and thick mat slabs all qualify.
The heat of hydration in a mass pour can reach 160°F internally. The surface cools faster than the core. That temperature differential creates tensile stress, and concrete cracks in tension. The result is thermal cracking that runs through the structural section, not just the surface.
| Condition | Temperature threshold | Recommended action |
|---|---|---|
| Normal pour | Below 95°F ambient | Standard mix, no intervention |
| Hot weather pour | 95°F+ ambient | Retarder admixture, chilled water |
| Mass pour core temp | Above 160°F internal | Ice in mix, insulated formwork |
| Thermal differential | Above 35°F core-to-surface | Thermal blankets, monitoring sensors |
| Cold weather pour | Below 40°F ambient | Heated enclosure, accelerator admixture |
Pours over 1.5 meters thick require a formal thermal control plan. That plan specifies monitoring sensor placement, intervention thresholds, and the methods used to keep the core-to-surface differential below 35°F. Chilled mix water and ice are the most common tools. Some large projects use liquid nitrogen injection into the mix water for maximum cooling. Planning and crew coordination for pours over 100 cubic yards must begin weeks before the pour date, not the morning of.
Key Takeaways
A successful concrete pour depends on preparation, timing, crew coordination, and curing. Skipping any one of these four elements produces a slab that fails before its design life.
| Point | Details |
|---|---|
| Definition and durability | A concrete pour places fluid concrete into formwork to create a monolithic element lasting 50–100 years. |
| Timing is fixed | The workable window runs 30–90 minutes. Stage all tools and crew before the first truck arrives. |
| Structural vs. non-structural | Structural pours require C25+ strength and reinforcement under ACI 318 or AS 3600. Non-structural pours do not. |
| Curing builds strength | Proper curing increases compressive strength by 30–50%. Never cut the curing period short. |
| Mass pours need thermal plans | Internal temperatures can reach 160°F. Manage the core-to-surface differential to prevent thermal cracking. |
What I’ve learned from watching pours go wrong
After years of working on concrete projects across Melbourne, the pattern is consistent: the pours that fail were not failed by the concrete. They were failed by the decisions made in the 48 hours before the truck showed up.
Contractors who rush site prep because the weather window looks good, or who let a laborer add water to the mix because it “looks too stiff,” are making irreversible choices. Concrete does not forgive. Once it sets, the only correction is a jackhammer.
The other thing I see consistently is curing neglect. A crew will spend two days on prep, nail the pour, finish it beautifully, and then pull the plastic off after three days because the surface looks hard. It looks hard. It is not hard. The chemical reaction that builds full strength runs for 28 days. Pulling curing materials early is like pulling a cast off a broken arm because the swelling went down.
My honest advice for anyone doing their first pour: start with a small slab, not a driveway. Learn how the mix behaves in your local conditions. Learn how fast your surface stiffens on a warm afternoon. That knowledge is worth more than any guide, including this one. And if the project is structural, get an experienced crew. The control joints and crack management decisions alone require hands-on experience to get right.
Respect the material. It has been building civilization for centuries because it works. It works when you follow the process.
— Vic
Professional concreting services in Melbourne
Executing a quality concrete pour requires the right mix design, a coordinated crew, proper equipment, and a site that is genuinely ready before the first yard lands. For residential and commercial projects across Melbourne, VW Concreting brings over 145 completed projects and more than two decades of hands-on experience to every job.

Whether you need a structural slab, a driveway, or a full outdoor concreting solution, the team at VW Concreting handles the preparation, placement, finishing, and curing to specification. Review the driveways and slabs portfolio to see completed work, or explore the full concreting services for larger and more complex projects. Contact VW Concreting to discuss your project and request a quote.
FAQ
What is a concrete pour in construction?
A concrete pour is the on-site placement of fluid concrete into prepared formwork, where it cures into a monolithic structural element. Cast-in-place concrete structures built this way can last 50–100 years when correctly placed and cured.
How long does a concrete pour take?
The active pour and finishing window runs 30–90 minutes depending on temperature and conditions. Full project time including site preparation, forming, and curing typically spans a minimum of two days, with curing continuing for 7–28 days.
What is a structural concrete pour?
A structural concrete pour places reinforced concrete that must carry load and comply with standards like ACI 318 or AS 3600. It requires a minimum compressive strength of C25 and mandatory reinforcement, unlike non-structural pours used for fill or leveling.
Why is curing so important after a concrete pour?
Proper curing maintains moisture in the concrete so the chemical hydration reaction can continue for up to 28 days. Cutting curing short is the leading cause of surface cracking, and adequate curing increases final compressive strength by 30–50%.
What causes thermal cracking in mass concrete pours?
Heat of hydration in large pours can reach 160°F internally while the surface cools faster, creating a temperature differential that generates tensile stress. Managing this differential below 35°F through chilled water, ice, or thermal blankets prevents structural thermal cracking.
Leave A Comment