
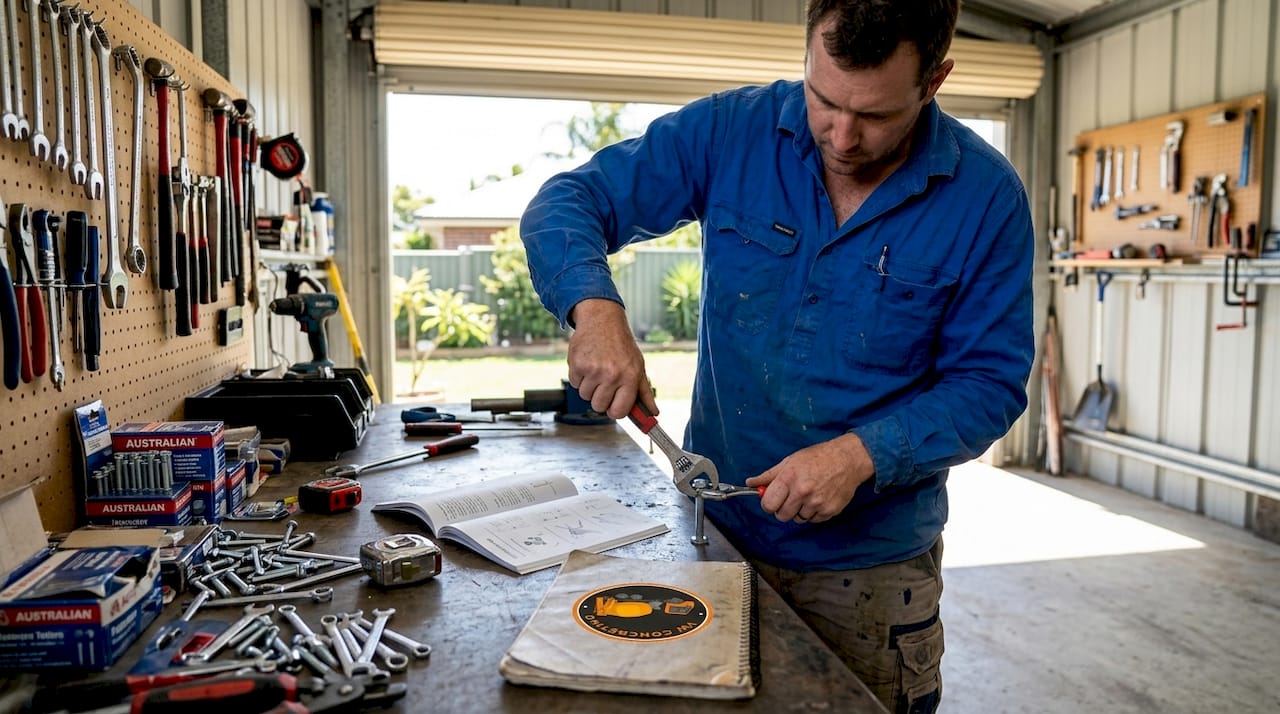
TL;DR:
- Fixing tools include hand tools and mechanical fasteners used to join or secure materials effectively. Proper matching, technique, and calibration of these tools prevent joint failure and ensure long-lasting results. Selecting the right fastener for the environment and load, along with proper use, is essential for safe and durable construction.
Whether you’re patching a fence, framing a deck, or laying a concrete slab, defining fixing tools correctly before you pick one up can mean the difference between a job that lasts decades and one that fails under load. The term “fixing tools” gets tossed around loosely, and that vagueness causes real problems. Professionals reach for the wrong fastener. Beginners strip screws on their first project. Understanding what these tools actually are, how they’re categorised, and when to use each type is the foundation every solid build starts from.
Table of Contents
- Key takeaways
- What are fixing tools? Definitions and scope
- Types of fixing tools: hand tools and fasteners
- Proper use and technique for fixing tools
- Choosing the best fixing tools for your project
- Common mistakes with fixing tools and how to avoid them
- My honest take on mastering fixing tools
- How Com can support your next build
- FAQ
Key takeaways
| Point | Details |
|---|---|
| Fixing tools cover two categories | Both hand tools and mechanical fasteners count as fixing tools, each serving distinct joining functions. |
| Correct pairing prevents failure | Matching the right tool to the right fastener and material type reduces stripping, loosening, and joint failure. |
| Torque control is non-negotiable | Calibrated torque wrenches and correct torque specs protect threads and maintain clamping force under load. |
| Standards guarantee reliability | Tools and fasteners compliant with ISO, ANSI, or DIN standards perform consistently in both DIY and trade settings. |
| Selection beats quantity | Choosing the correct fixing tool for a specific task consistently outperforms owning a large collection used carelessly. |
What are fixing tools? Definitions and scope
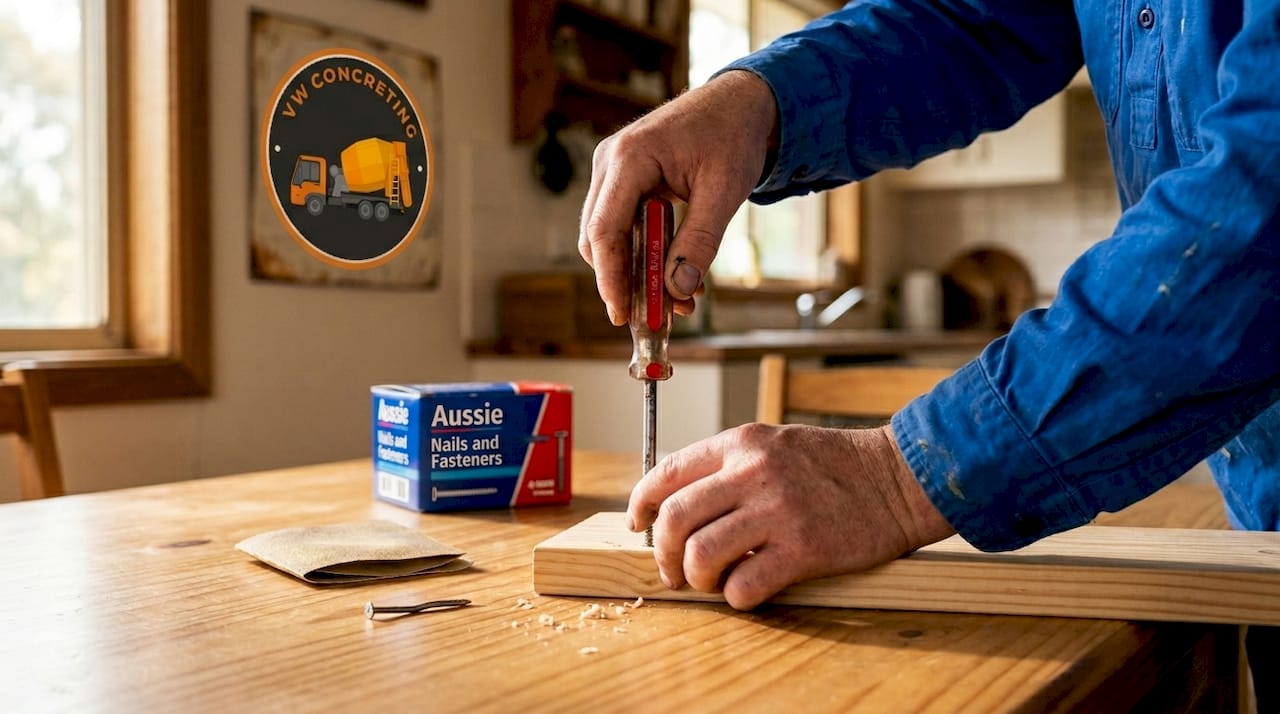
Defining fixing tools starts with one clear idea: a fixing tool is any instrument used to join, fasten, or secure two or more materials together. That definition covers a broader range than most people expect. It includes the hammer you drive a nail with, the screwdriver that sets a screw flush into timber, and the bolt and nut assembly holding a structural bracket in place.
The two main categories are hand tools and mechanical fasteners. Hand tools are the instruments you hold and operate manually to apply or remove fasteners. Mechanical fasteners are the hardware pieces themselves, the screws, bolts, nails, rivets, and anchors that physically create the join. Both belong under the fixing tools umbrella, and confusing the category often leads to poor purchases and worse results.
Here is what the core fixing tool components actually do:
- Screws thread directly into a material and hold by friction and tension, making them ideal for timber, plasterboard, and sheet metal.
- Bolts pass through pre-drilled holes and require a nut on the other side; they excel in structural and high-load connections.
- Nails are driven into material by impact and hold by shear resistance, standard for framing and general carpentry.
- Rivets create permanent joins in thin materials like sheet metal or fibreglass where welding is impractical.
- Anchors expand within a base material (concrete, masonry, or hollow walls) to create a secure fixing point.
Fasteners are mechanical hardware classified into threaded types like bolts and screws, and non-threaded types like nails and rivets. Each category carries specific performance expectations that dictate where and how it should be used. Selecting a fastener outside its design parameters is not just inefficient. It is unsafe.
Quality hand tools built to ISO, ANSI, or DIN standards are more than a professional preference. They represent a measurable safety and durability baseline for any project, trade or DIY.
Types of fixing tools: hand tools and fasteners
A clear fixing tools overview separates the category into two practical branches. Understanding where each type fits saves time, money, and a lot of frustration on site.
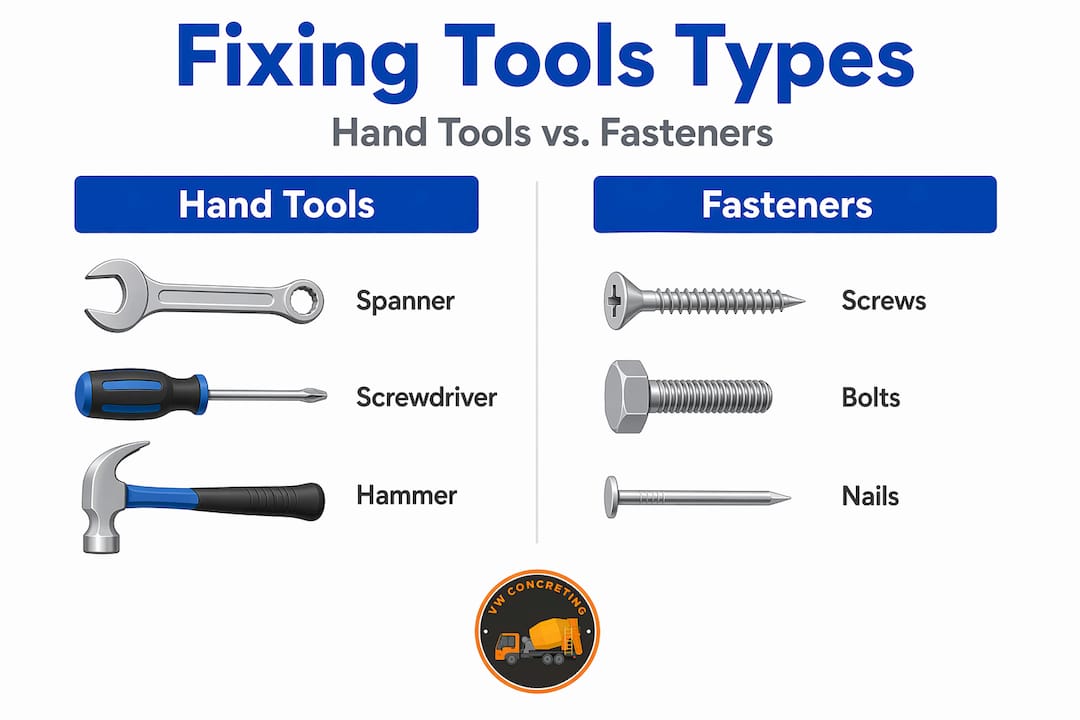
Hand tools used for fixing
Hand tools are manually operated instruments that give you direct control over how a fastener is driven, set, or removed. A well-stocked toolkit of 25 to 35 hand tools can handle around 80% of non-licensed trade tasks in a home or construction setting.
The most commonly used hand fixing tools include:
- Hammers: claw hammers for nails, ball-pein hammers for metal work, and rubber mallets for materials that mark easily.
- Screwdrivers: flat-head and Phillips-head for manual driving; impact-rated handles for tough applications.
- Wrenches: open-end, ring, and torque wrenches for tightening bolts and nuts to specification.
- Pliers: gripping and holding fasteners, especially in confined spaces where a wrench cannot fit.
- Chisels: used for preparing material before fixing, particularly in timber joinery.
Hand tools are lighter and more portable than power tools and offer better precision and control for detailed work. That control becomes particularly valuable when working in tight spaces or on materials sensitive to over-driving.
Comparing common fixing tools
| Tool type | Category | Primary use | Best application |
|---|---|---|---|
| Claw hammer | Hand tool | Driving and removing nails | Timber framing, carpentry |
| Torque wrench | Hand tool | Applying calibrated tightening force | Structural bolting, automotive |
| Phillips screwdriver | Hand tool | Driving cross-head screws | Cabinetry, general assembly |
| Wood screw | Fastener (threaded) | Threading into timber | Decking, joinery, cladding |
| Hex bolt and nut | Fastener (threaded) | High-load structural joins | Steel connections, brackets |
| Common nail | Fastener (non-threaded) | Shear-resistant joins by impact | Framing, formwork |
| Expansion anchor | Fastener (non-threaded) | Fixing into concrete or masonry | Post bases, balustrade brackets |
For projects requiring Australian construction fasteners, the combination of climate, load requirements, and material type narrows your options quickly. What works in mild-climate timber construction may corrode rapidly in a coastal or exposed concrete application.
Proper use and technique for fixing tools
Knowing which tool to reach for is only half the equation. How you use it determines whether the joint holds or fails. This is where most DIY and even trade errors originate.
-
Match the tool to the fastener head. Using a flat-head screwdriver on a Phillips screw damages both the fastener and the tool. Always match the drive type precisely, whether it is Phillips, Torx, Robertson, or hex.
-
Control your torque. Wrenches and powered drivers apply rotational force. Too little and the joint is loose. Too much and you strip threads or crack the substrate. Torque wrenches need calibration at minimum every 12 months or every 5,000 cycles to maintain accuracy within ±4%.
-
Pre-drill for screws in hardwood. Skipping this step splits the timber and weakens the fixing. A pilot hole at roughly 85% of the screw’s core diameter prevents splitting and improves thread engagement.
-
Set nails with a nail punch. Driving a nail flush or below the surface with a punch, rather than the hammer face, protects the surrounding material and creates a neater, stronger fixing.
-
Use the right anchor for the substrate. A screw anchor designed for plasterboard will pull straight out of a concrete wall. Always identify the base material before selecting an anchor type.
-
Apply thread-locking compound where vibration is a factor. On bolted assemblies exposed to movement or machinery vibration, thread-locking adhesives prevent loosening without requiring over-torquing.
Pro Tip: The One-Tool Rule is a practical method worth adopting. Pick one primary tool for the job plus two support tools. This focus reduces the temptation to substitute and cuts down on screw stripping, incorrect torque, and wasted time swapping between tools mid-task.
Regular maintenance extends tool life significantly. Clean metal surfaces after use, store screwdrivers with tips protected, and check torque wrench mechanisms for play before each calibrated use. Misuse can void calibration immediately, requiring retesting before any further precision work.
Choosing the best fixing tools for your project
The best repair tools for your project are not the most expensive ones on the shelf. They are the ones matched precisely to your material, load requirements, and environment. Here is a practical selection framework.
-
Identify your material. Timber, masonry, steel, and sheet metal each demand different fastener types and driving tools. A screw suited to pine decking is not the right choice for fixing a steel post base into concrete.
-
Assess the load. Static loads, like a shelf, tolerate lighter fasteners. Dynamic or structural loads, like a carport beam connection, require bolted joins with specified clamping force.
-
Consider the environment. Coastal and exposed locations demand corrosion-resistant fasteners, typically stainless steel or hot-dipped galvanised. Inland and sheltered applications may accept zinc-plated alternatives at lower cost.
-
Decide on reusability. If the join will need to come apart for maintenance or seasonal removal, threaded fasteners (screws and bolts) are the correct choice. Rivets and adhesive anchors create permanent bonds that cannot be undone without damage.
-
Check compliance. Fastener selection should account for load requirements, the operational environment, material compatibility, and disassembly needs. Tools and fasteners that meet recognised standards consistently outperform unrated equivalents under real conditions.
For load-bearing applications in Australian construction, the stakes are higher. Getting fastener selection wrong on a structural connection can create safety risks that go undetected until a load event exposes the failure.
Common mistakes with fixing tools and how to avoid them
Even experienced tradespeople make these errors. Recognising them early saves rework, cost, and sometimes serious injury.
-
Mismatching tool and fastener. Using a worn or incorrect driver bit increases stripping risk dramatically. Replace worn bits before they damage fastener heads and embed themselves uselessly in the material.
-
Skipping torque specifications. Fastener problems like loosening under vibration, corrosion, stripped threads, and uneven clamping all trace back to incorrect installation torque. Specs exist for a reason. Use them.
-
Ignoring environmental factors. Choosing a zinc-plated screw for an outdoor coastal deck is a common and costly mistake. Within 12 to 18 months you will see rust bleed, structural weakening, and a full replacement job.
-
Confusing screws with bolts. Screws thread into the material itself. Bolts pass through and clamp with a nut. Using a screw where a bolt is specified, particularly in structural applications, creates an undersized fixing that may pass visual inspection but fail under load.
-
Never inspecting fasteners after installation. Particularly on outdoor structures, decks, fences, and pergolas, fastener condition degrades over time. Annual inspection for corrosion, looseness, and thread condition is basic maintenance.
Pro Tip: Locking nuts and washers prevent loosening caused by vibration or thermal expansion. If your assembly will experience temperature swings or mechanical movement, include these in your fastener selection from the start, not as an afterthought.
For specialty fastenings in complex builds, getting advice from a supplier who knows Australian conditions and standards is worth more than an hour of online searching.
My honest take on mastering fixing tools
I’ve seen more project failures traced back to wrong tool choices than to bad workmanship. A tradesperson who picks the right screw for the right substrate and drives it correctly will consistently outperform someone with a van full of expensive tools used without thought. That observation has shaped how I approach every build.
What surprised me early on was how much the environment matters. I’ve watched stainless steel fixings on a coastal fence look perfect after a decade while a nearby section with zinc-plated screws was falling apart in three years. The fixing tool itself was identical. The fastener selection made all the difference.
The other thing I’ve learned is that calibration is not optional in professional settings. I’ve used uncalibrated torque wrenches on structural connections and had joints that looked tight but were nowhere near specification. The Three-Bolt Test is a quick field check worth knowing. Compare torque behaviour across three identical fasteners. If the feel varies noticeably, your wrench has drifted and needs recalibration before you continue.
My advice for anyone working through a fixing tools guide for the first time: start with clear definitions, build a short list of quality tools matched to your most common tasks, and learn one technique properly before adding more tools. Depth beats breadth every time.
— VW
How Com can support your next build
At Com, we apply these principles across every project we take on. From driveways and concrete slabs to fencing and decking, correct fixing tool selection and technique is built into how our team works. We have completed over 145 projects across Melbourne, and that experience shows in the quality and durability of what we deliver. If you are planning a concreting or outdoor construction project and want it done to a standard that holds up long-term, get in touch with our team through the VW Concreting contact page. We are also happy to point you toward the right fastening solutions for your specific application.
FAQ
What are fixing tools exactly?
Fixing tools are instruments and hardware used to join or secure materials together. The category includes hand tools like hammers, screwdrivers, and wrenches, as well as mechanical fasteners like screws, bolts, nails, and anchors.
What is the difference between a screw and a bolt?
Screws thread directly into the base material and hold by thread engagement. Bolts pass through pre-drilled holes and use a nut on the opposite side to clamp the joint under tension.
How often should a torque wrench be calibrated?
Torque wrenches should be calibrated every 12 months or every 5,000 cycles, whichever comes first. Misuse at any point requires immediate recalibration regardless of the scheduled interval.
How do I choose the right fastener for outdoor use in Australia?
Consider the exposure level, material type, and load requirements. For coastal or exposed conditions, stainless steel or hot-dipped galvanised fasteners are the correct choice. Fastener durability depends heavily on matching the coating and material to the actual environment.
What is the One-Tool Rule for DIY repairs?
The One-Tool Rule means selecting one primary tool and two support tools for each task. This focus reduces errors like screw stripping and over-torquing, and produces more consistent results than switching between multiple tools mid-job.
Recommended
- Master the workflow for home improvement fasteners – Aussie Nails and Fasteners Warehouse
- How to troubleshoot fastening issues: 5 practical steps – Aussie Nails and Fasteners Warehouse
- Master the screw selection process for reliable builds – Aussie Nails and Fasteners Warehouse
- How to secure materials with the right fasteners step by step – Aussie Nails and Fasteners Warehouse
Leave A Comment